Introduction
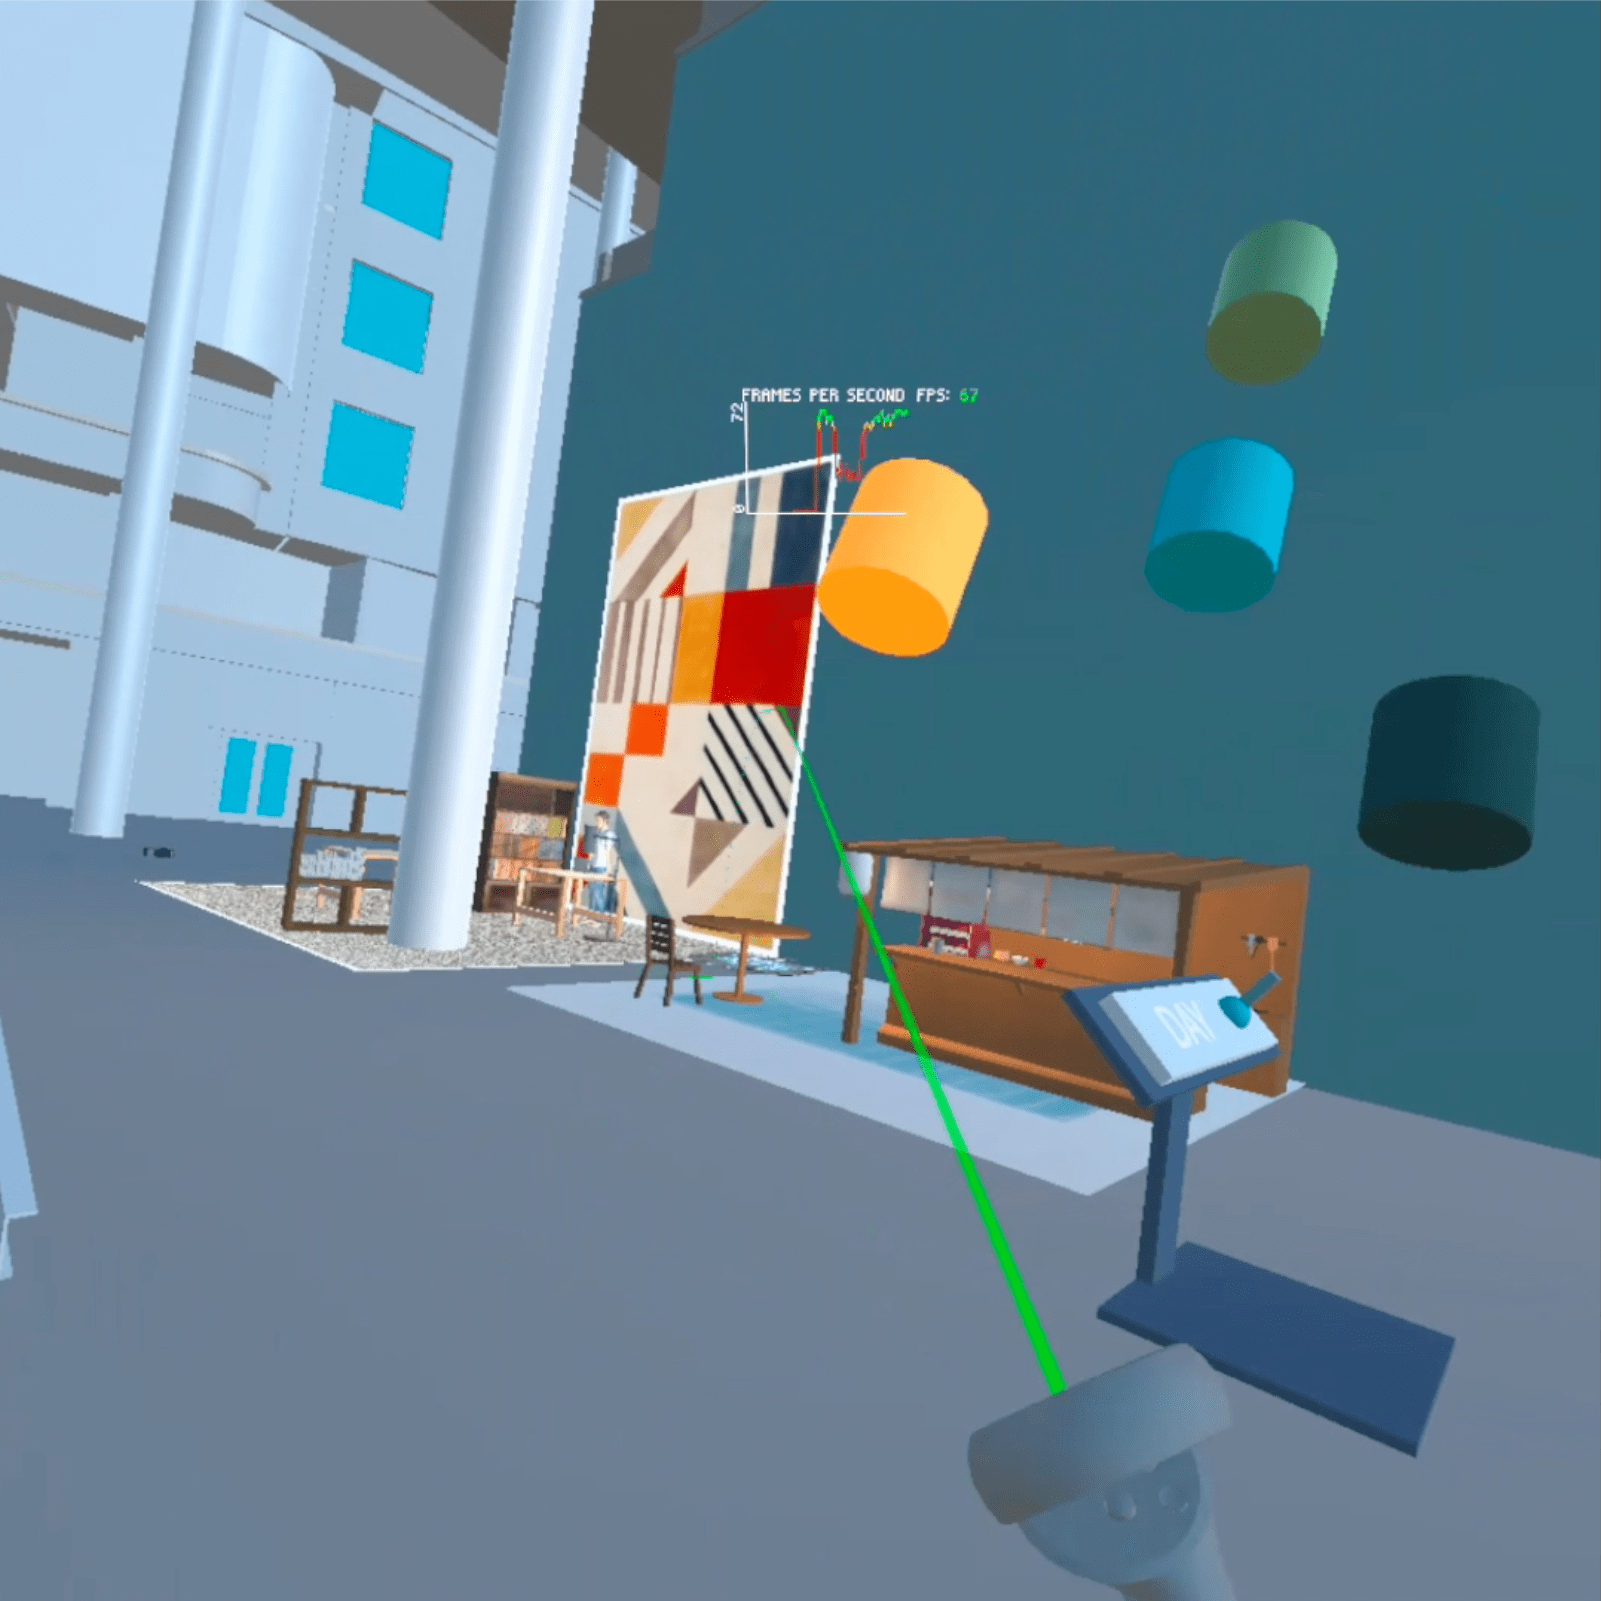
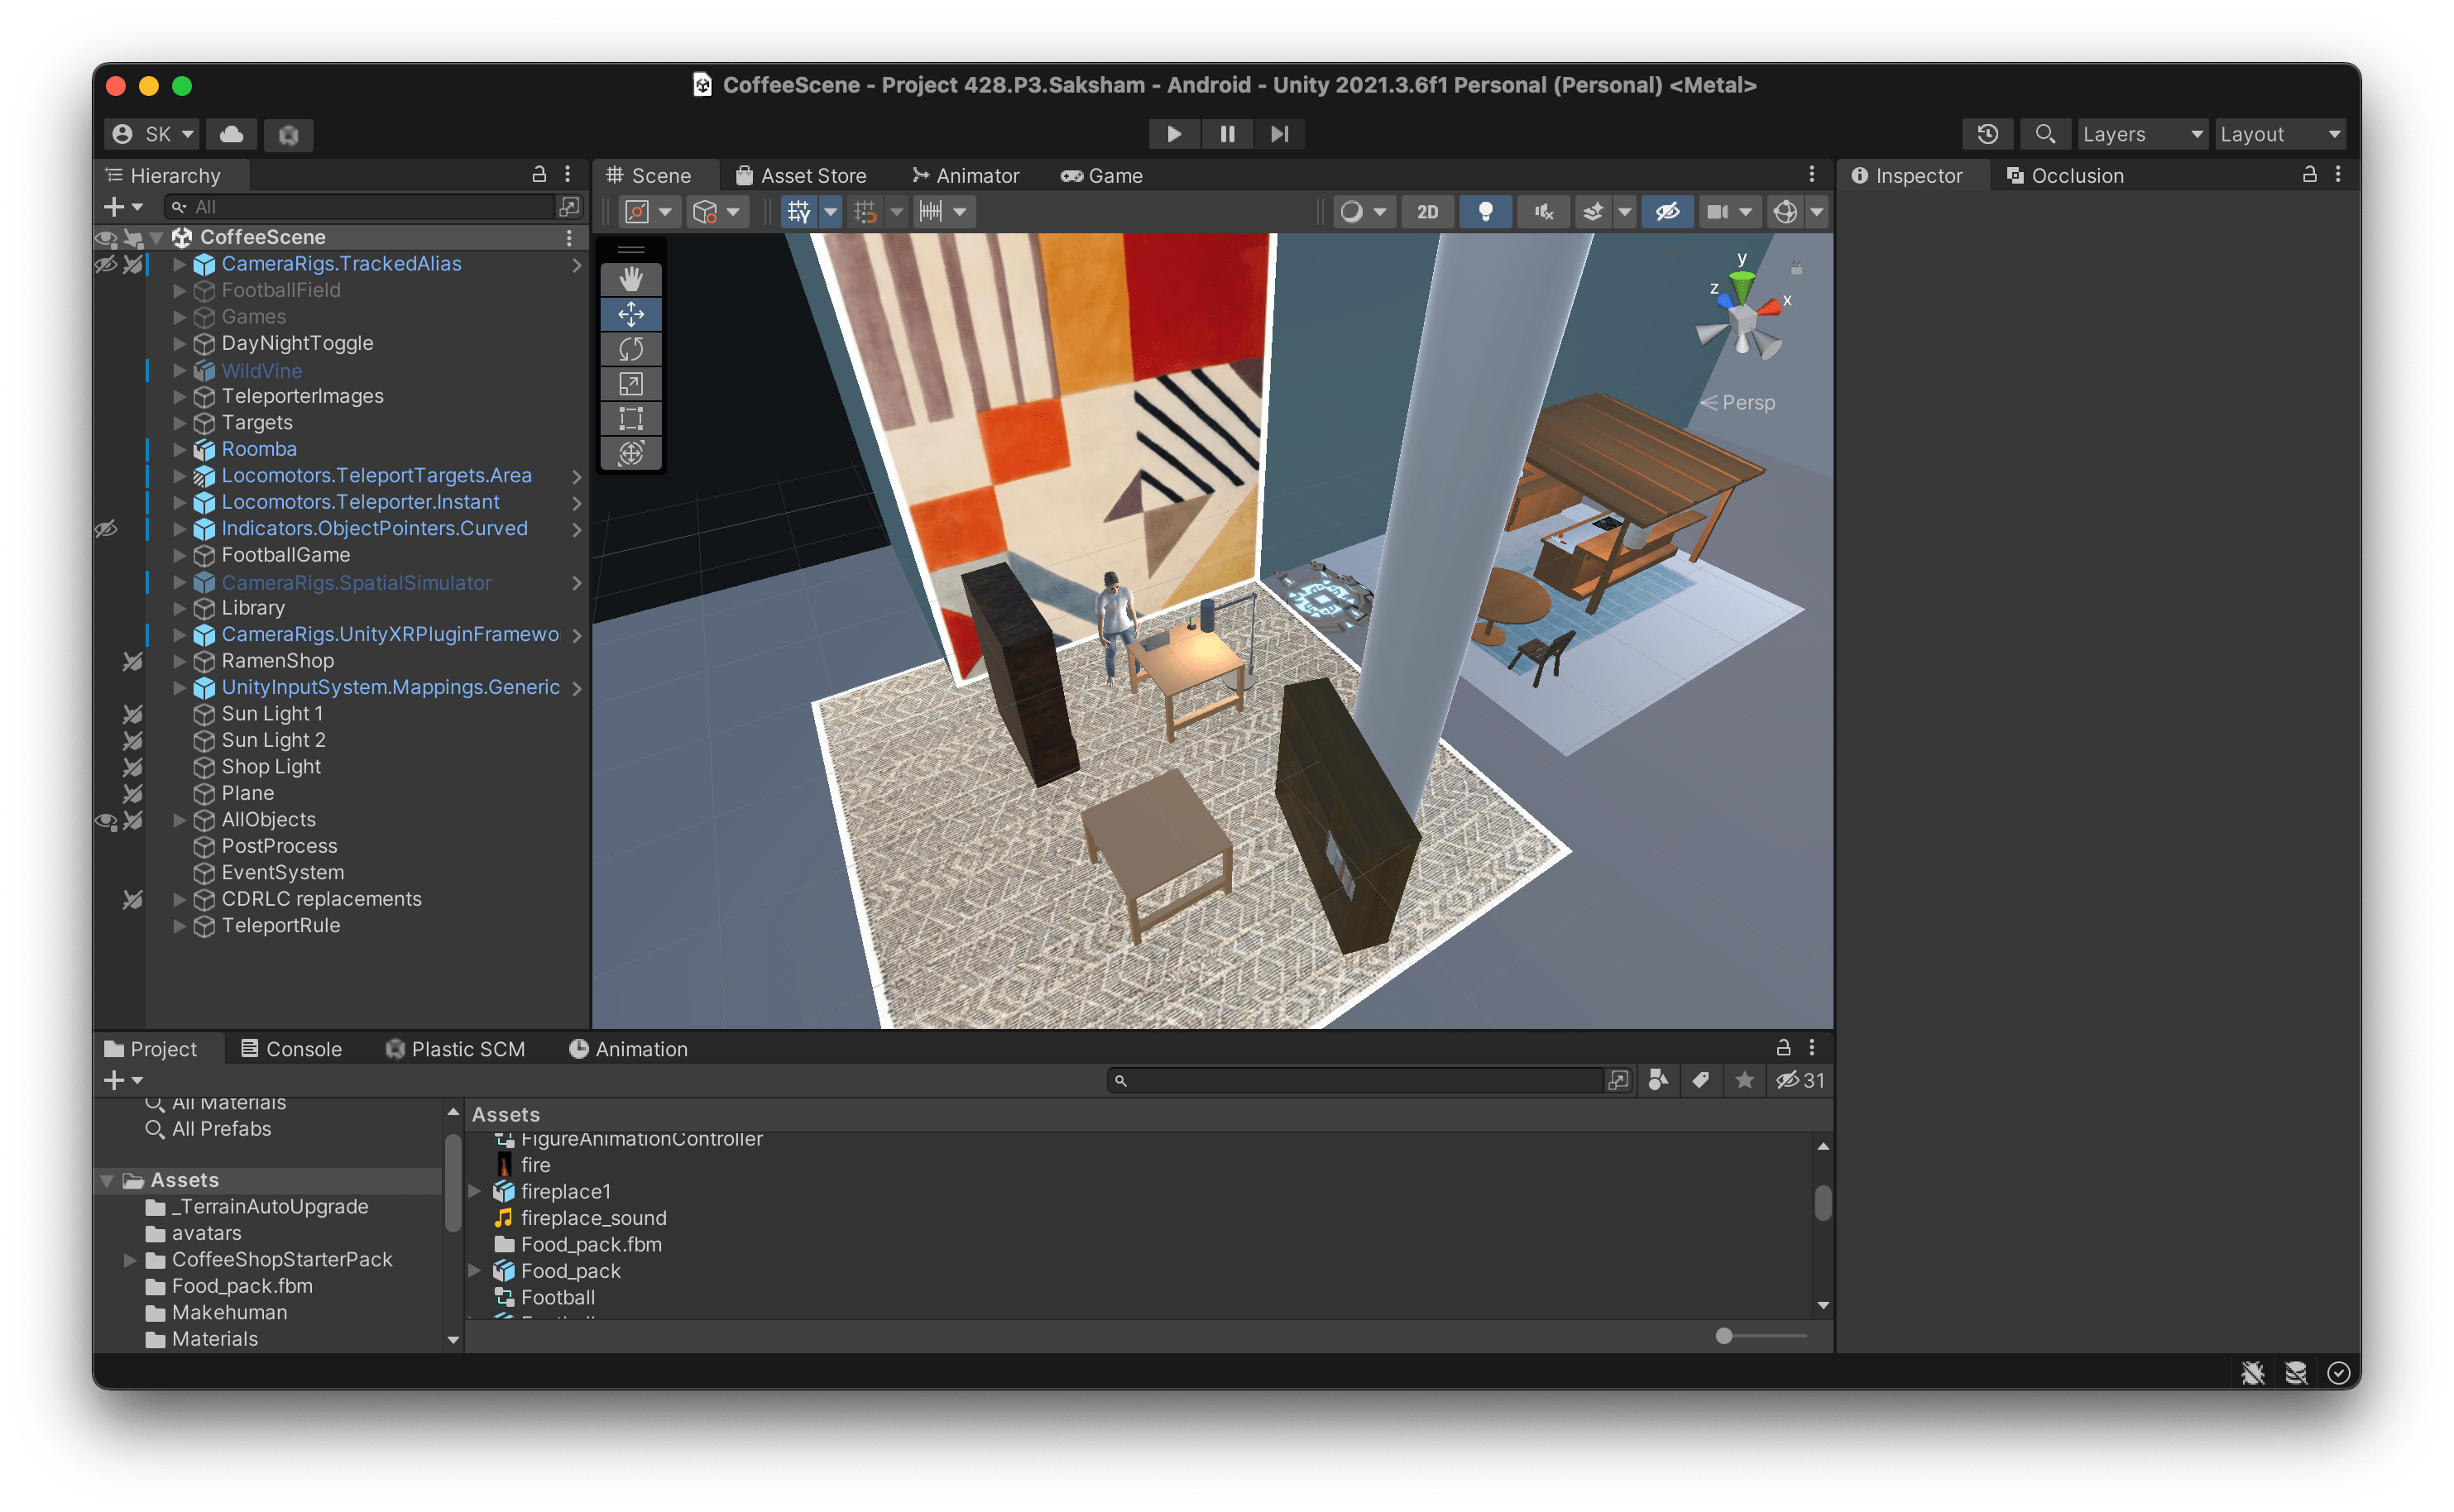
This project was originally created for CS 428 : Virtual, Augmented, Mixed Reality. It is an VR Application built using Unity and VRTK v4 framework. The Project Requirements were to build upon project 2 & modify the 3d model of the new EECCS building on Campus. I’ve created a Ramen Selling Kiosk, Library, Theatre, Football Turf & a Games section in the application. The theme of this project is the current ongoing FIFA world cup. The Model has many features including animations, auto-generating models, audio sources, objects that can be interacted with (for e.g. picking up a ramen container, rotating the tap in the sink to allow flow of water, using a lever to control a light source), lighting schemes, etc. These features have been described in more detail below. The below image demonstrates what this application can do.
To download & run the project on your own computers or smartphones, follow the instructions in this article.
Downloading the project
You can find the project here
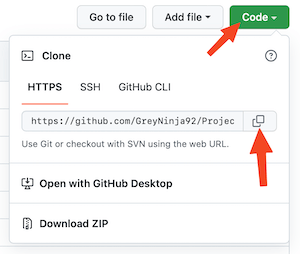
Click the Green “Code” Button, to reveal the cloning window.
If you’re not familiar with the command line, i recommend just clicking on the “Download ZIP” option to download the project into your downloads folder.

If you’re familiar with the command line, then you can clone using the HTTPS option. Make sure you click on the “HTTPS” tab. There you will see a text field with a link inside and a copy button on the right. Click that button to copy the link onto your clipboard.
If you’re on mac or linux, open terminal on your computer. Make sure you have git installed. Run git —version to see if it outputs a version no.
Go to the directory where you want to download this project using “cd” command. Once there, run
git clone paste_link_from__your_clipboard
This should download a zip file containing the project right in your chosen directory.
If you’re on windows, open Powershell. Make sure you have git installed. Run git —version to see if it outputs a version no. If it’s not installed, check the next section on installing git. Enter the command
git clone paste_link_from_your_clipboard
and hit Enter key. This should download a zip file containing the project right in your chosen directory.
Installing Git
If you’re on Mac, follow these steps :-
- Download the latest Git for Mac installer
- Follow the prompts to install Git.
- Open a terminal and verify the installation was successful by executing this command : git --version
If you’re on Linux, follow these steps :-
- From your terminal, install Git using the following two commands
sudo apt-get update
sudo apt-get install git - Verify the installation was successful by executing
git —version
in the terminal.
If you’re on Windows, follow these steps :-
- Download the latest Git for Windows installer
- When you’ve successfully started the installer, you should see the Git Setup wizard screen. Follow the Next and Finish prompts to complete the installation. This should install git onto your computer.
Preparation for Running the Project
This project is built on Unity and the Vuphoria Engine. The Unity version used for this project is LTS Release 2021.3.6f1. I recommend you to use the same version for optimal results.
If you don’t have unity, you can download it by following these instructions :-
- Go to https://unity.com/ and click the Get Started button. You will be redirected to another page

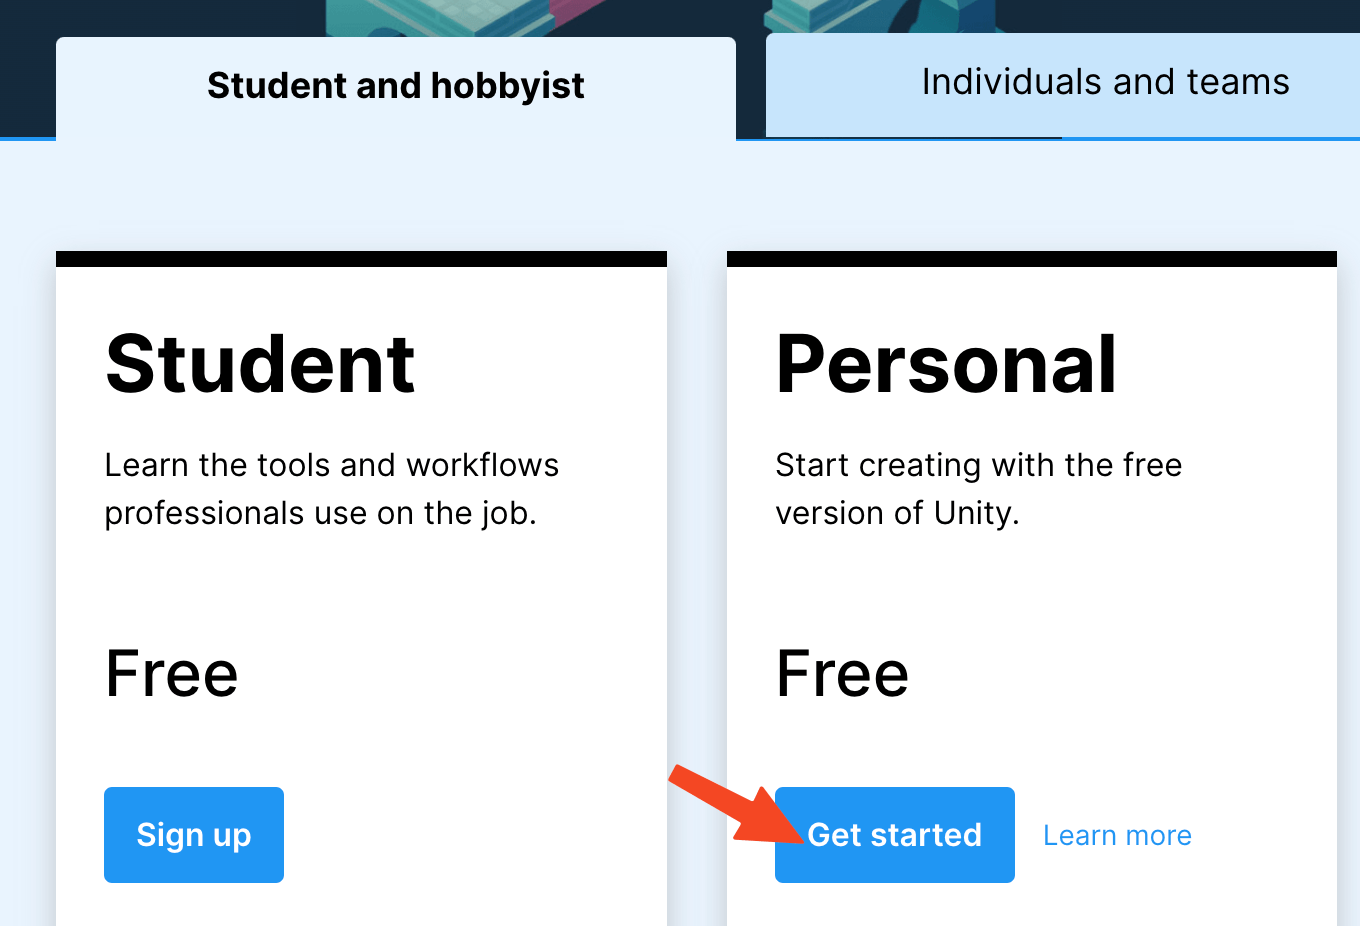
- Click on the Student and hobbyist tab

- Click on the Get Started button in the personal tab. This will redirect you to another webpage
- Click the Download for Windows button if you’re on Windows.
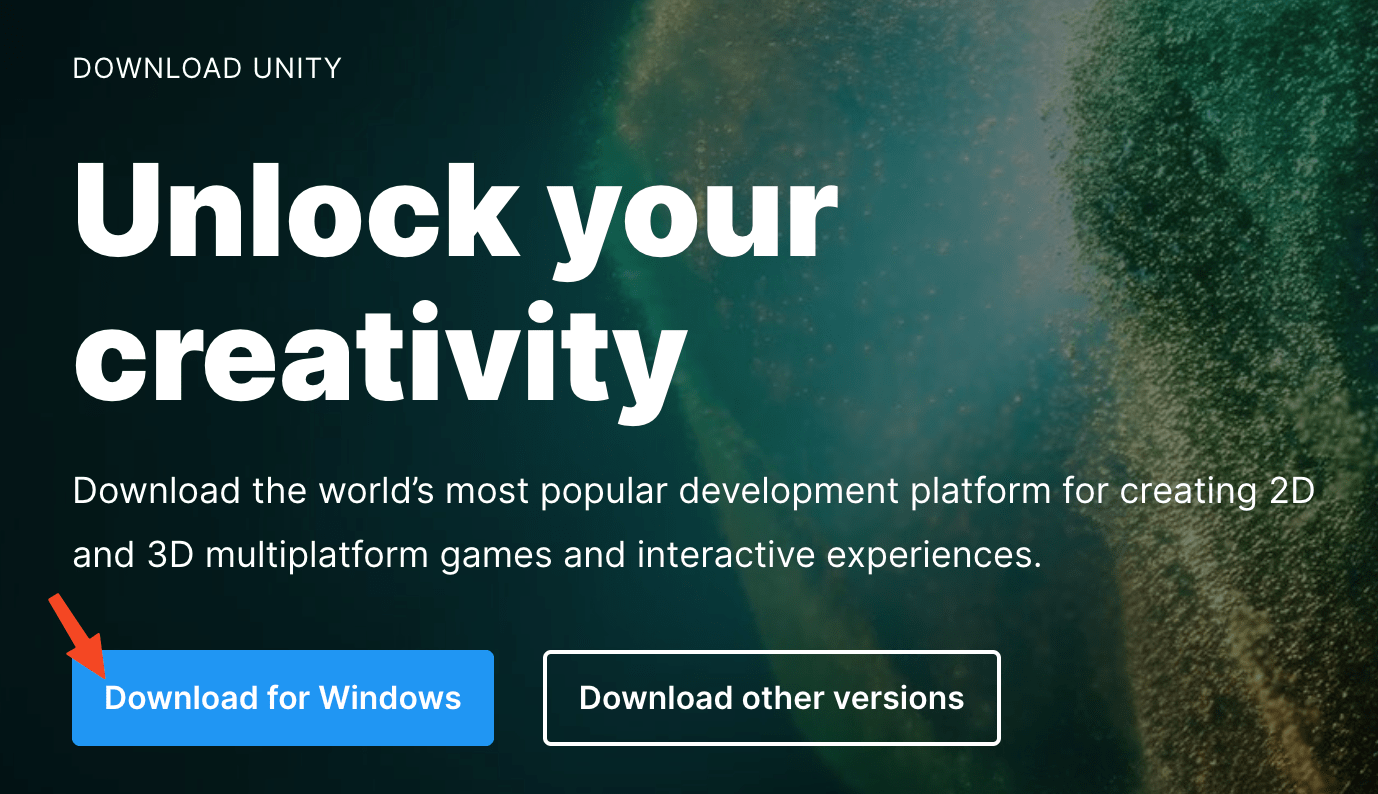
Otherwise, click on Download other versions and click on the link with your current OS written on it. This will download the installation file.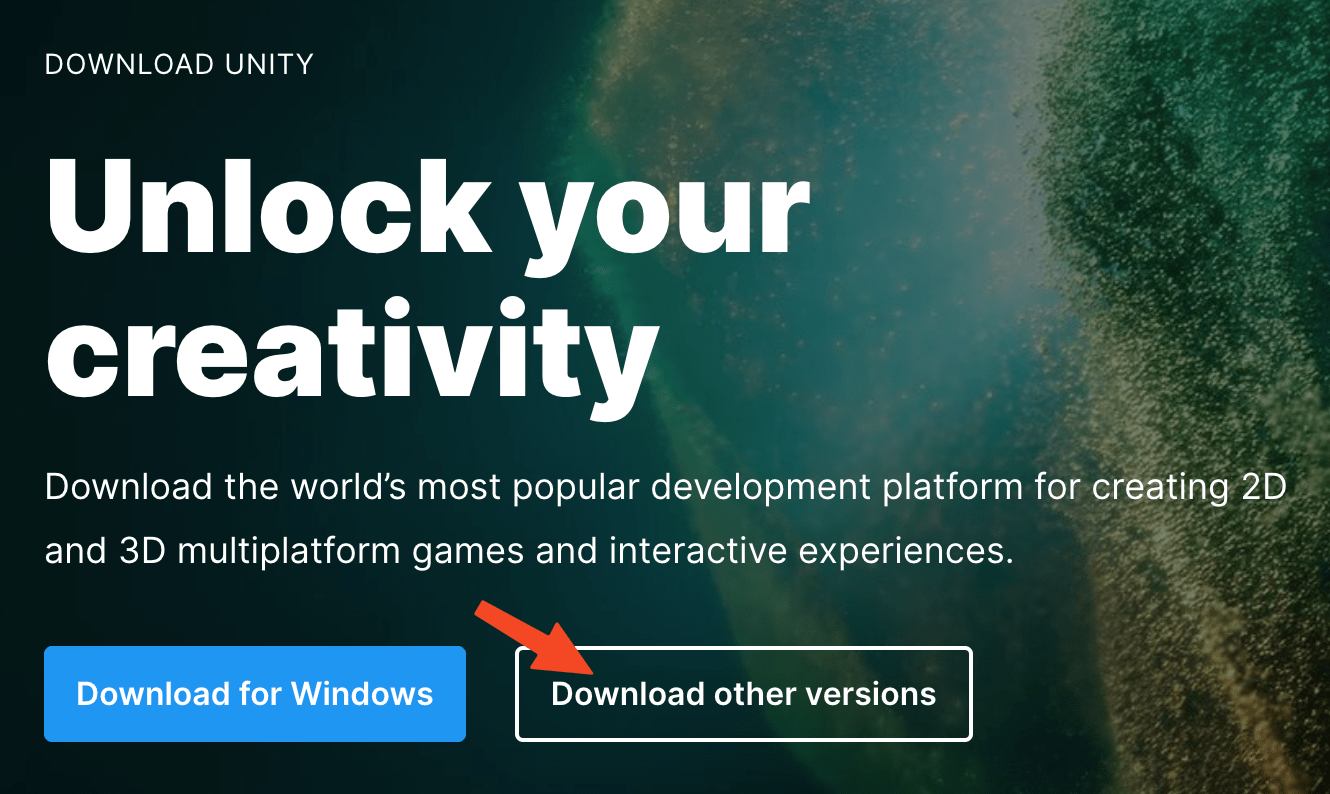
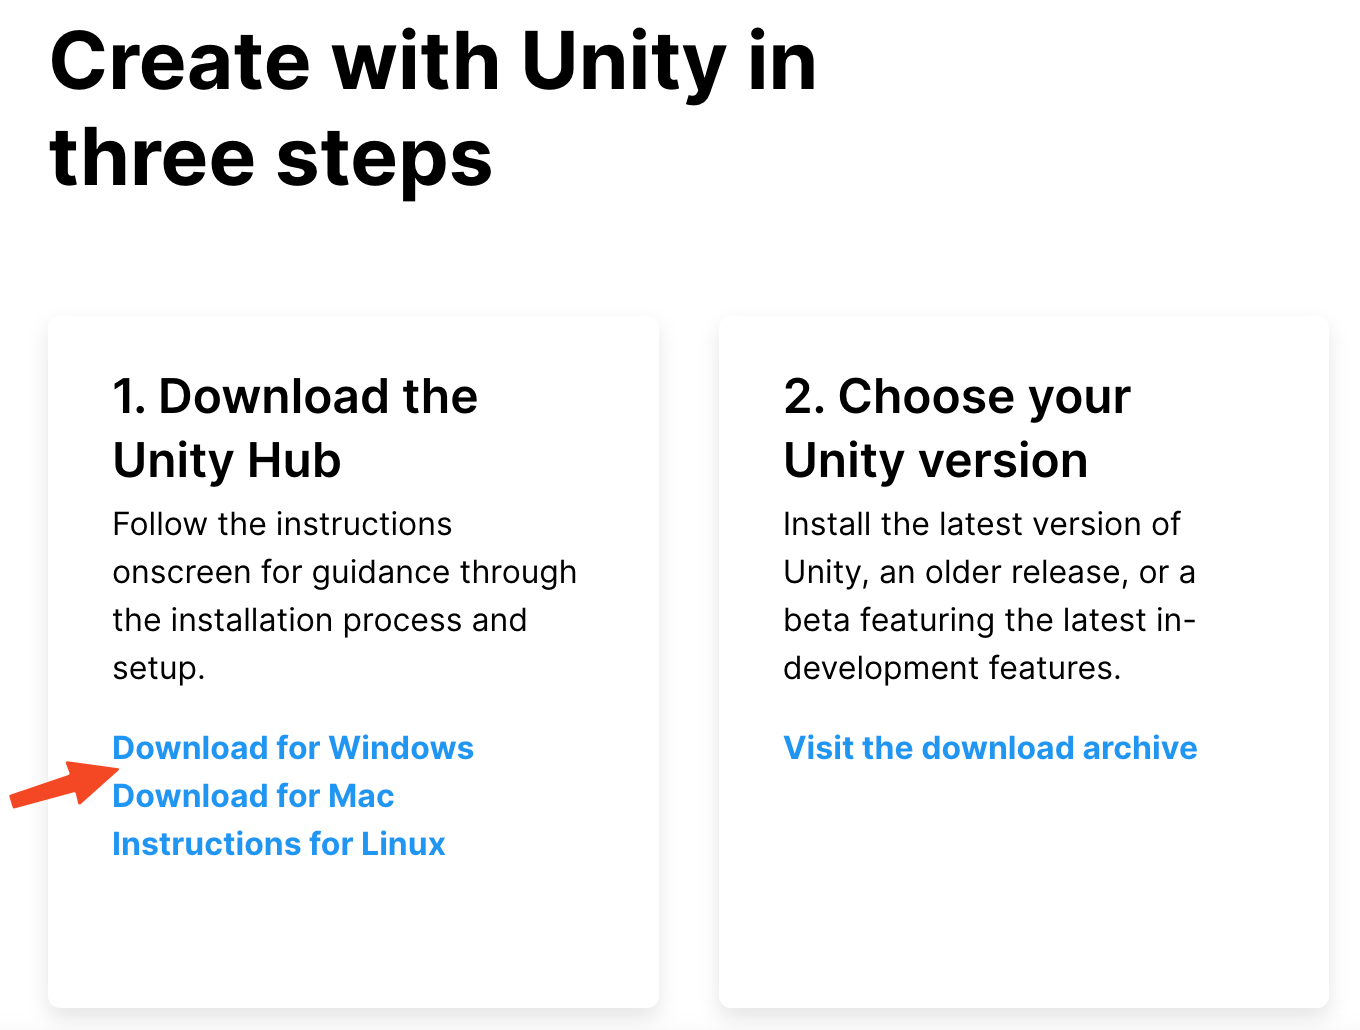
- Click on the Installation File. Follow the prompts to install Unity Hub on your computer.
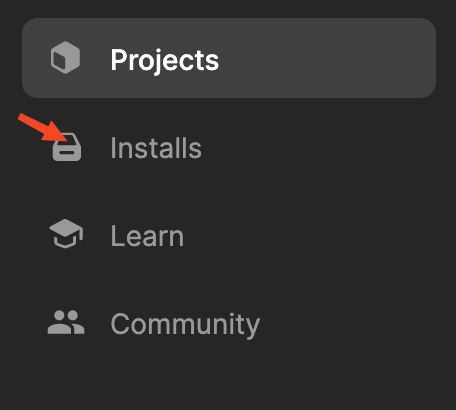
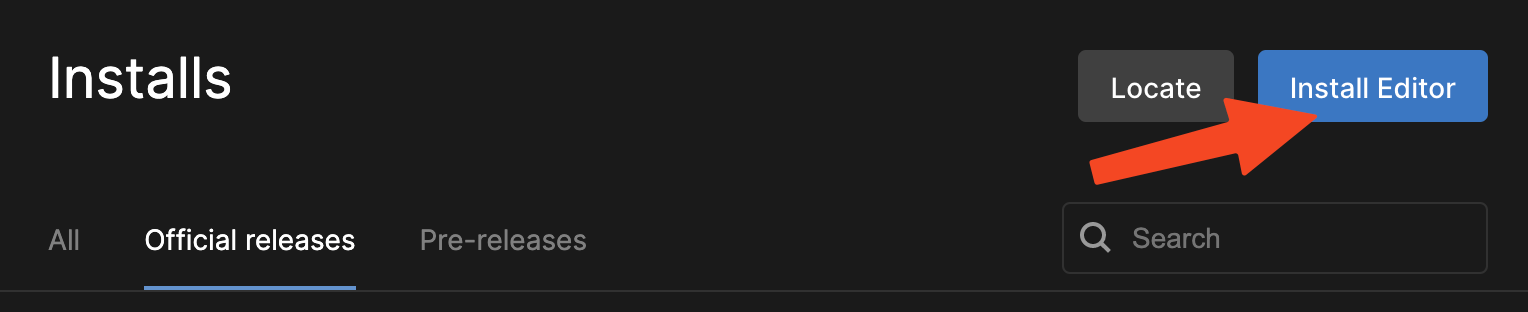
- Once you Unity Hub running, you should click on the Installs tab and then Install Editor to add a new Unity Version.
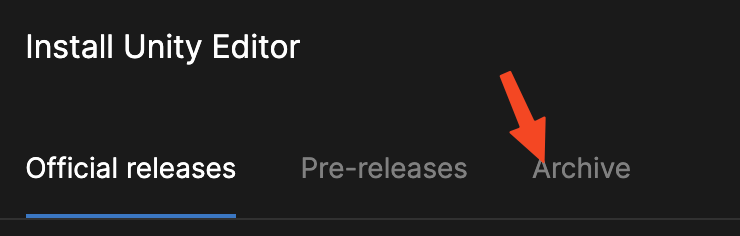
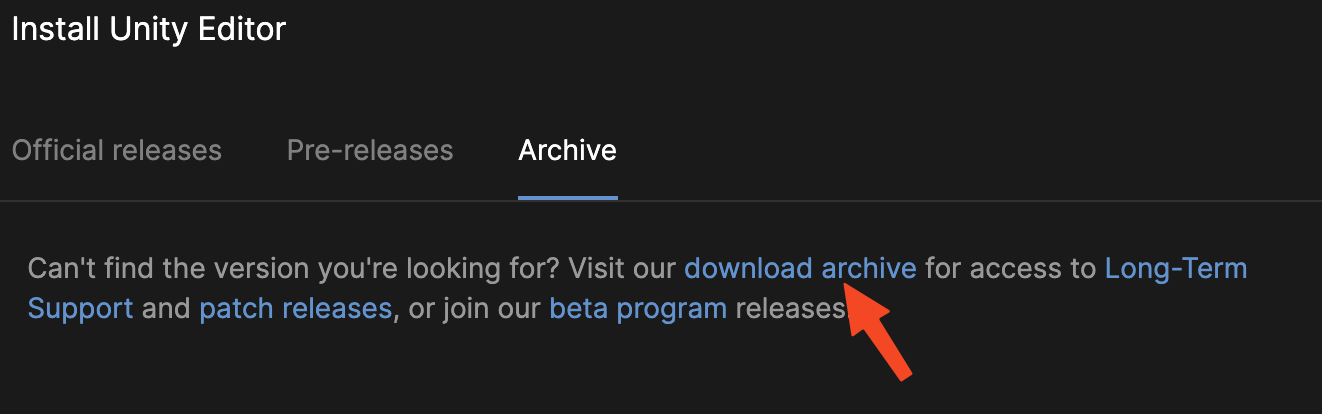
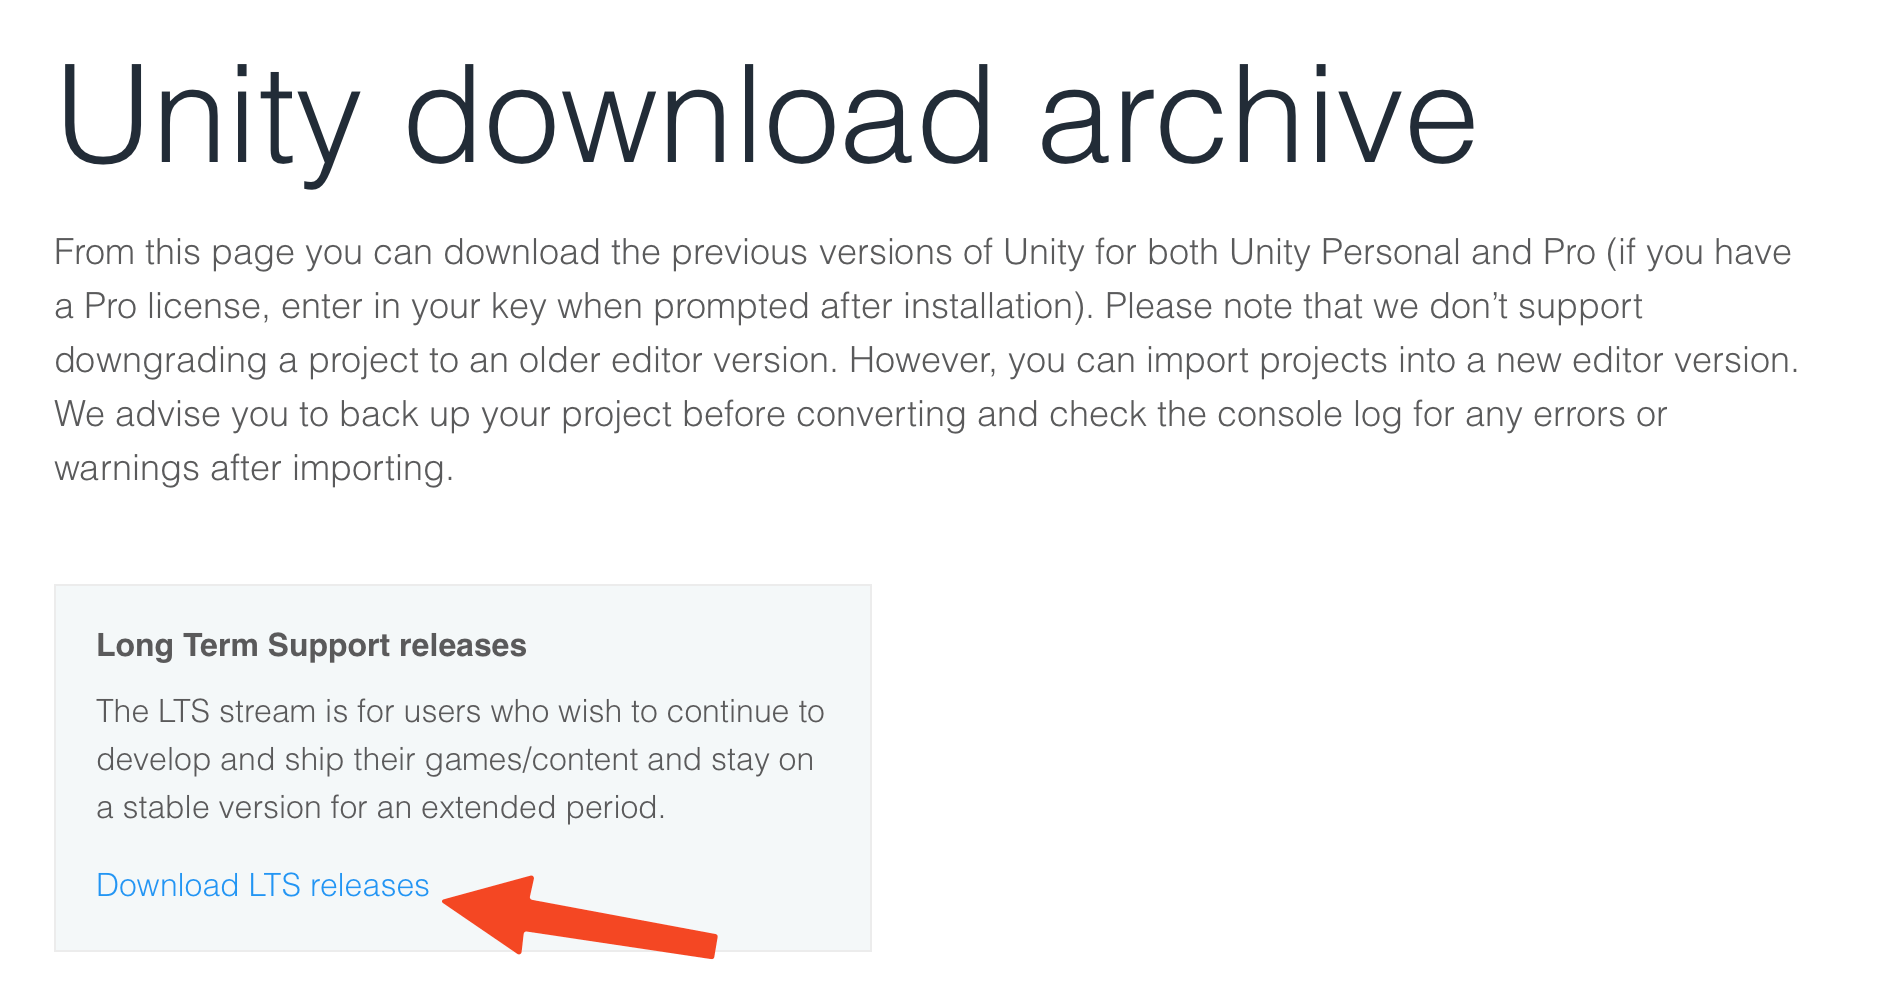
- Click the Archive button near the top and click Long-Term Support to visit the download archive.
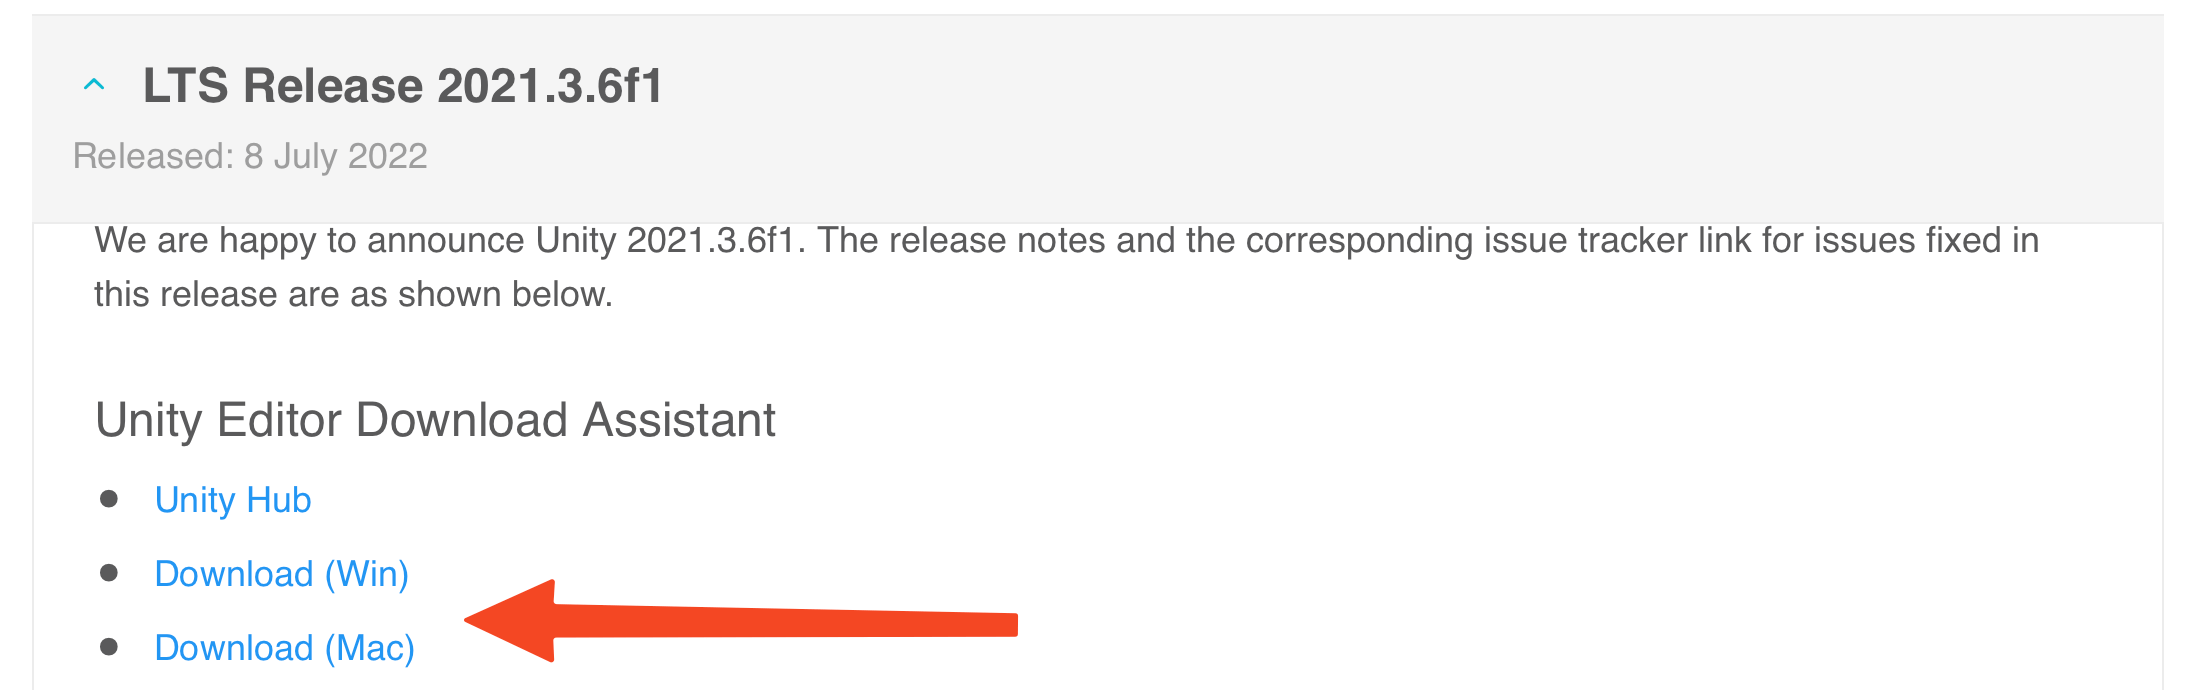
- Scroll down a little. Click on LTS Release 2021.3.6f1 . This will download the recommended version of Unity to run this application.
- You should have it install:-
- Unity
- Mac/Windows/Linux Build Support
- Documentation
- Android Build Support (for running on the Oculus Quest, or any other VR Headset)
Click on the little arrow and make sure Android SDK & NDK Tools and OpenJDK are both selected
All the necessary VRTK packages are included with the project.
Now, Let's open it
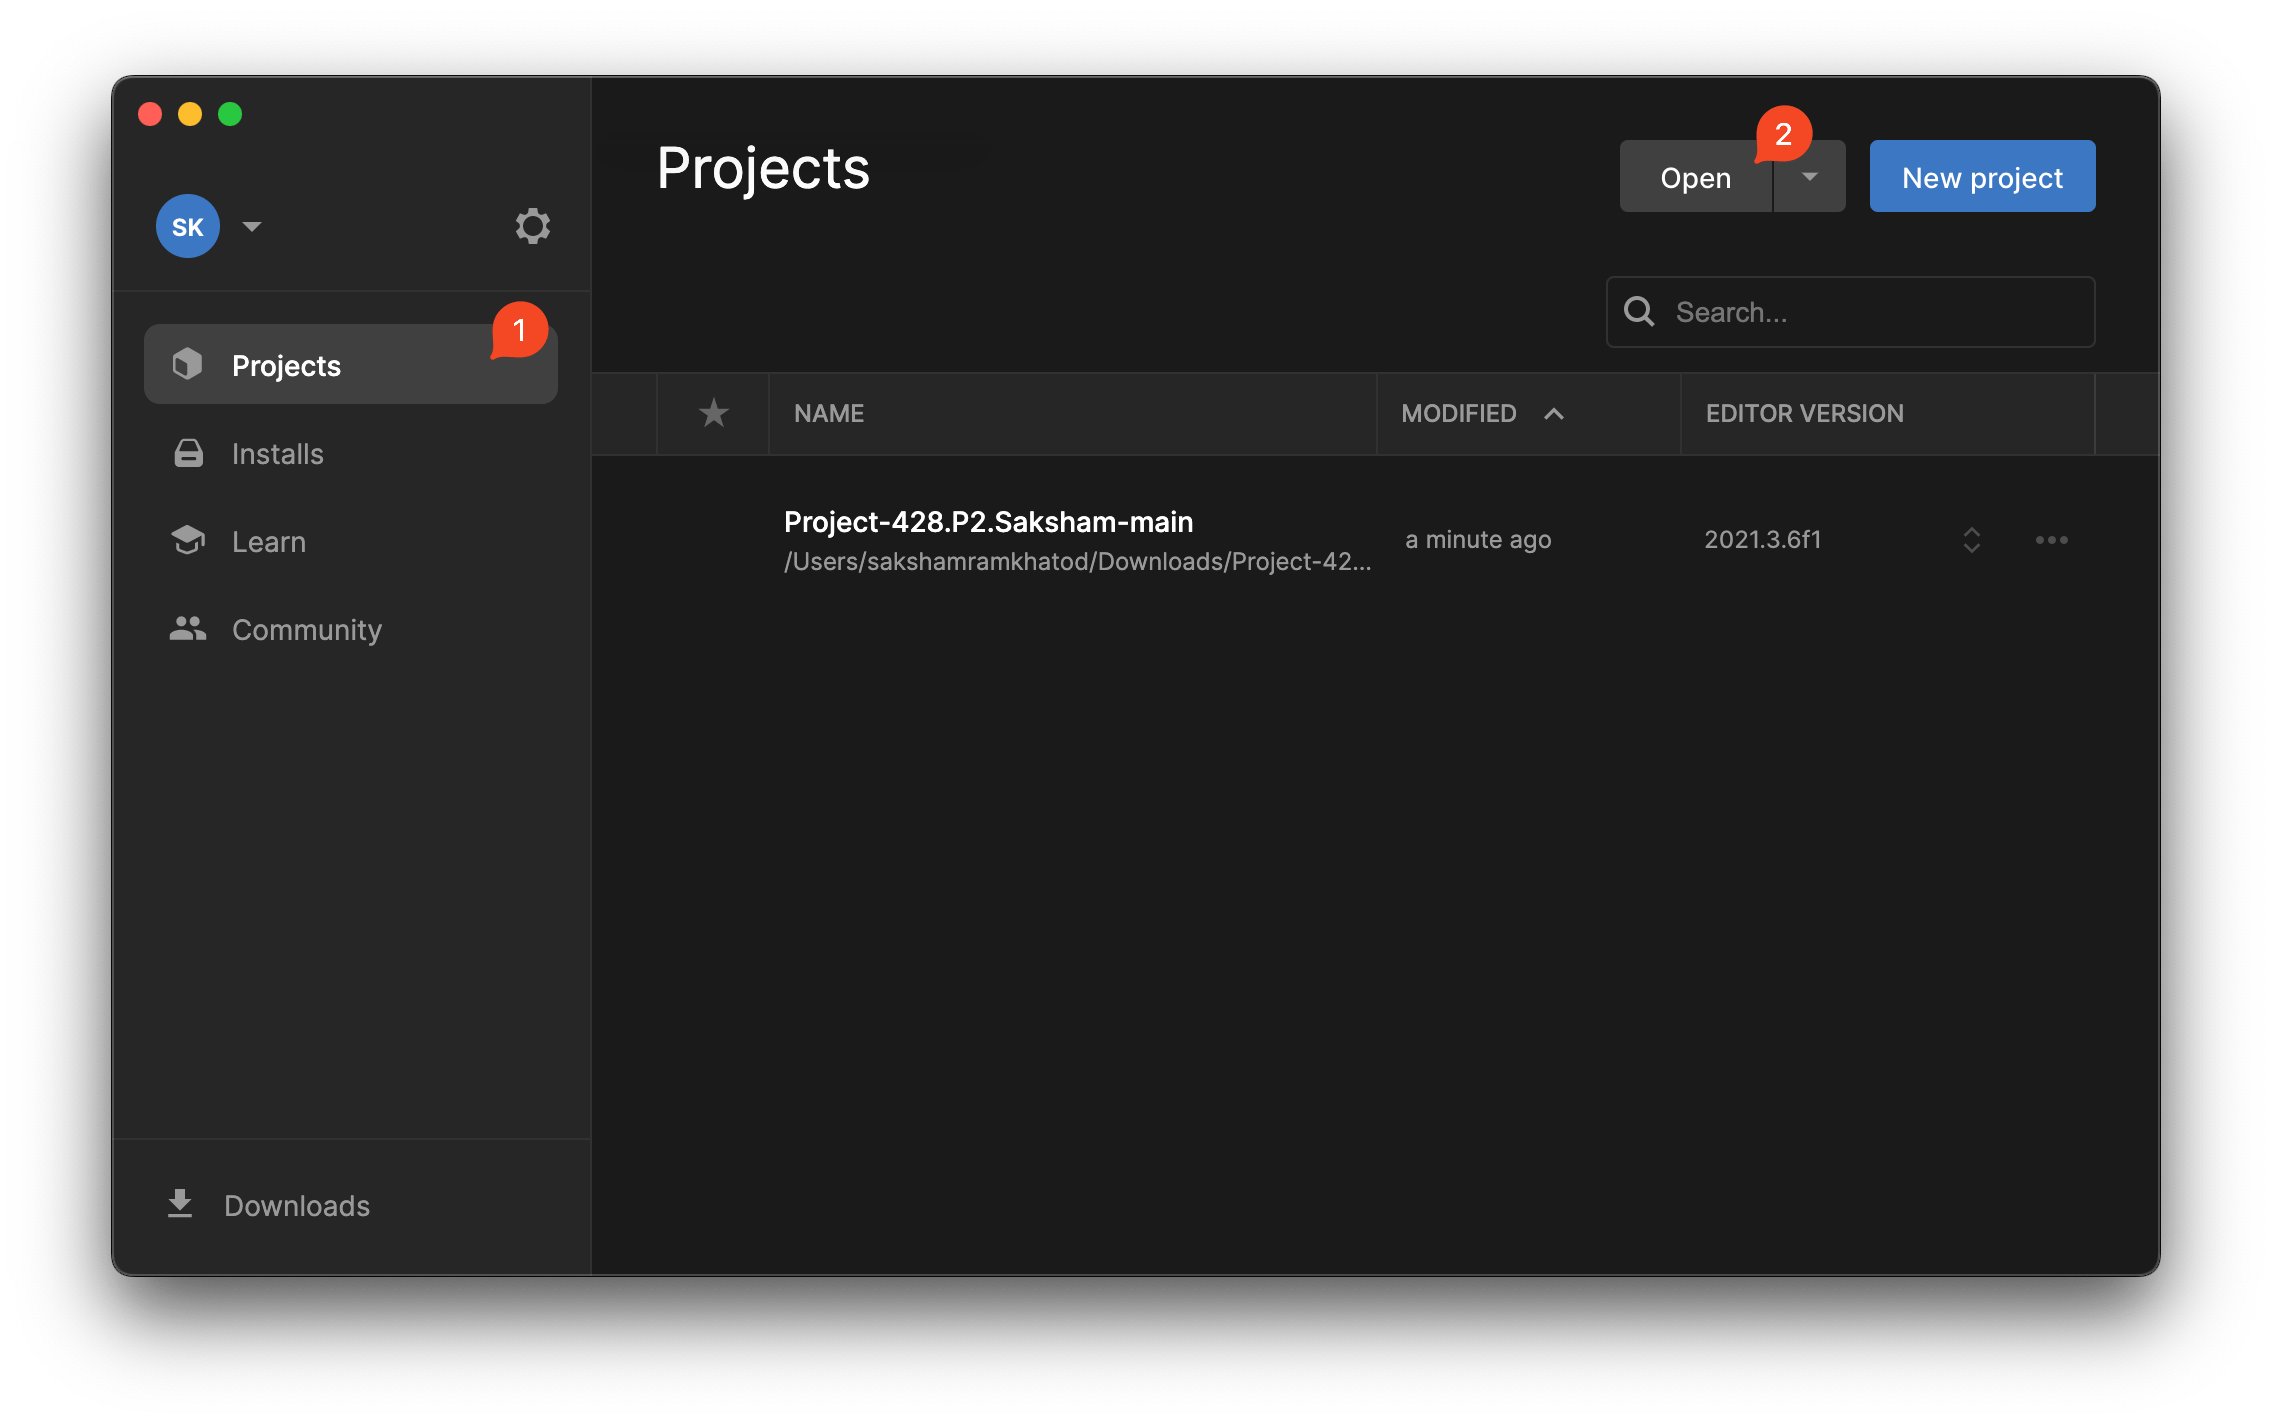
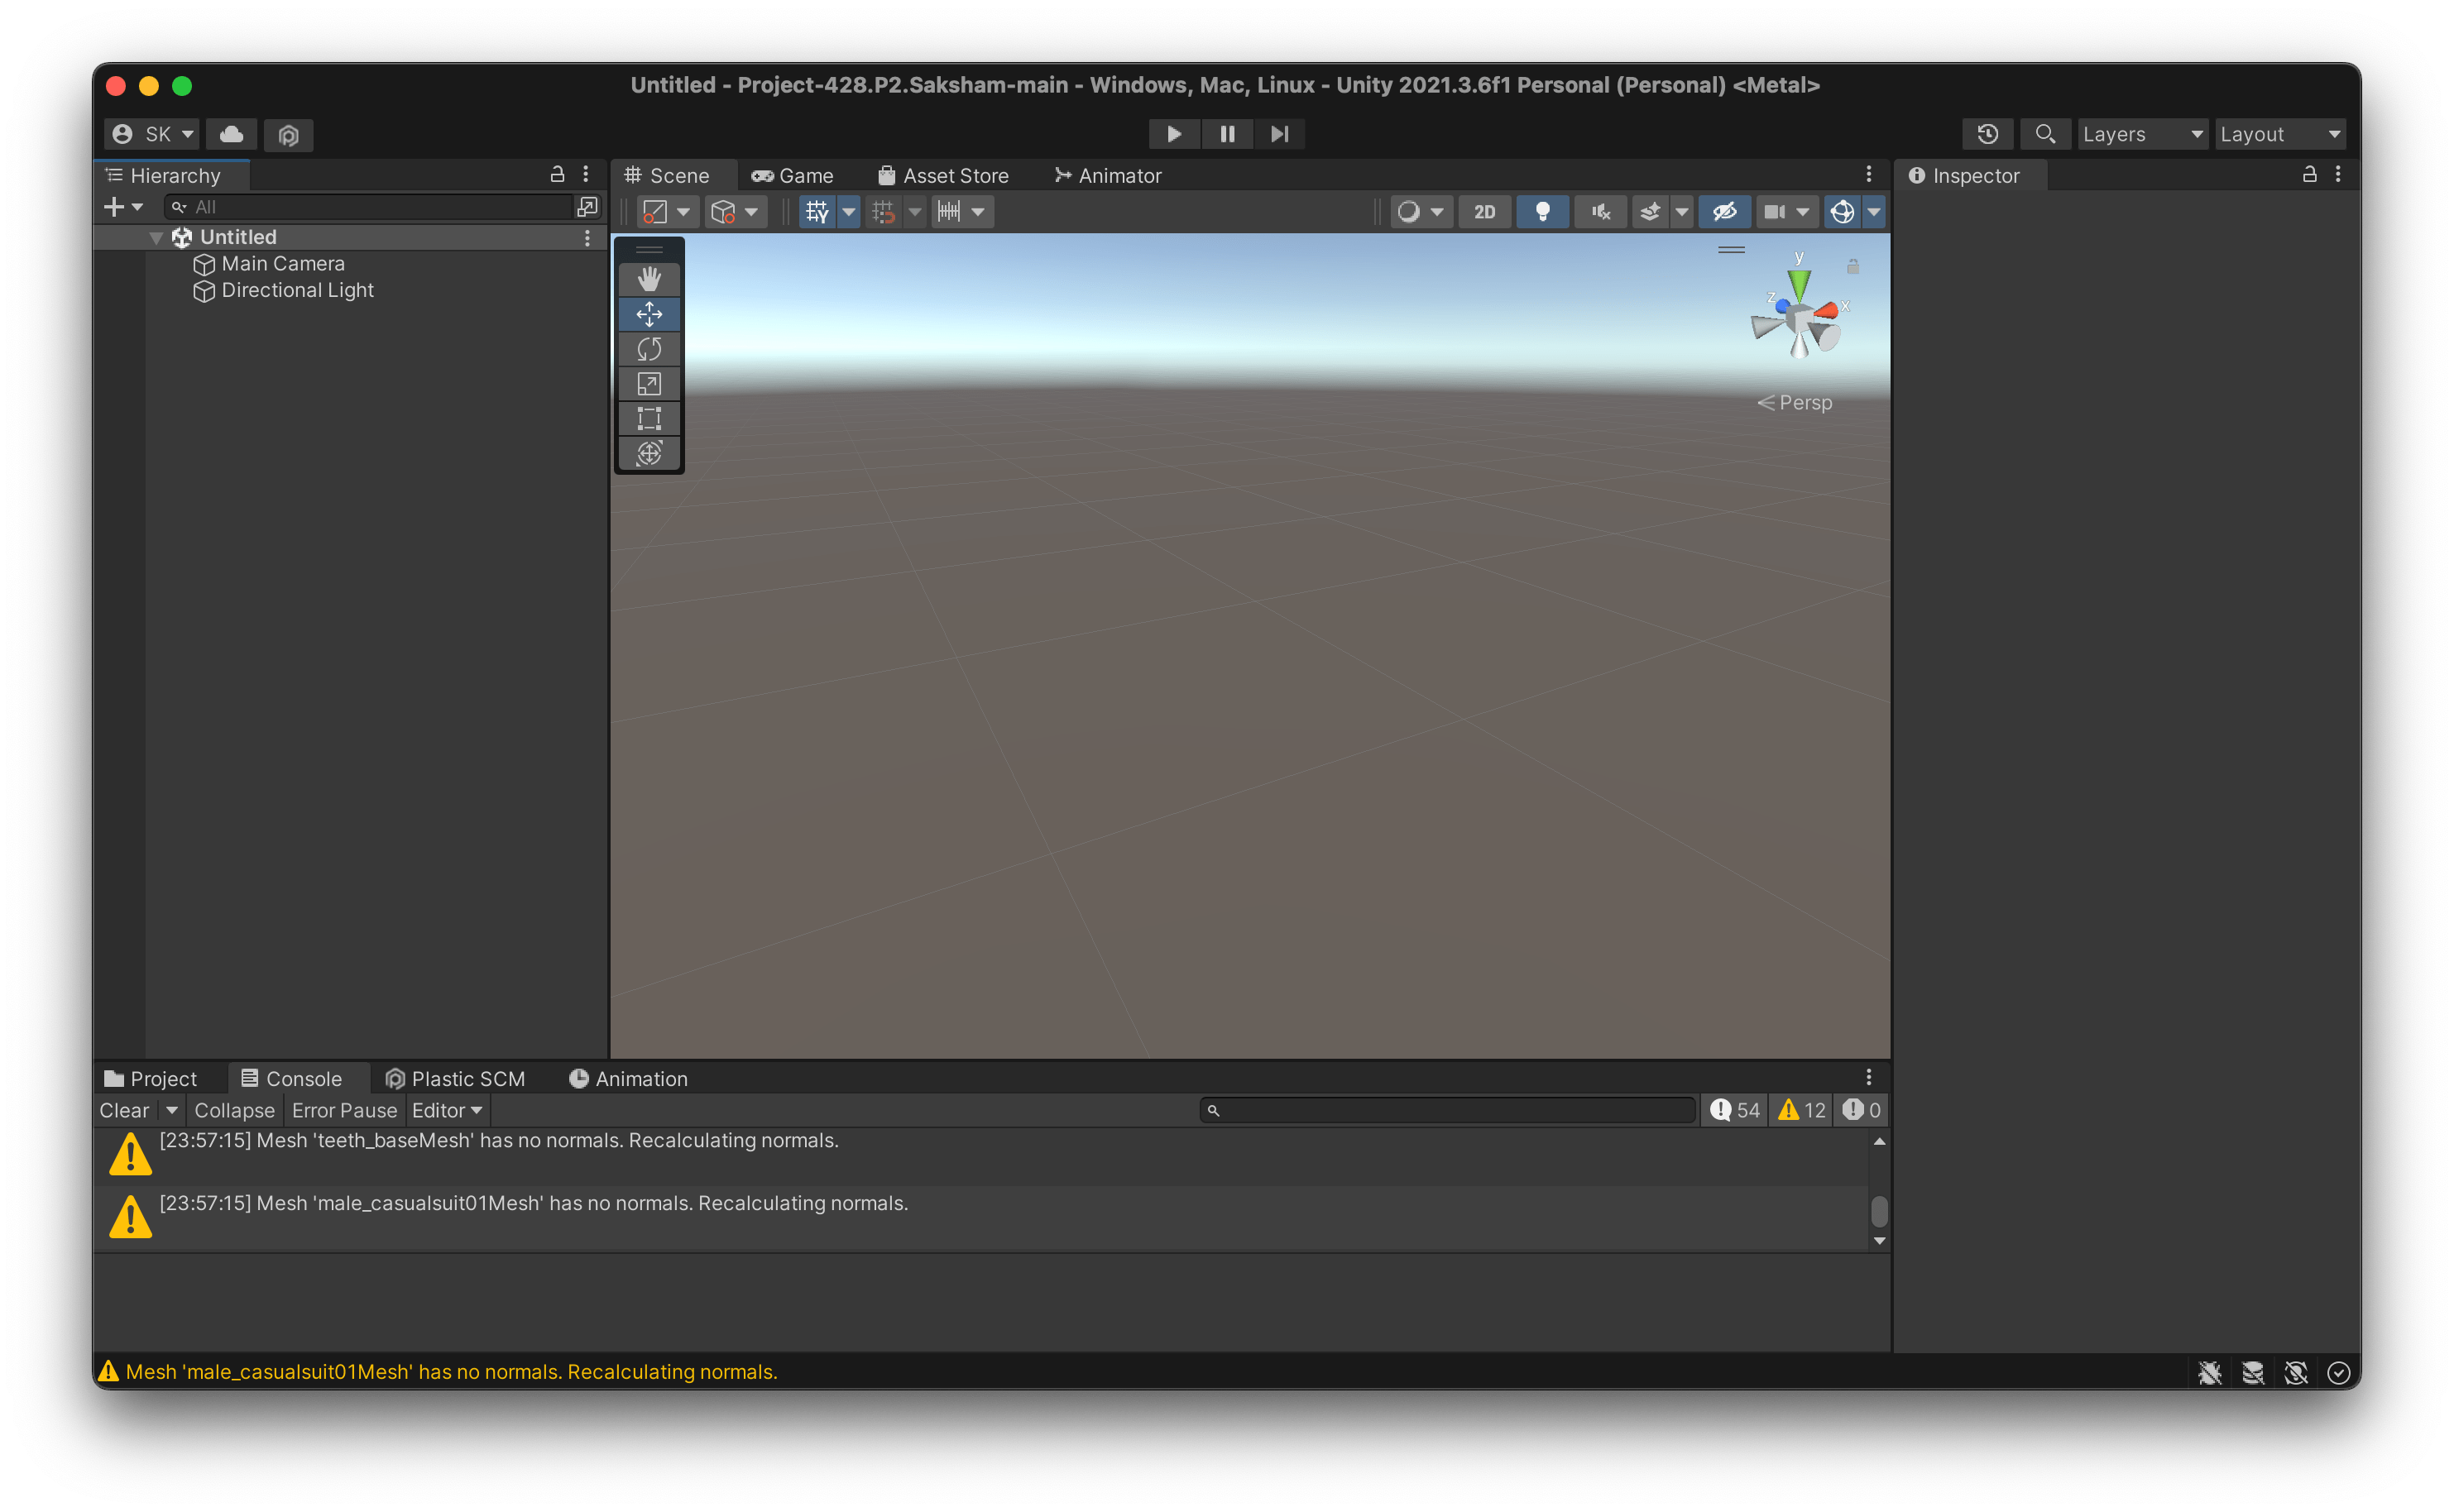
- After downloading Unity Hub, open it. Click on Projects, and then click Open on the top right. Go to the directory where you’ve downloaded your project and then select the project. You should end up with something that looks like this.
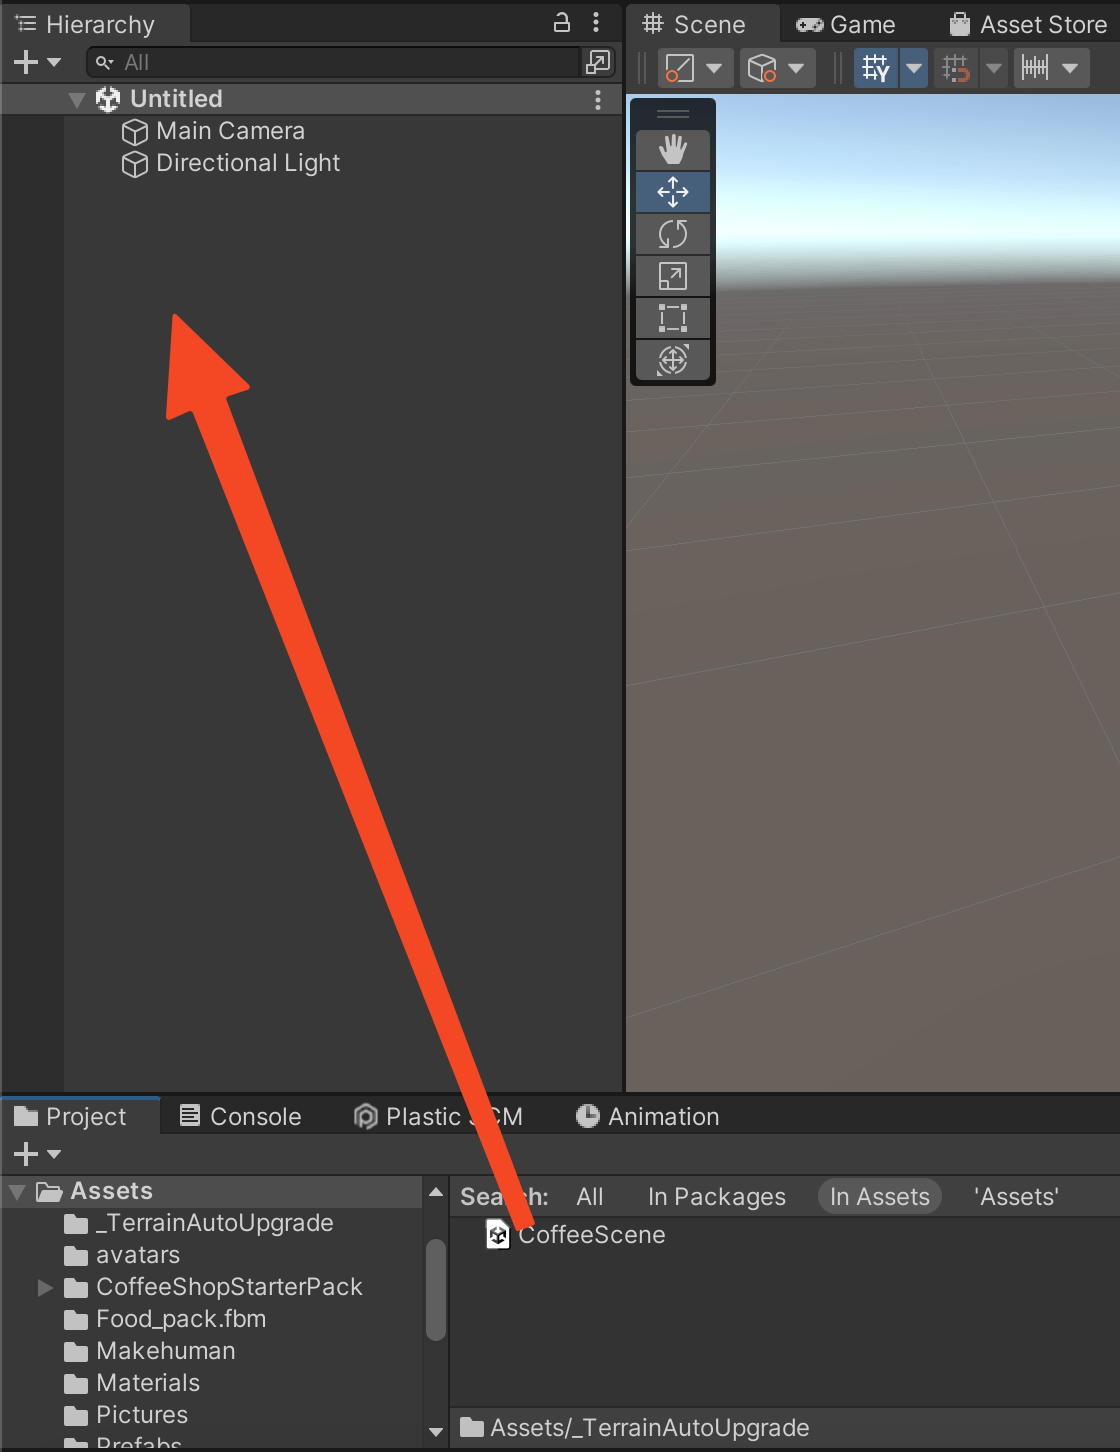
- Click on Projects on the bottom right, then go to the Search Bar and type CoffeeScene.

- Next, drag the CoffeeScene onto the Heirarchy.
- Then, delete the UntitledScene from the Hierarchy by right clicking and clicking Remove Scene.
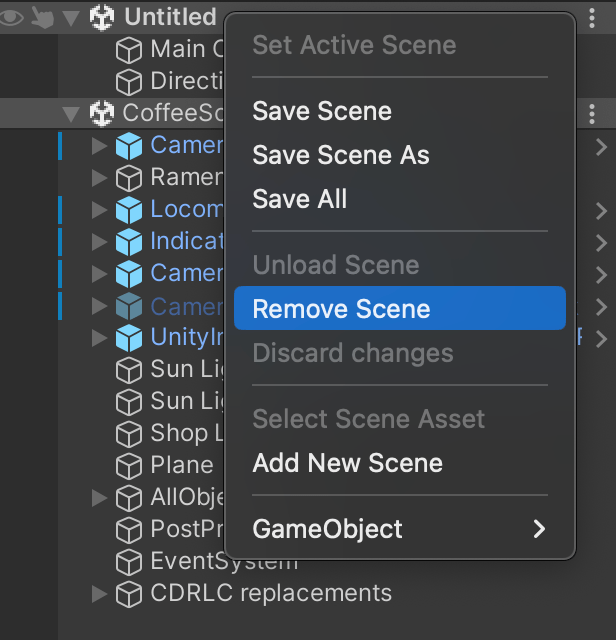
- Now, it should look like this. You can see the Library in the scene. Now, we’re ready to run it.
The app can be run on the headset as well as the Spatial Simulator
Running the app on the Simulator
The app is, by default, configured to run on the Spatial Simulator. All you need to do is press the play button to the top. This should build the VR app and launch it right inside of Unity. Now, you can use WASD keys to move around the environment. You can use 2 or 3 keys to start moving the controllers and press the left button on your mouse to simulate a controller click. If you wish to return back to moving the POV around instead of just the controller, press 1.

Running the app on your Headset
This Application was tested on the Oculus Quest series of headsets and I’d recommend you to use them to run this project.
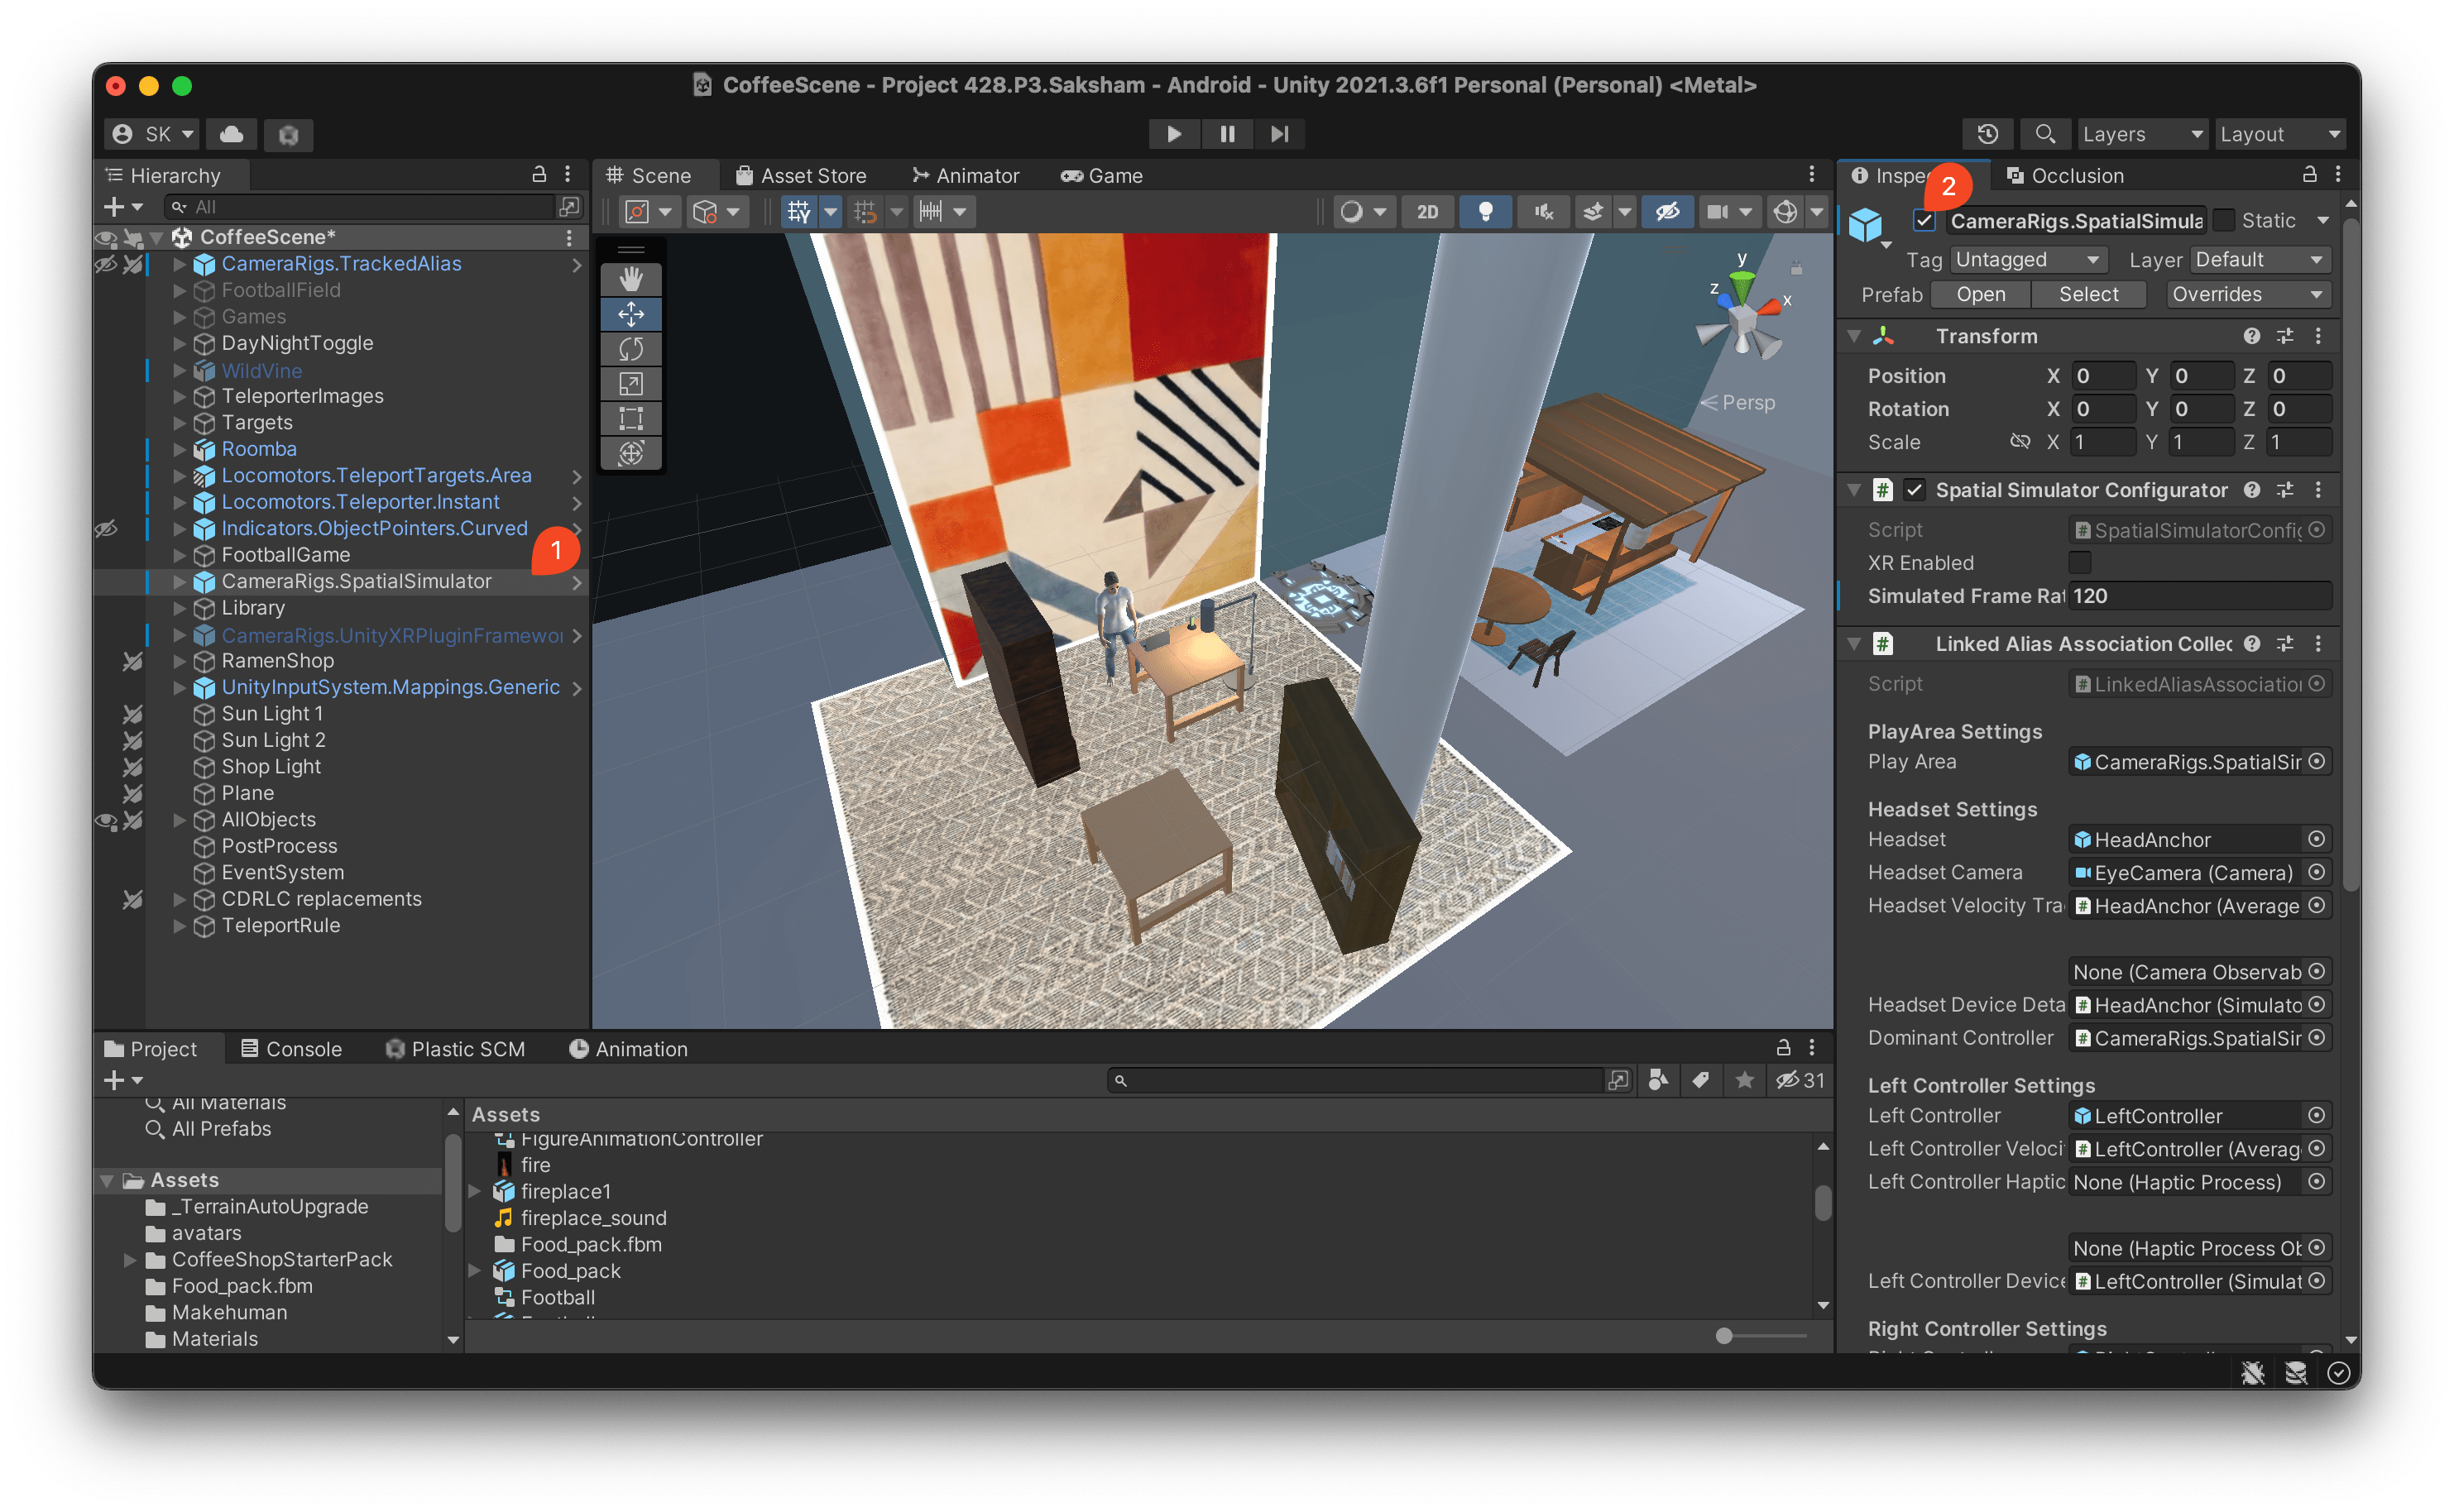
- First, click on Spatial Simulator in the hierarchy and click the box on the top right to uncheck it.
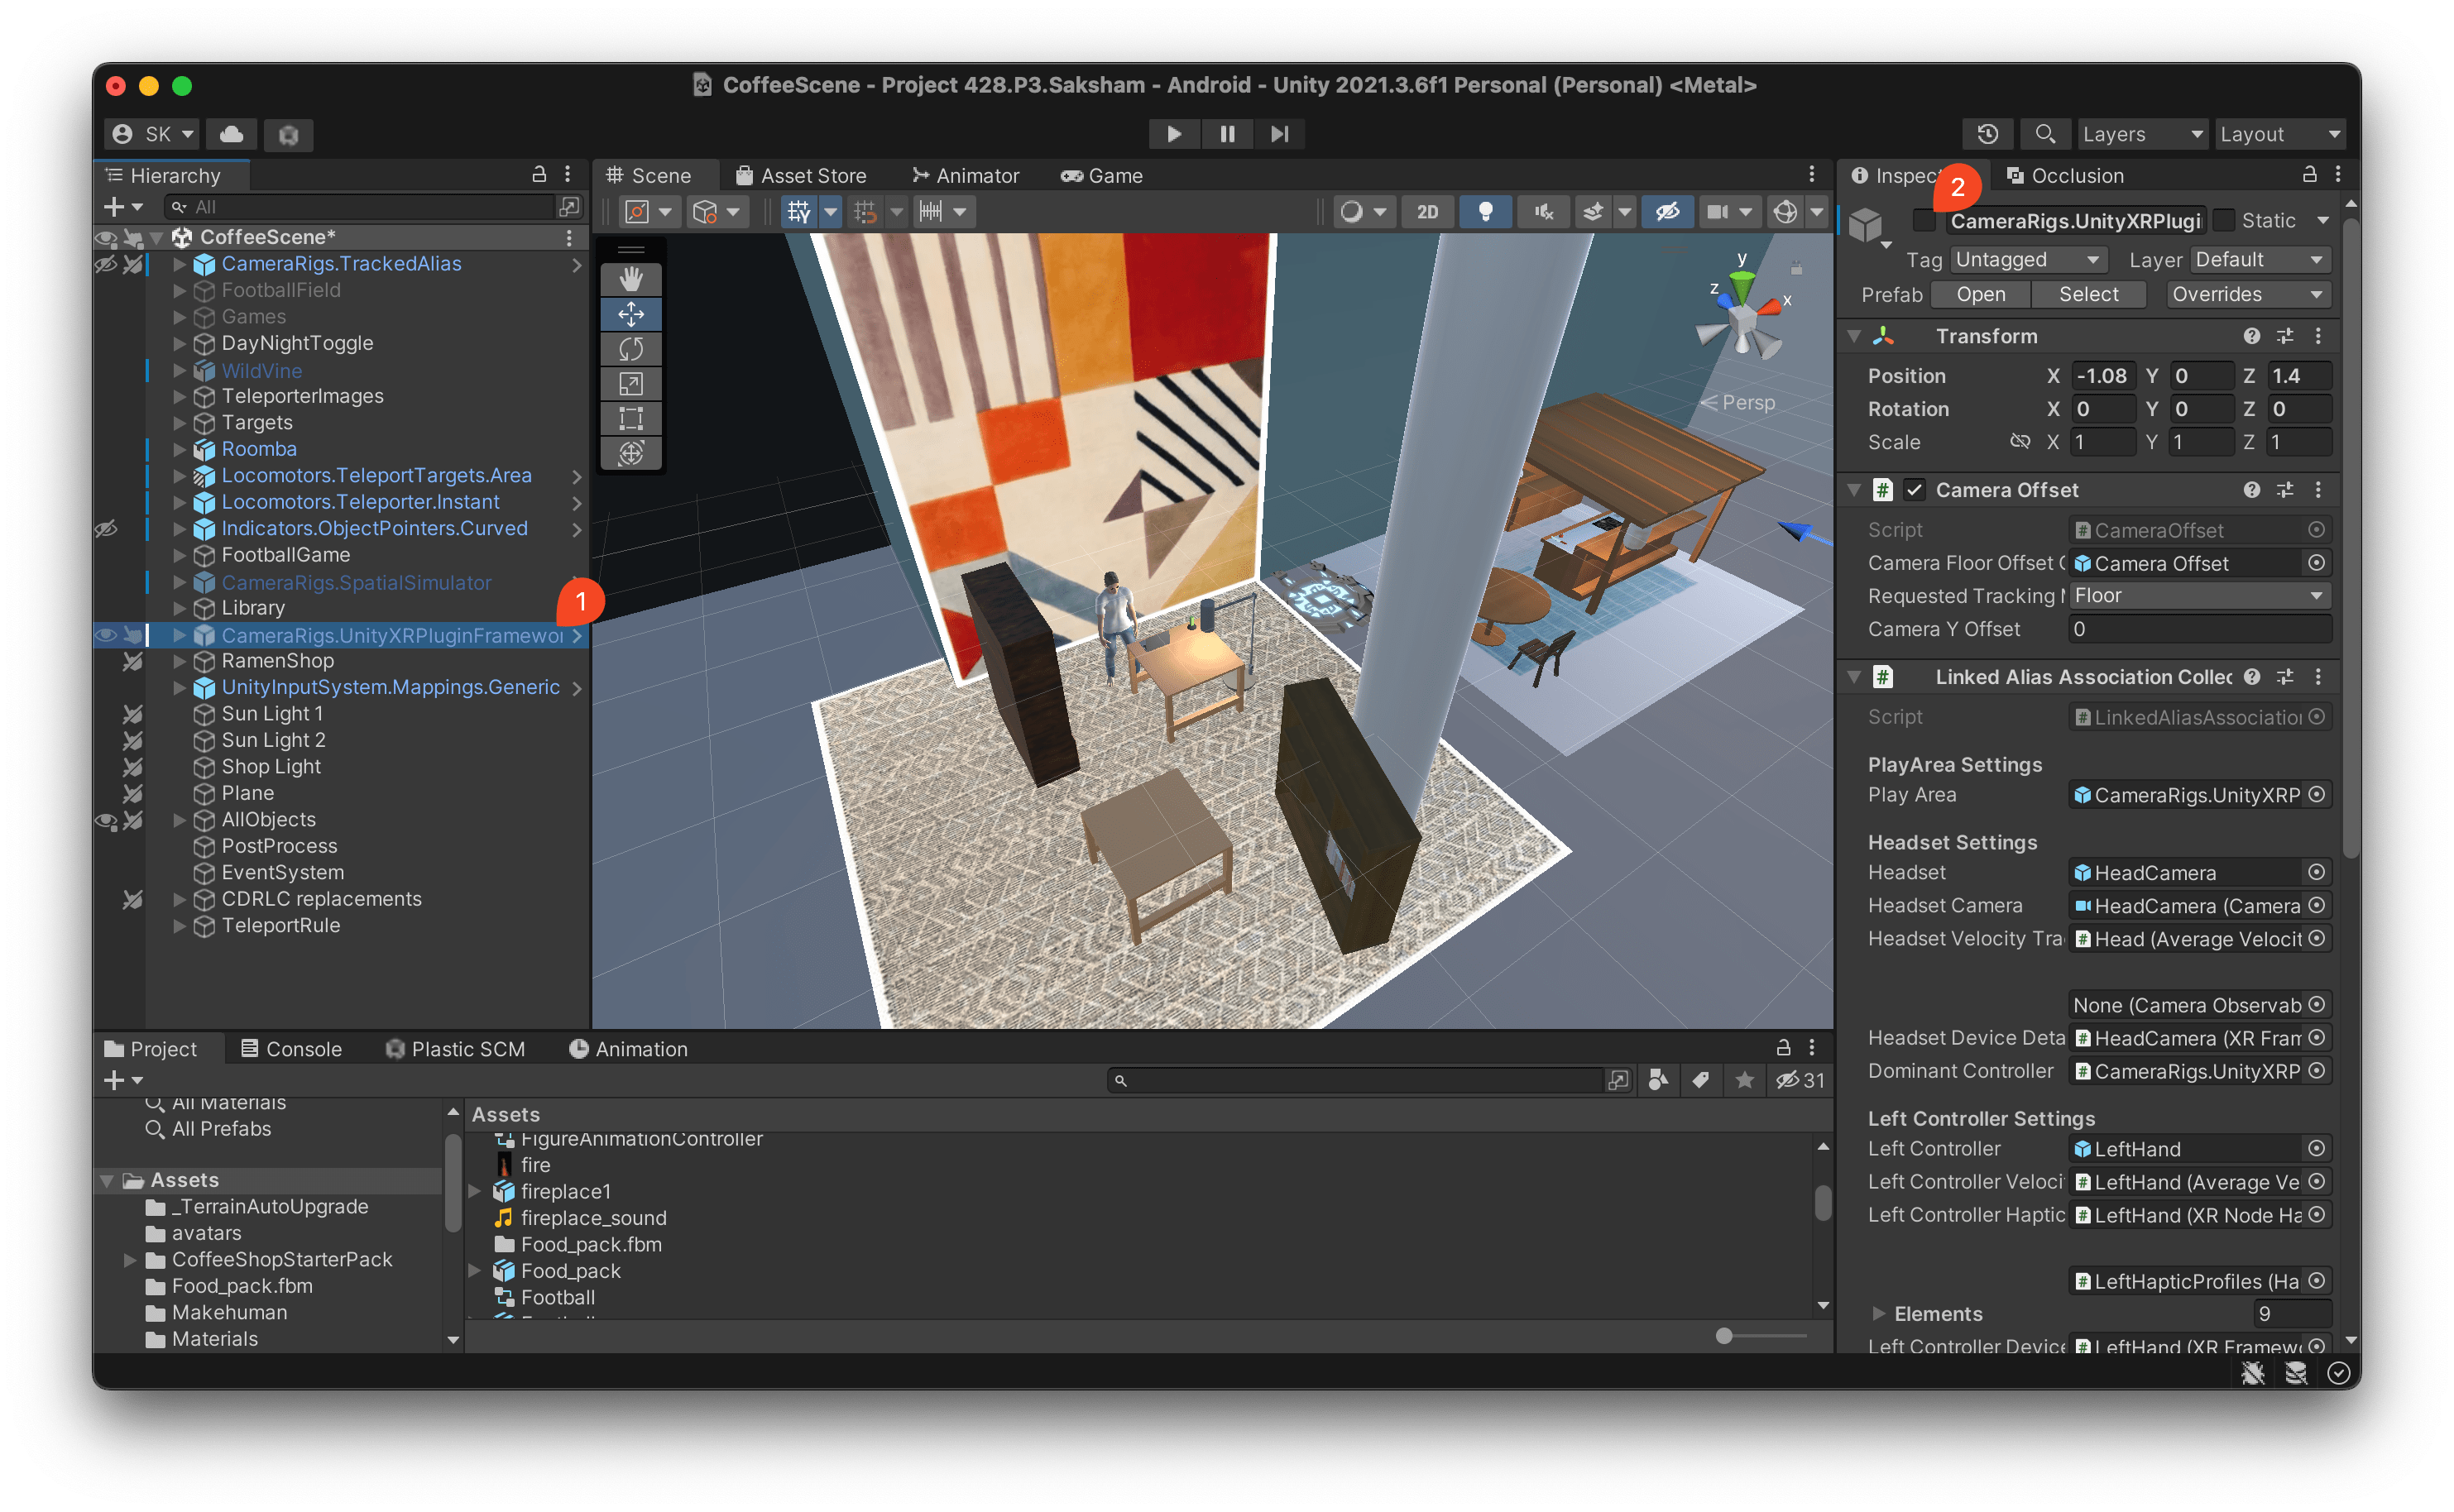
- Next, click on CameraRigs.UnityXRPluginFramework and click on the same box to check it.
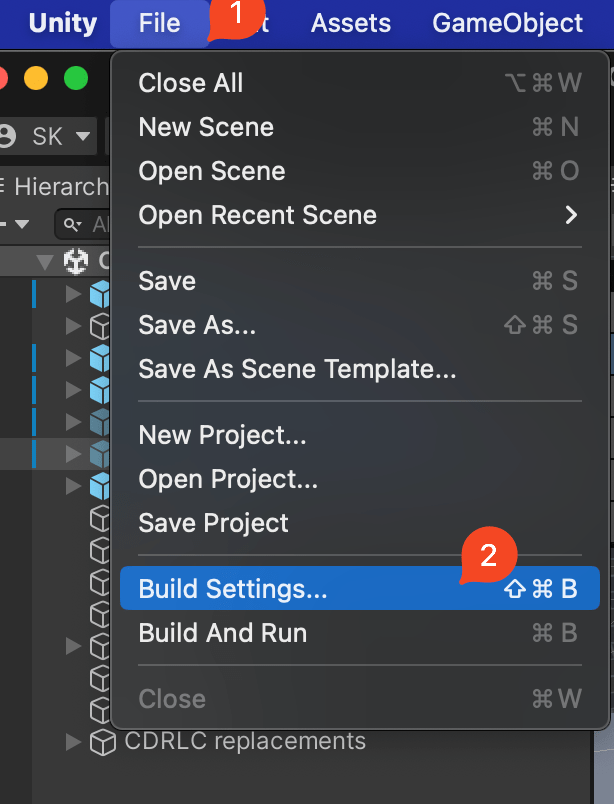
- Now, click on the File Menu and click on Build Settings.
- Click on Android on the bottom left and then click on Switch Platform on the bottom right. This process will take a few minutes.
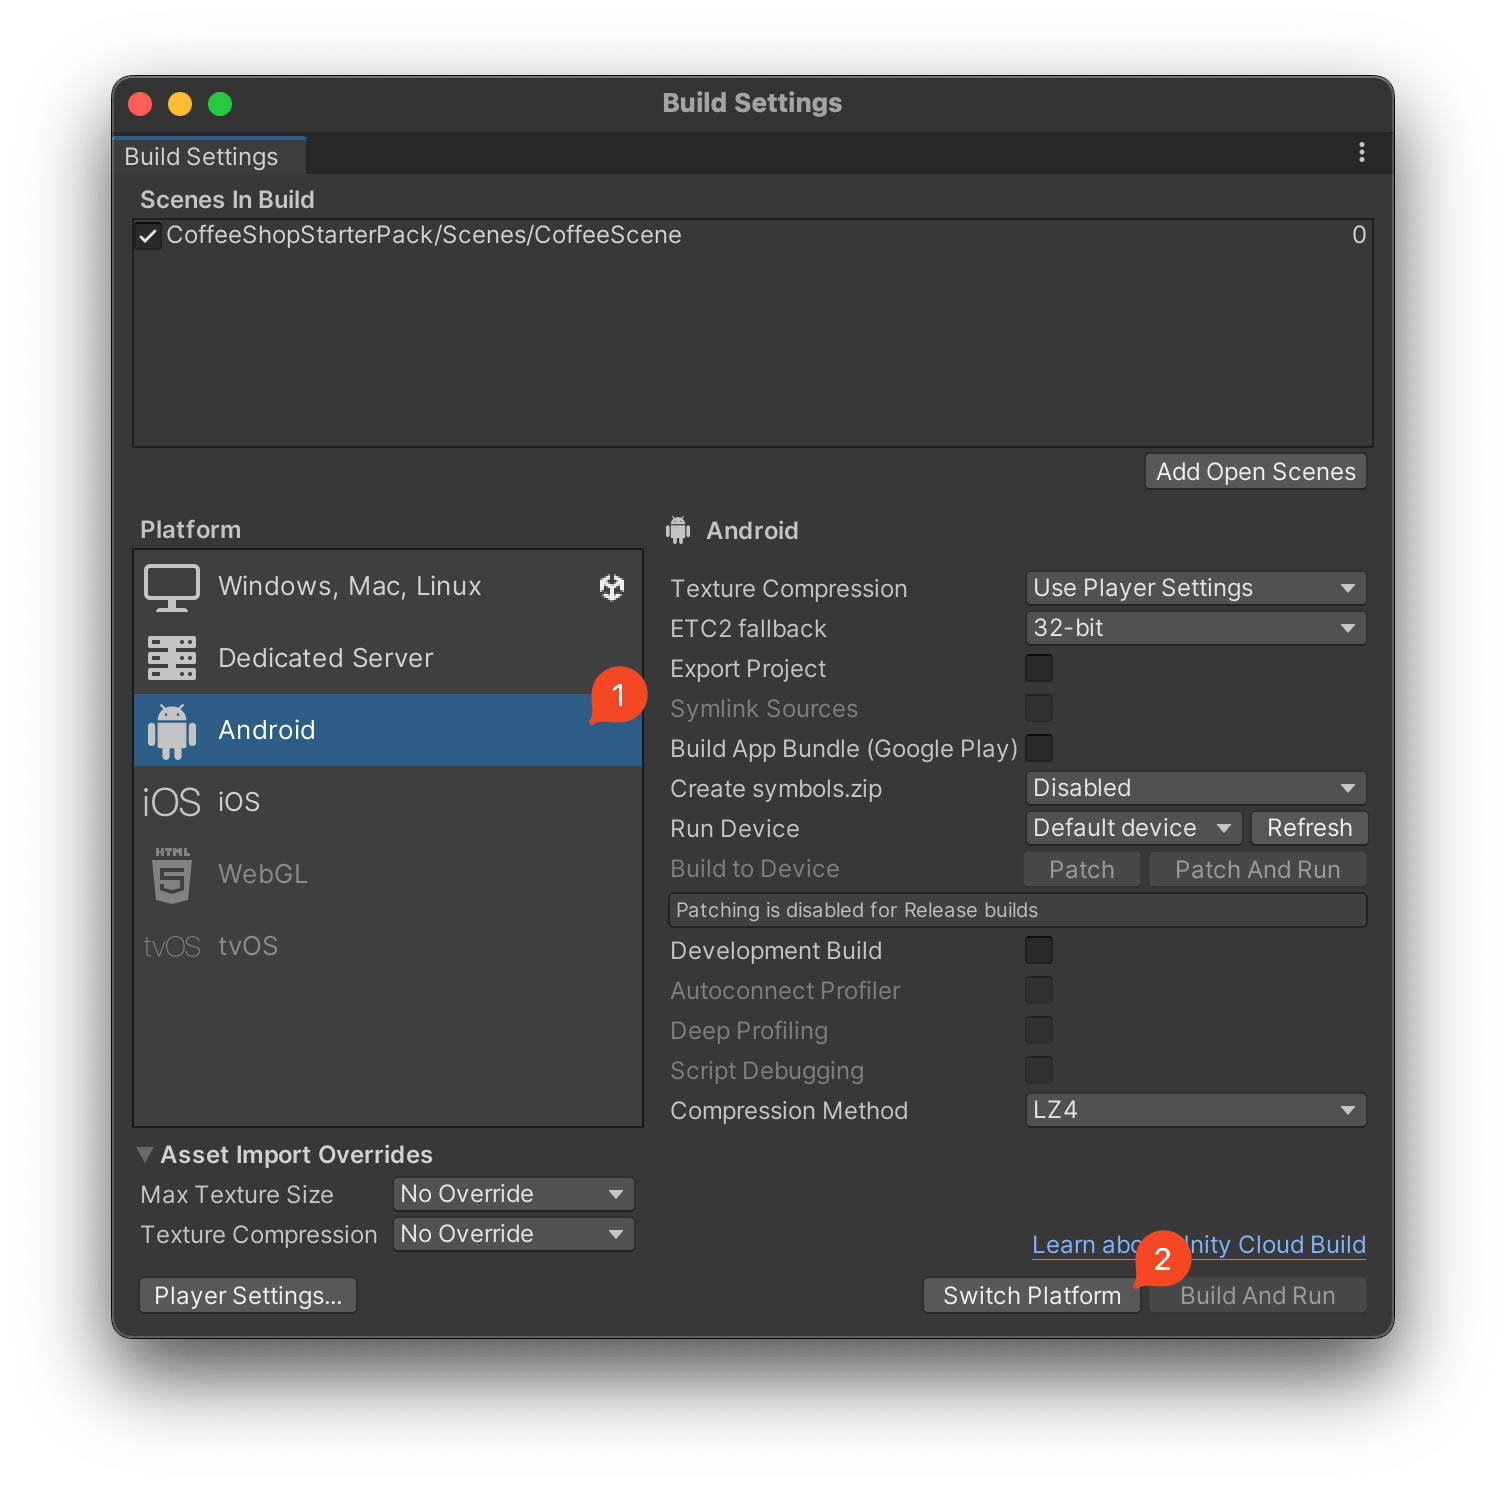
- Until then, turn on your headset and connect your headset to the computer. If the headset displays a pop saying “Allow Access to Data”, click Allow and make sure USB Debugging is enabled in the Developer Menu in Settings.
- Now, after you’re project has switched to Android, close Unity and relaunch the project. Next, head to the same Build Settings section, and now in the Device dropdown, you should see your headset. Click on it and then click Build And Run on the bottom right. Unity will ask you to create an apk file. Name the apk whatever you want and save it anywhere you want.
Your headset should now start running the application.
Features and Citations
Project specifications
This project satisfies all the project requirements.
The project includes
- 17 unique models from the web.
- This project also includes 5 models created by me.
- This project includes 6 interactable objects with appropriate physics & colliders. I'm listing them here and they're described in more detail below. Every one of these objects is smaller than a person.
- Popcorn
- Notebook
- Remote
- Table Tennis racquet
- A different table tennis racquet
- Laptop
- It includes 3 light sources (lamp1, lamp2 & lamp3) which are described in more detail below.
- 2 object generators, one for popcorn and the other for notebooks
- 3 animated models i.e. wildvine, football, pool table
- 7 different flat models
- library's rug
- library's wall art
- library's poster
- ramen shop's rug
- stairs & first floor's rug
- football rug for the theatre
- teleporter image
- 2 models that are larger than a person
- wildvine
- bookshelf 1
- One 3d model that moves through the scene on its own (roomba)
- One particle system - fire in the theatre
- One functional lever to switch the light on/off
- One functional lever to switch between day/night modes. Night mode adds these new models with 4 different audio effects & a light source :-
- ping pong table
- lamp 3
- pool table
- wild vine
- football field
- one main audio source which plays the song Please calm by mind
- Ability to transport through 3 interesting locations using floating buttons (explained in the video).
- Proper floor logic to ensure users cannot stand on top of other objects except the floor
- 10 sound effects
- wildvine
- roomba
- laptop
- popcorn generator
- notebook generator
- ping pong table
- pool table
- football field
- fire particle system
- screen
- One makehuman model which says something when the user touched with a controller
All of the above is described in more detail below.
Models
Library
- Ambient Sound
This is the sound that plays in the background. You can download it from https://pixabay.com/music/beautiful-plays-please-calm-my-mind-125566/ - Wall Art - https://www.wayfair.com/AllModern--Tripoli-HandTufted-Wool-IvoryOrangeBlue-Area-Rug-X115837866-L167-K~W004726755.html?refid=GX496881892491-W004726755_1043865585&device=c&ptid=1173860271340&network=g&targetid=pla-1173860271340&channel=GooglePLA&ireid=163887802&fdid=1817&PiID%5B%5D=1043865585&gclid=EAIaIQobChMI_bLaq6q--wIVRINbCh0ypgfeEAQYASABEgKXOfD_BwE
This is the wall art that is used in the library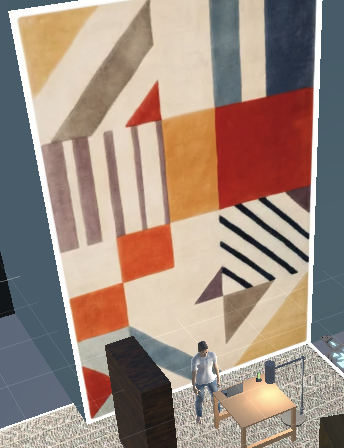
- Poster
This is the poster that appears opposite to the library, right beneath the stairs. You can download it from https://www.epbot.com/2019/06/my-self-hate-battle-plan.html.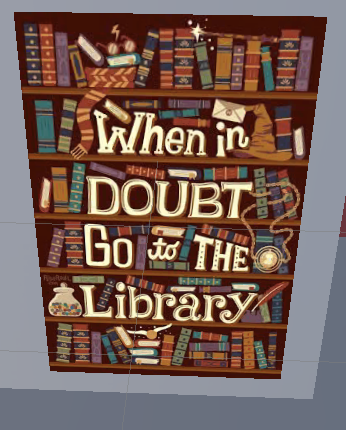
- Makehuman
This human model was built using Makehuman and animated using Mixamo. This model speaks something when you touch it with the controller.
- Laptop
This laptop object is interactable and can be downloaded from https://sketchfab.com/3d-models/laptop-7d870e900889481395b4a575b9fa8c3e. It also has an audio source attached to it which plays the typing sound. You can download the audio from https://pixabay.com/sound-effects/typing-6458/.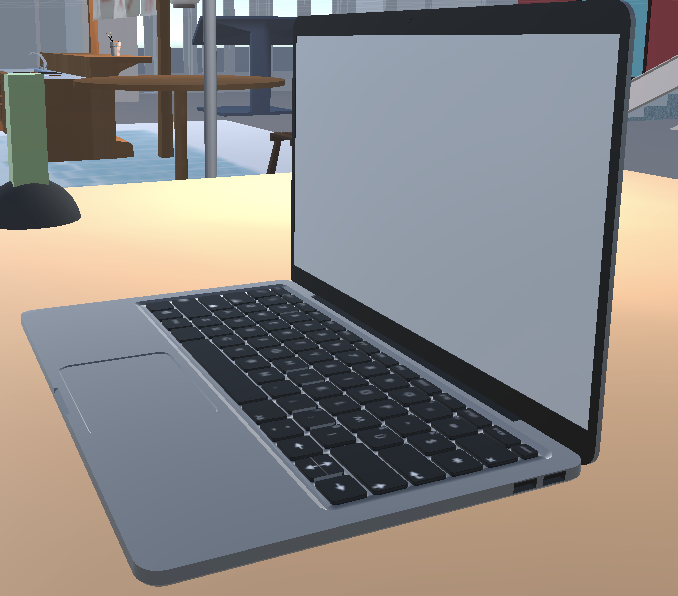
- Lamp
This lamp has a light source inside of it which can be triggered using the lever. You can download this model from https://sketchfab.com/3d-models/work-lamp-863e9aeae4ce45038db72b028ee90ffe.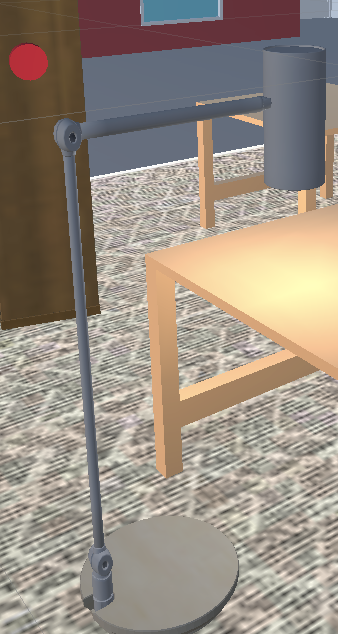
- Rug
This is the rug used in the library. It can be downloaded from https://rugandhome.com/products/ingrid-ing-2000-black-neutral-rug?variant=31869083287633&epik=dj0yJnU9WlJPdDhnakFlaV9aUFBEalA2NndySGJ3SExfa1FkZVAmcD0wJm49UG92WGlRNjhOVVhqcHV3cThocmN0ZyZ0PUFBQUFBR09GWEhv&utm_source=pinterest&utm_medium=social.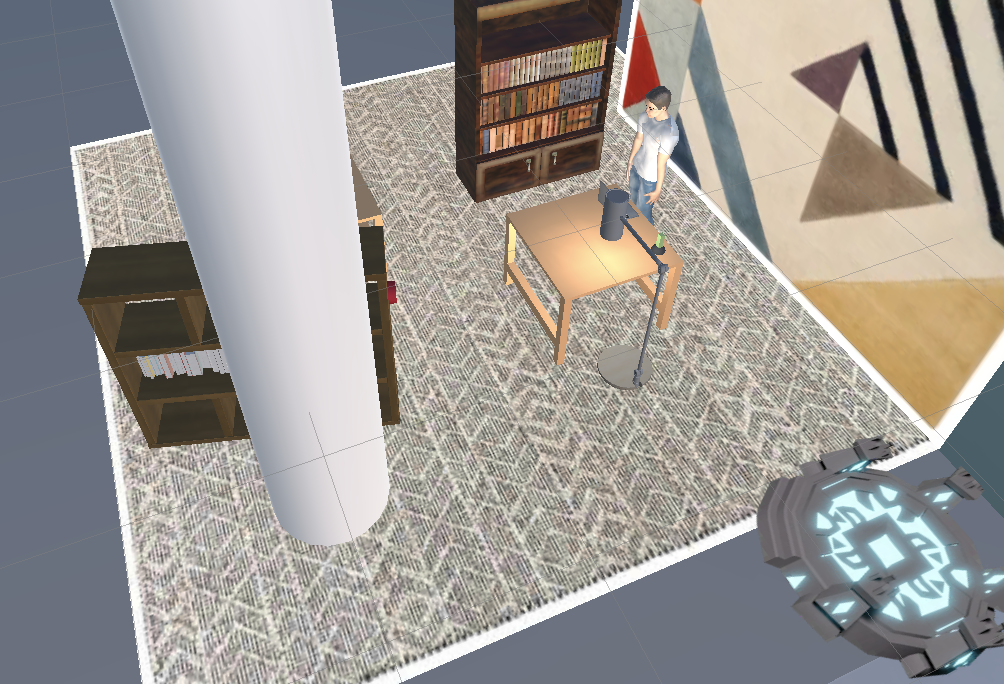
- Bookshelf 1
This is the first bookshelf used in the library. It can be downloaded from https://sketchfab.com/3d-models/books-cabinet-1aec9a9fbc9e490d9431afb98c89e062.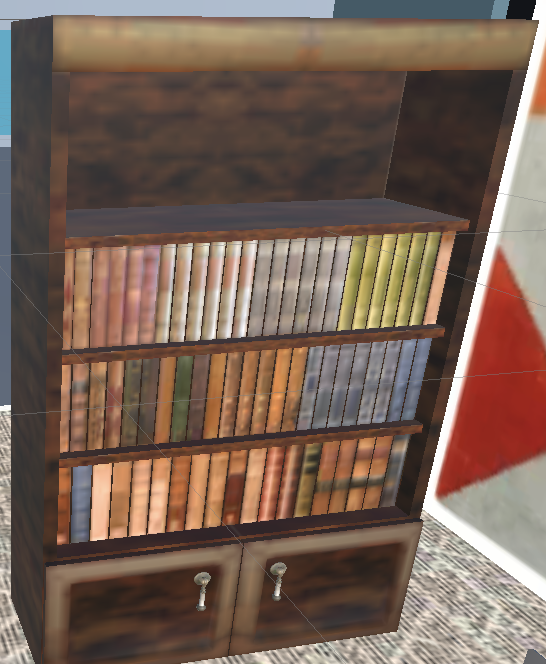
- Bookshelf 2
This is the second bookshelf used in the library. It can be downloaded from https://sketchfab.com/3d-models/dlx-book-shelfmanhattan-beach-f8ce190335134b20b57bbe4bea07e3ec. It has a button attached to it which can be used to create notebooks which appear in the bookshelf. When the button is pressed, an audio effect is played which can be downloaded from https://pixabay.com/sound-effects/laser-printer-31914/.
- Books
These are the books kept in bookshelf 2. They can be downloaded from https://sketchfab.com/3d-models/variety-of-books-9ecd80af3b7e4cd59efb4c141511a55b.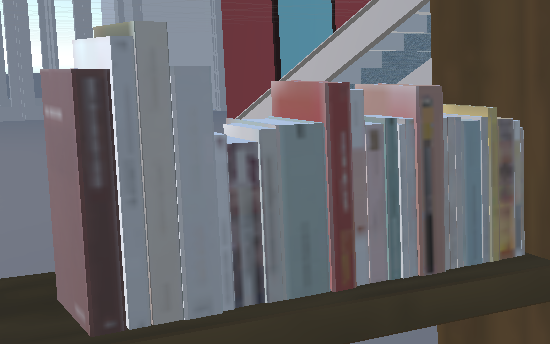
- Study Table
This is the study table used to put the laptop and it also contains the lever to switch the light source on/off. This model was built by me.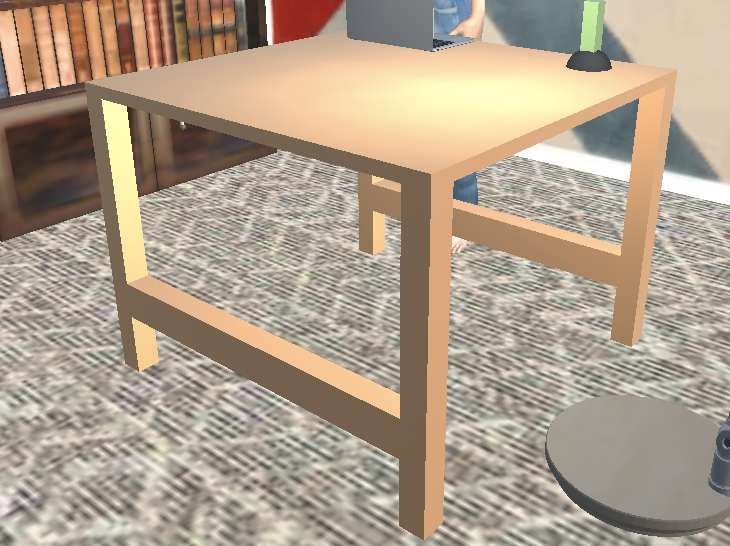
- Notebook
Initially zero, the user can press the red button on bookshelf 2 to generate as many notebooks as he/she wants. You can download the model from https://sketchfab.com/3d-models/notebook-prototype-70568782312a4729a2b8b03fc1a9ee0f#download.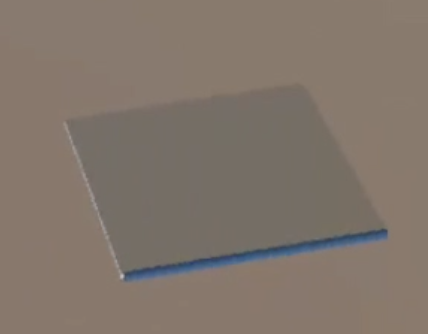
Theatre
- Rug
This is the football rug that is used in the Theatre. You can download it fromhttps://www.ebay.co.uk/itm/264607163996?norover=1&siteid=3&mkevt=1&mkcid=16&chn=psoc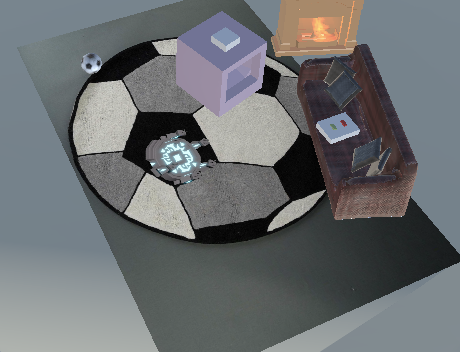
- Lamps
These are lamps used under the screen. There are two of them. They have light sources in them.https://sketchfab.com/3d-models/scifi-light-11-ba0baa5f0f514726ae81436674eddac1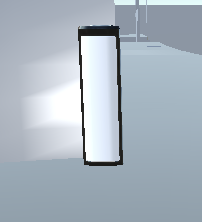
- Screen
This is the screen used for the theatre. This model was made by me. A video is overlayed on top of it which can be downloaded from https://www.youtube.com/watch?v=Q_A_FP2F7T0.It also outputs audio from the video.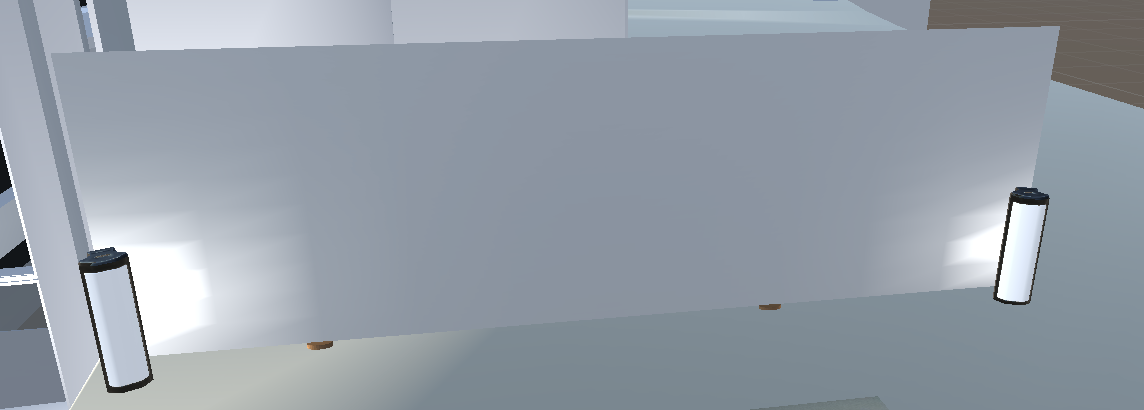
- Remote
This is the remote used to control the video. It has two buttons (green for playing the video and red for stopping the video). It is an interactable object. This model was made by me.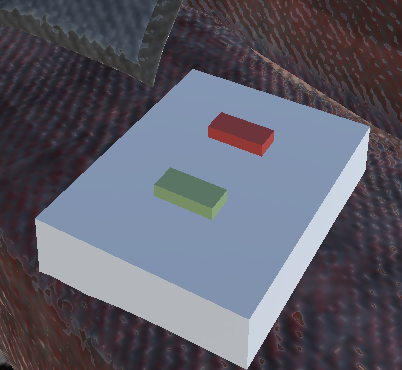
- Couch
This is the couch used for the theatre. It can be downloaded from https://sketchfab.com/3d-models/couch-f7654b3f336249d8bb6ae12503e6b543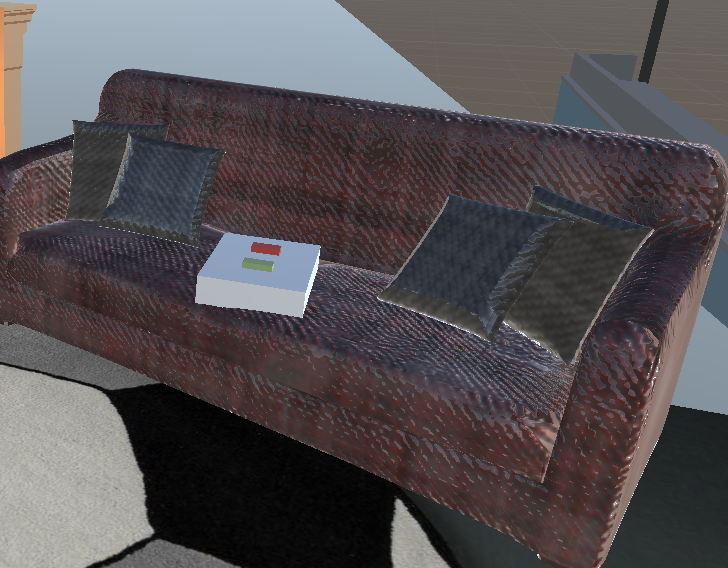
- Fireplace
This fireplace can be downloaded fromhttps://sketchfab.com/3d-models/fireplace-50edaa5b47ad4261adb912e348b40470 . It also includes a particle system to create the fire. The Material of the fire was created using an image which can be downloaded from https://www.shutterstock.com/image-photo/small-orange-fire-455898052. It also plays a fire audio effect which can be downloaded from https://pixabay.com/sound-effects/campfire-crackling-fireplace-sound-119594/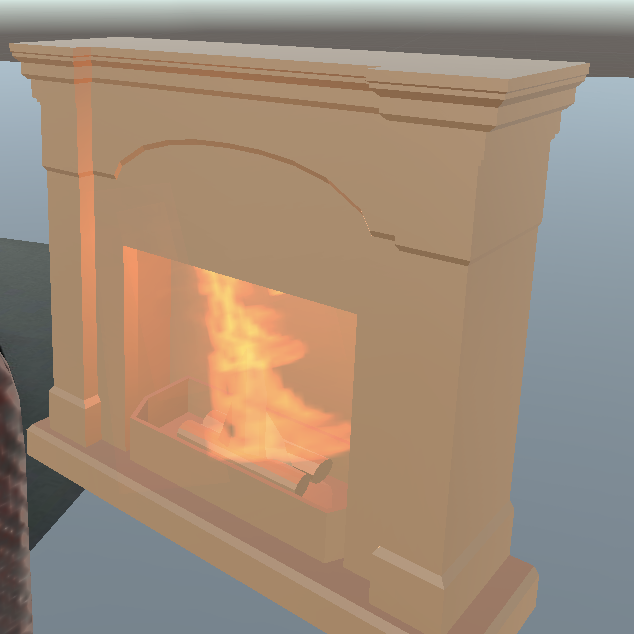
- Football
This football is animated. It can be downloaded fromhttps://sketchfab.com/3d-models/football-5660a4969d7e4b6f94038ea2ad3cd722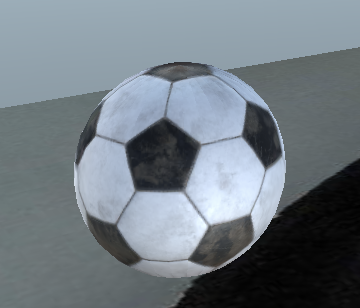
- Popcorn Generator
This can generate popcorn once the button on the top of it is pressed. This model was made by me. After generation, it plays a popcorn sound effect which can be downloaded from https://pixabay.com/sound-effects/popcorn-43046/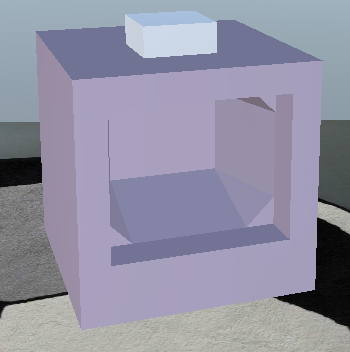
- Popcorn
This model will be generated by the Popcorn Generator. It can be downloaded from https://sketchfab.com/3d-models/popcorn-tub-cinema-movie-prop-bb08a069f19a455c886c4787af4d11fe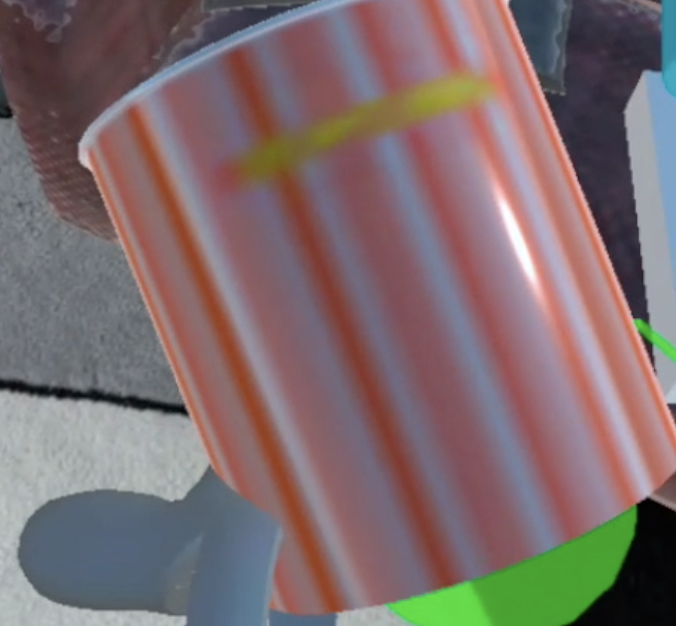
Games
- Ping Pong Table
This model can be downloaded from https://sketchfab.com/3d-models/low-poly-ping-pong-table-541b94352ae443be8e2bfb9de0e80865. It includes 3 interactable objects and also includes an audio source which can be downloaded from https://pixabay.com/sound-effects/r25-10-ping-pong-match-67029/.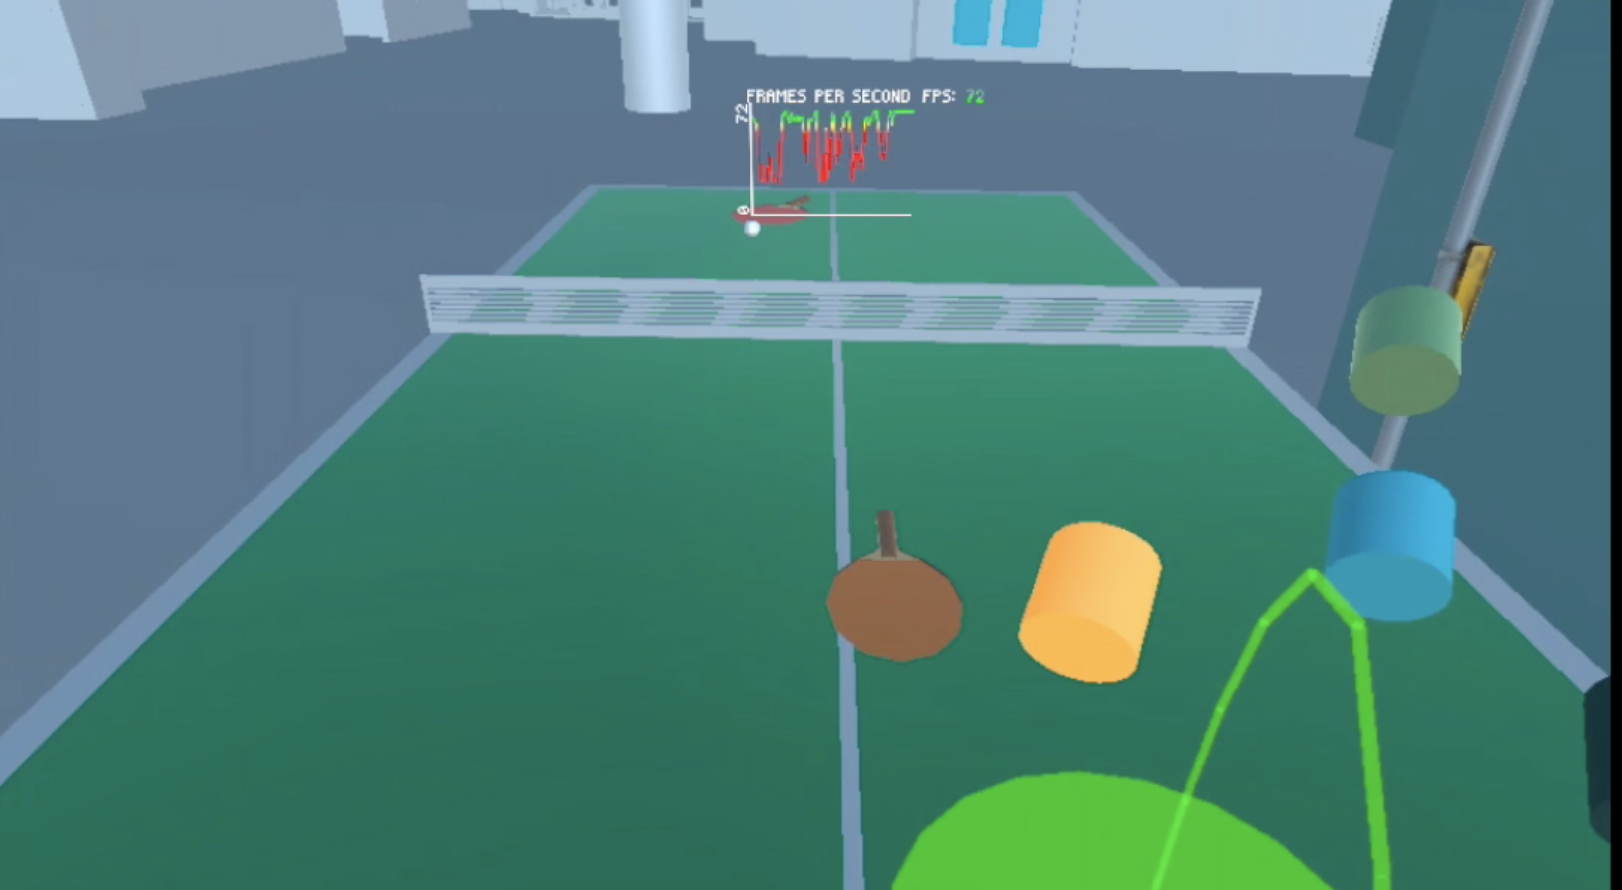
- Pool Table
This model is animated and can be downloaded from https://sketchfab.com/3d-models/pool-table-animation-0f2ae181a2dd4b00a6ec25073692037f. It also includes an audio source which can be downloaded from https://pixabay.com/sound-effects/potting-snooker-balls-102457/.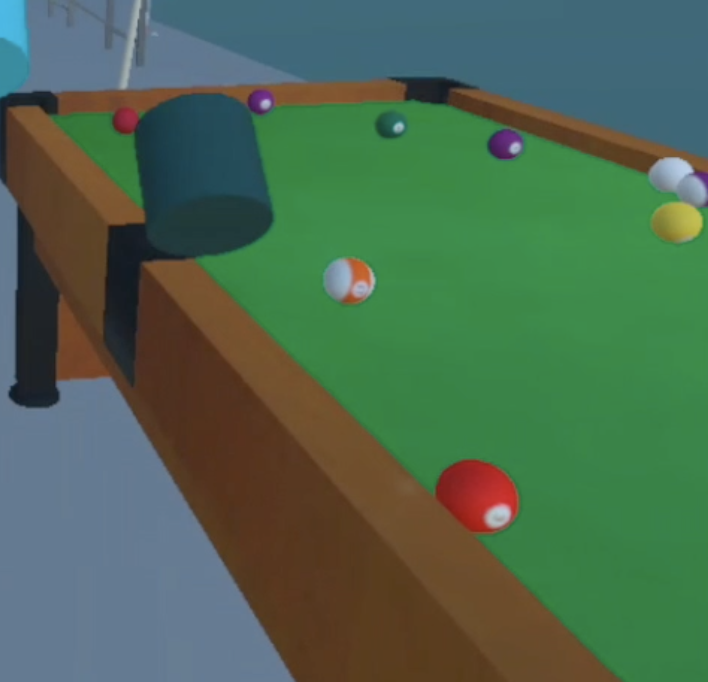
- Football Field
This model can be downloaded from https://sketchfab.com/3d-models/football-field-7575c95832b646f49114ca822959aec2. It also includes an audio source which can be downloaded from https://pixabay.com/sound-effects/crowd-cheer-ii-6263/.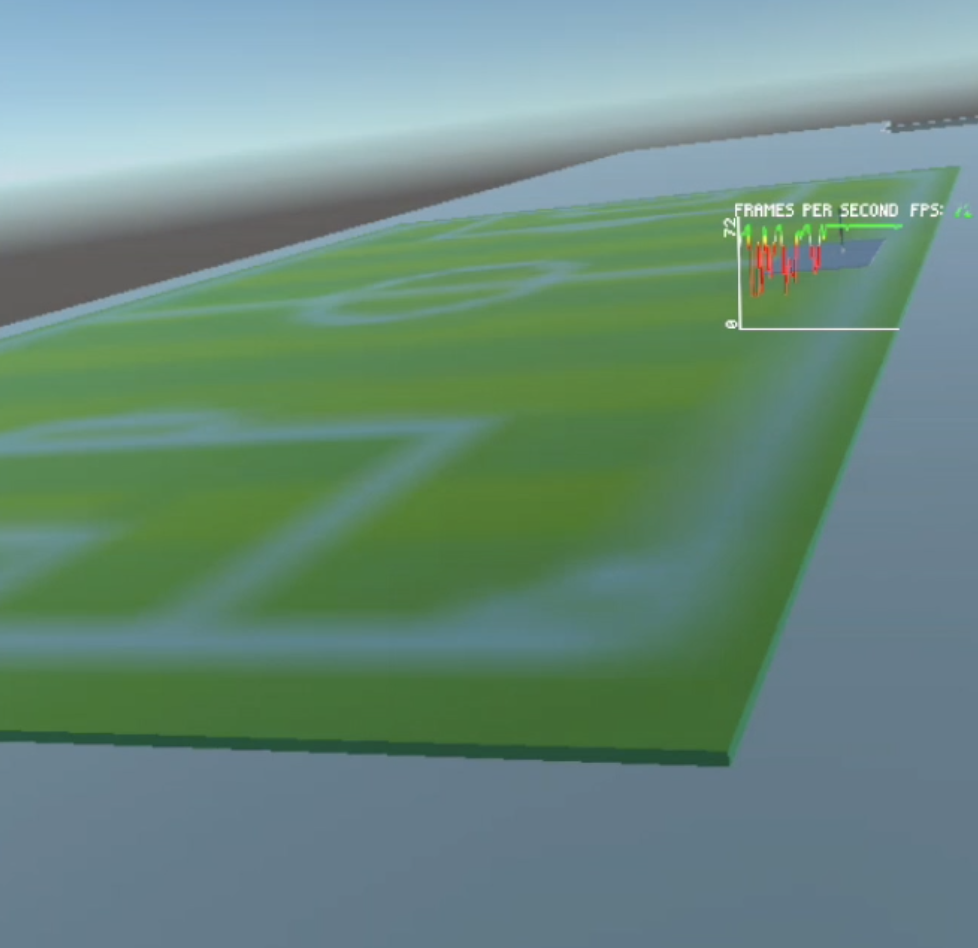
- Lamp 2
This model can be downloaded from https://sketchfab.com/3d-models/street-lamp-9a09a3a47b03435f8d7d329d80e86516. It also includes a light source.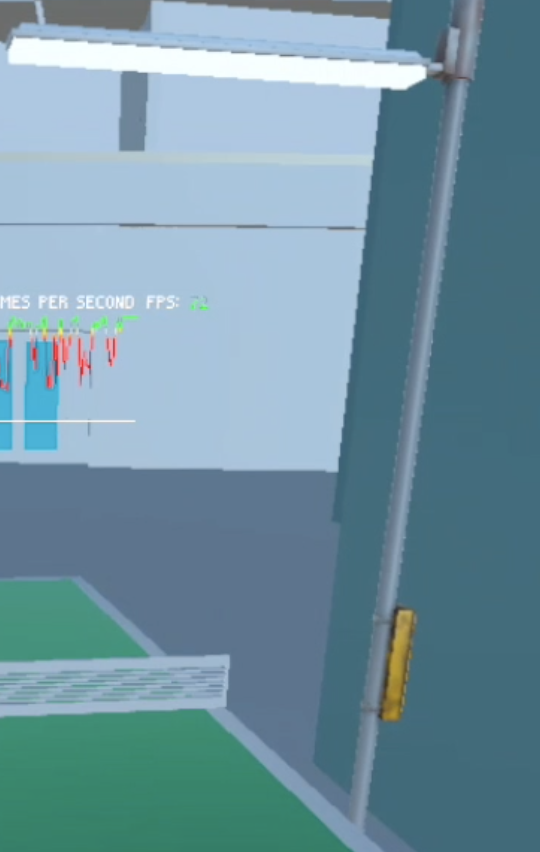
General
- Wild Vine Figurine
This figure is animated and can be downloaded from https://sketchfab.com/3d-models/leif-arborat-game-character-8c0be069b92b48b08bd7d017fb001b55. It also includes an audio source which can be downloaded from https://pixabay.com/sound-effects/crickets-and-frogs-continuous-loop-13163/.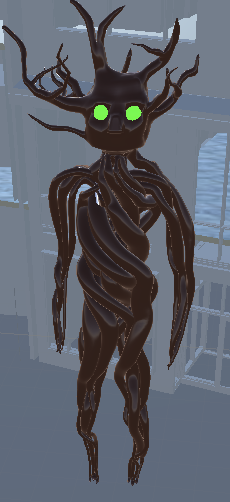
- Roomba
This model moves through the scene on its own and can be downloaded from https://sketchfab.com/3d-models/roomba-94800ce82fe440d3868d53dd908a8836. It also includes an audio source which can be downloaded from https://bigsoundbank.com/detail-1623-robot-vacuum.html.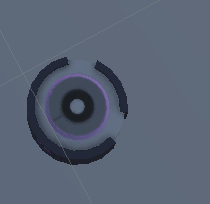
- Day/Night Toggle Platform
This model was created by me. It includes a lever which can switch between day & night modes.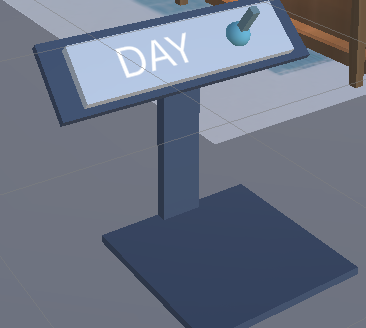
- Rug for Ramen Shop
This image can be downloaded fromhere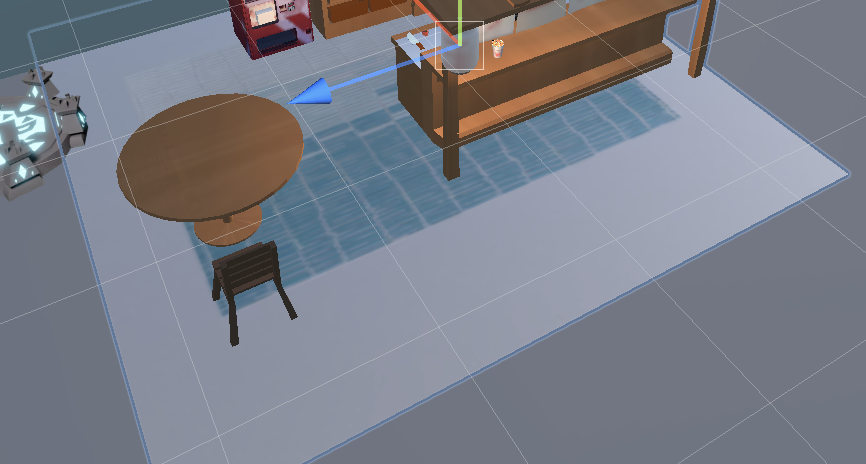
- Rug for Stairs and First Floor
This image can be downloaded from https://www.2modern.com/products/india-patterned-rectangular-contemporary-area-rug-beige?variant=25633333385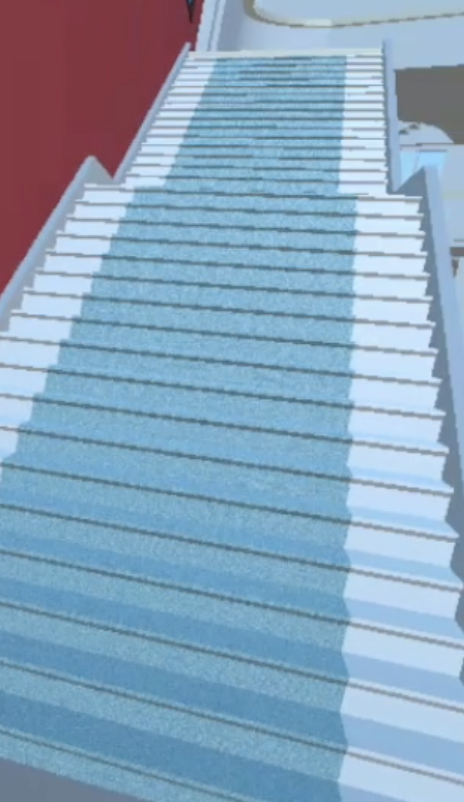
- Teleporter image
This image can be downloaded from https://www.google.com/url?sa=i&url=https%3A%2F%2Frobloxislands.fandom.com%2Fwiki%2FTeleporter_Pad&psig=AOvVaw3WCry_XC4WaCv1-EZ1LS4x&ust=1669776679336000&source=images&cd=vfe&ved=0CAwQjRxqFwoTCPCEl4Sx0vsCFQAAAAAdAAAAABAD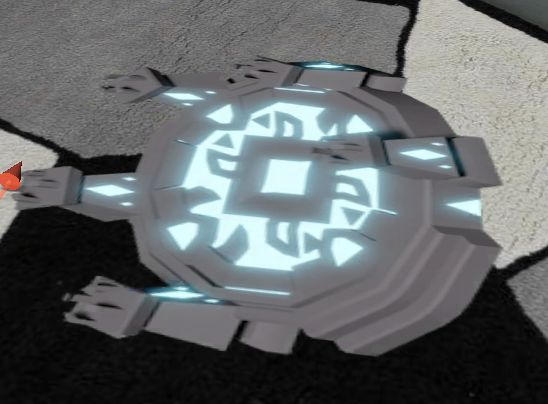
Video
You can view the project video here
Screenshots and Frame Rate Discussion
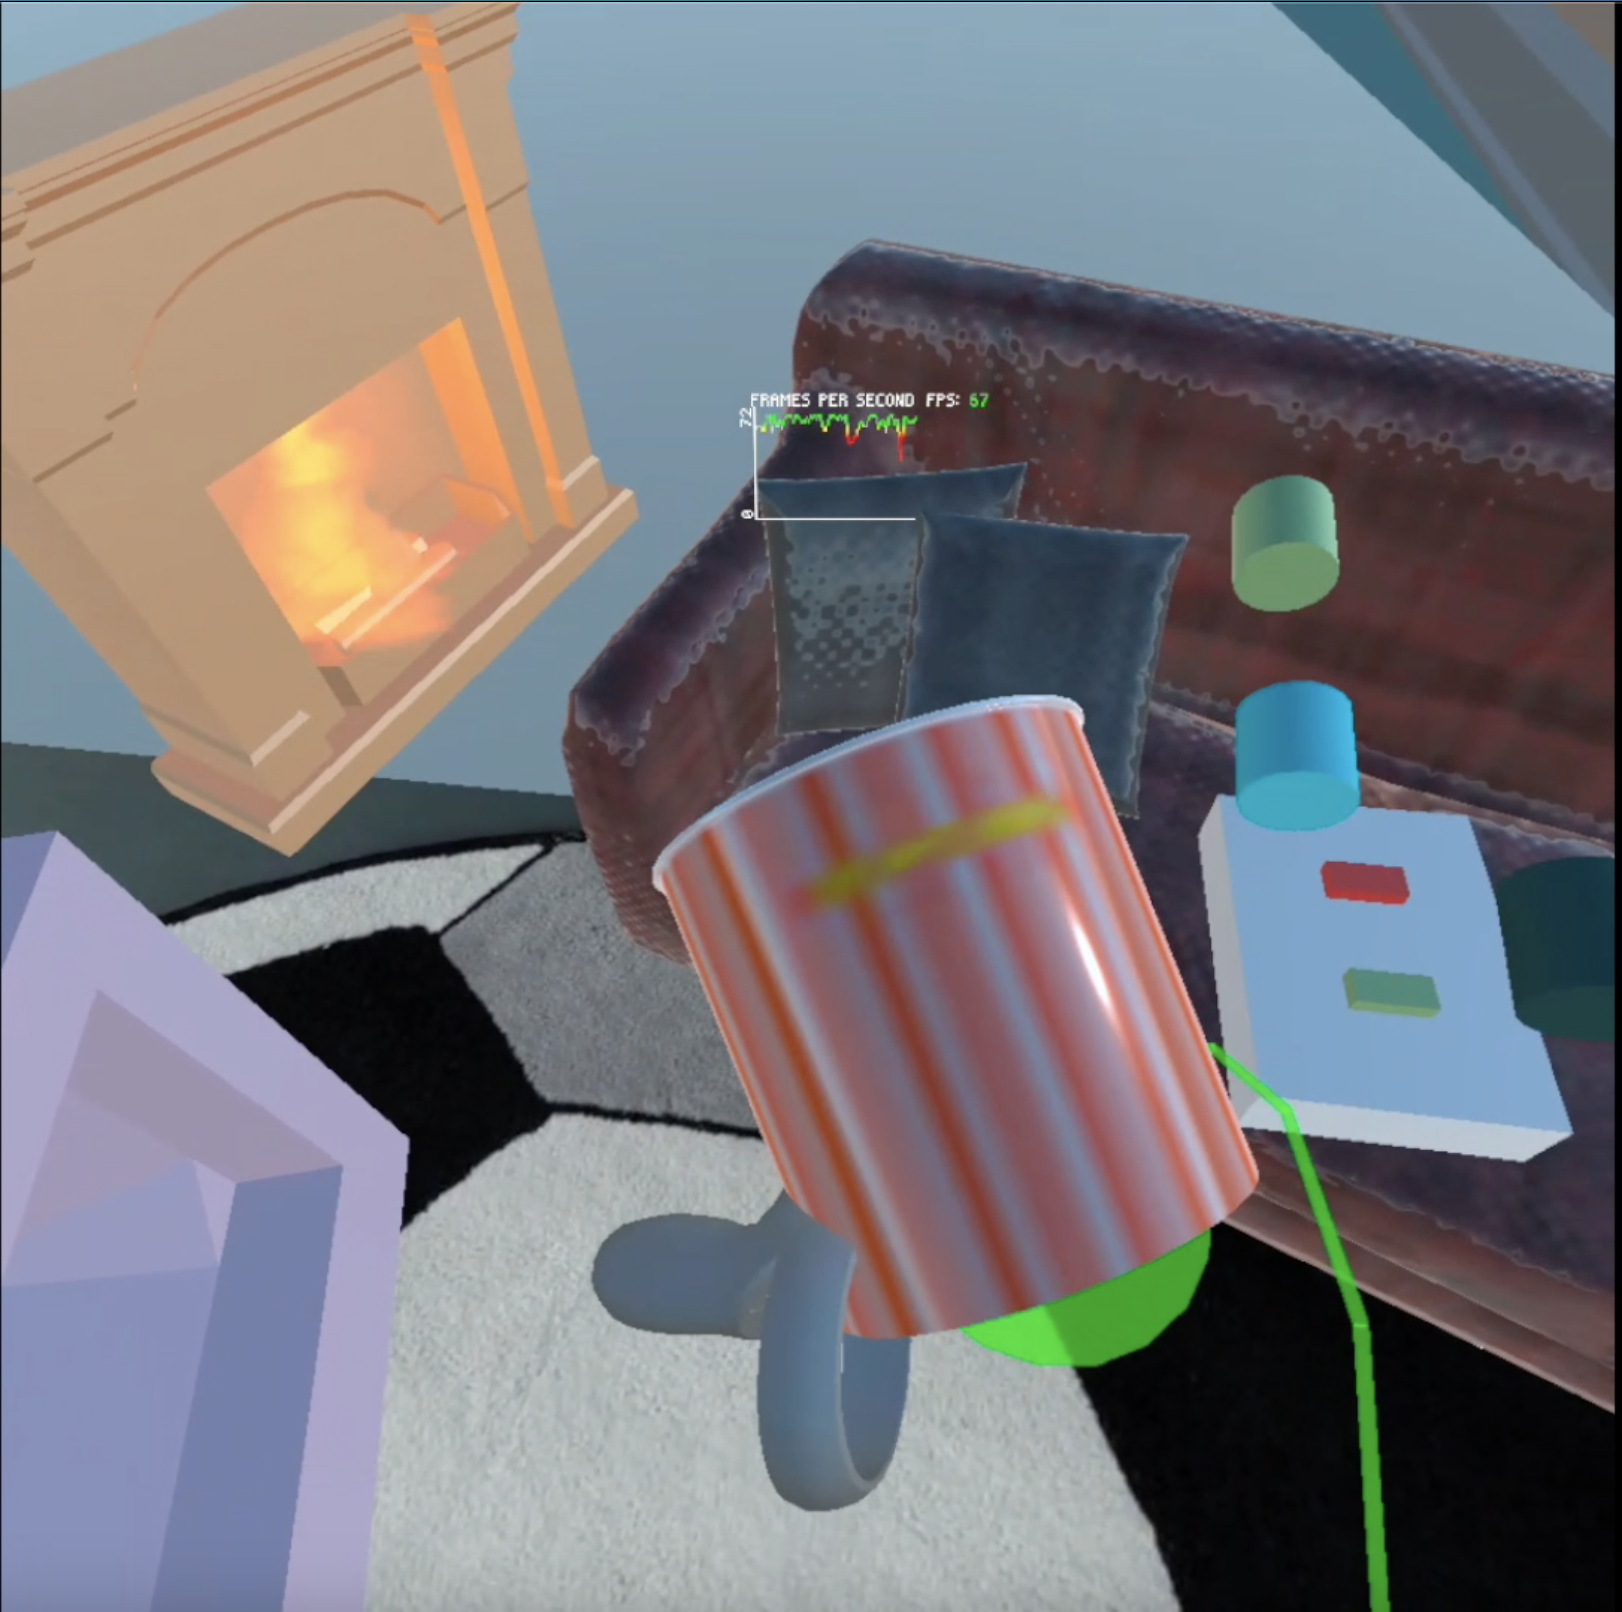
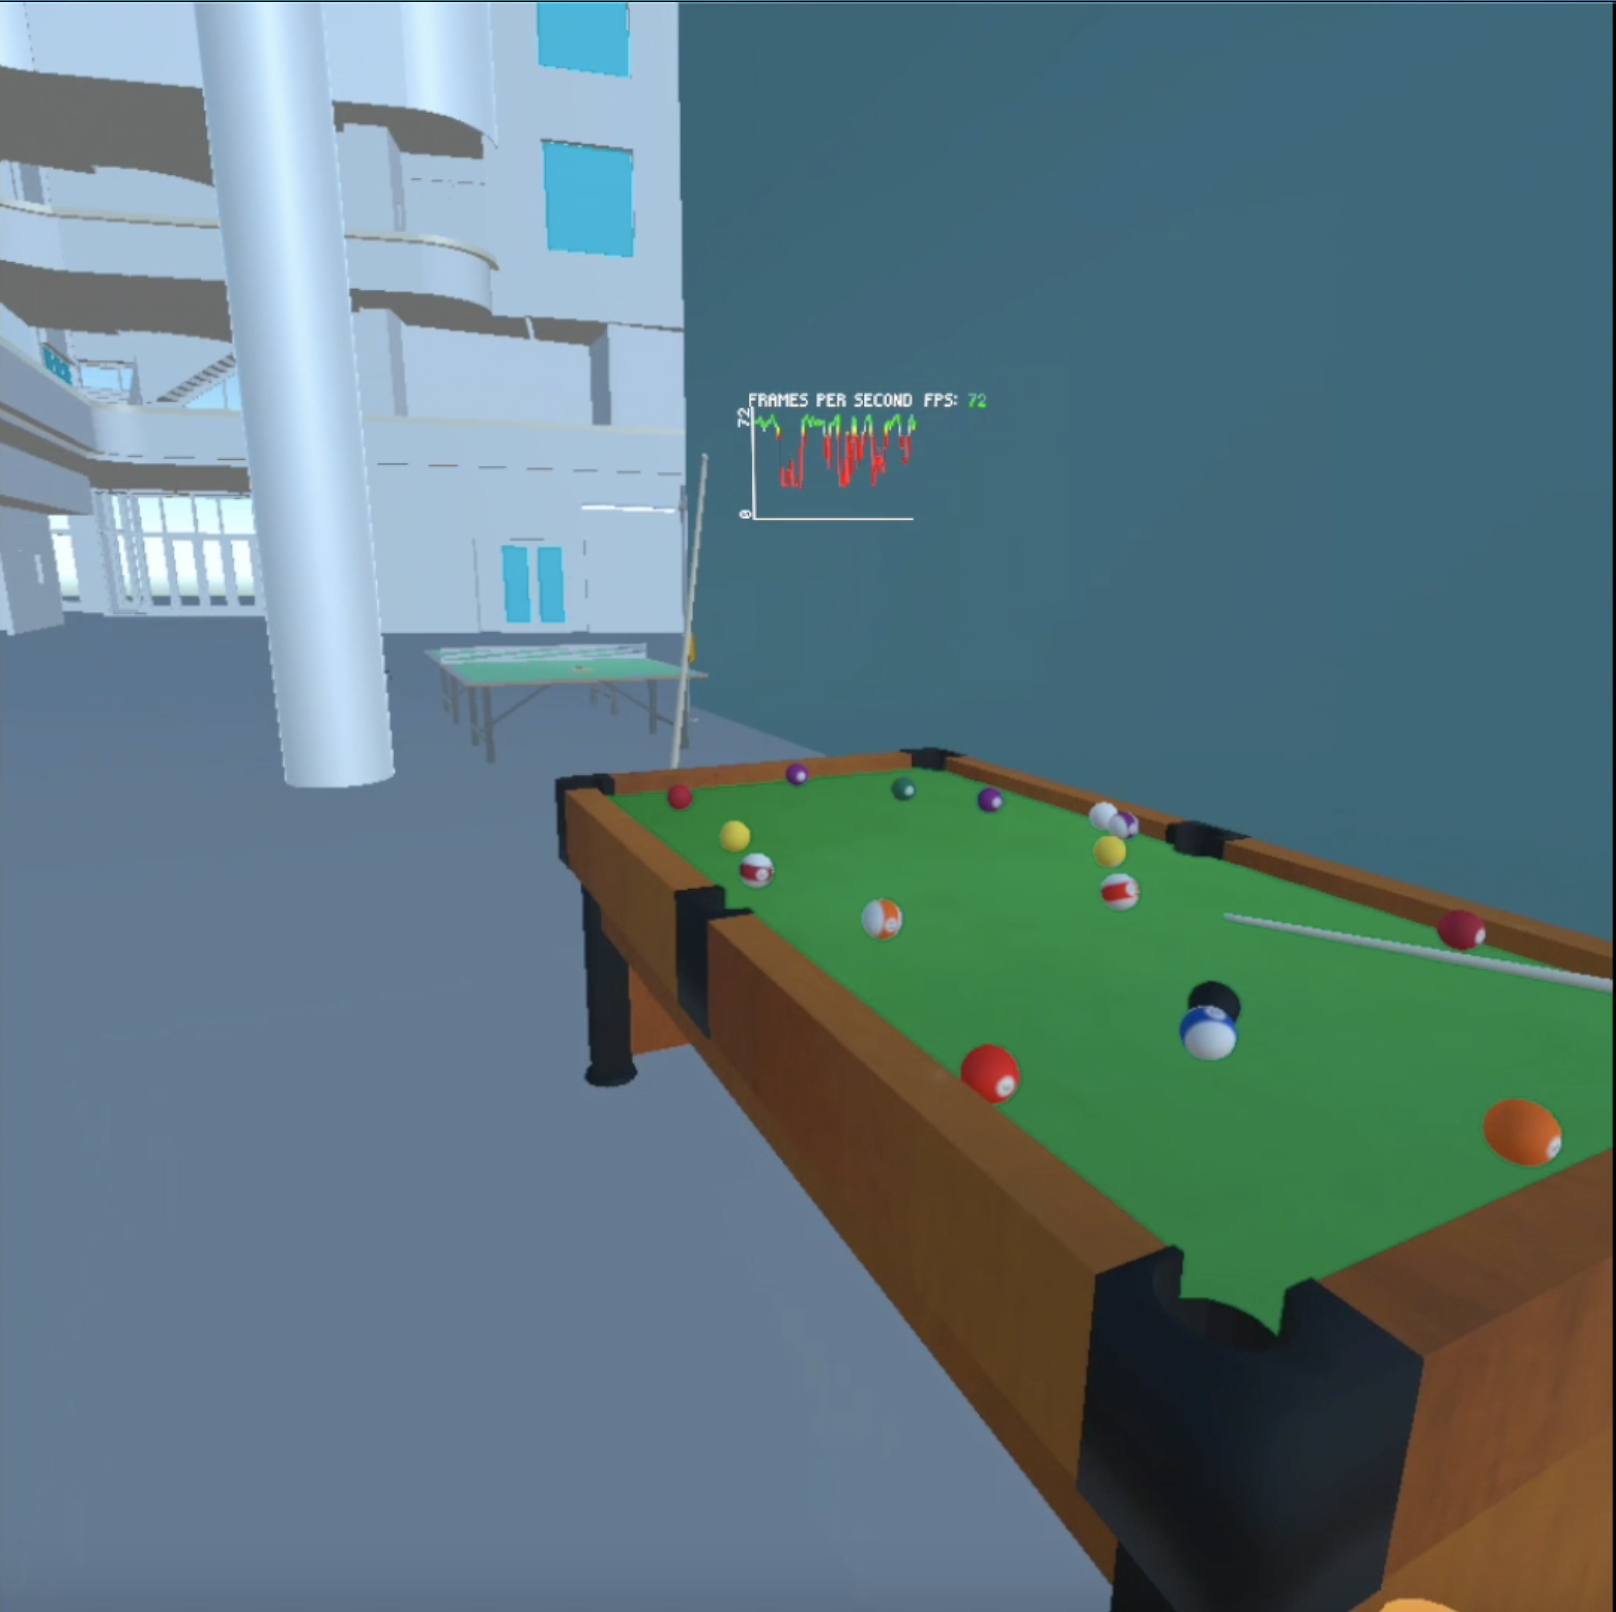
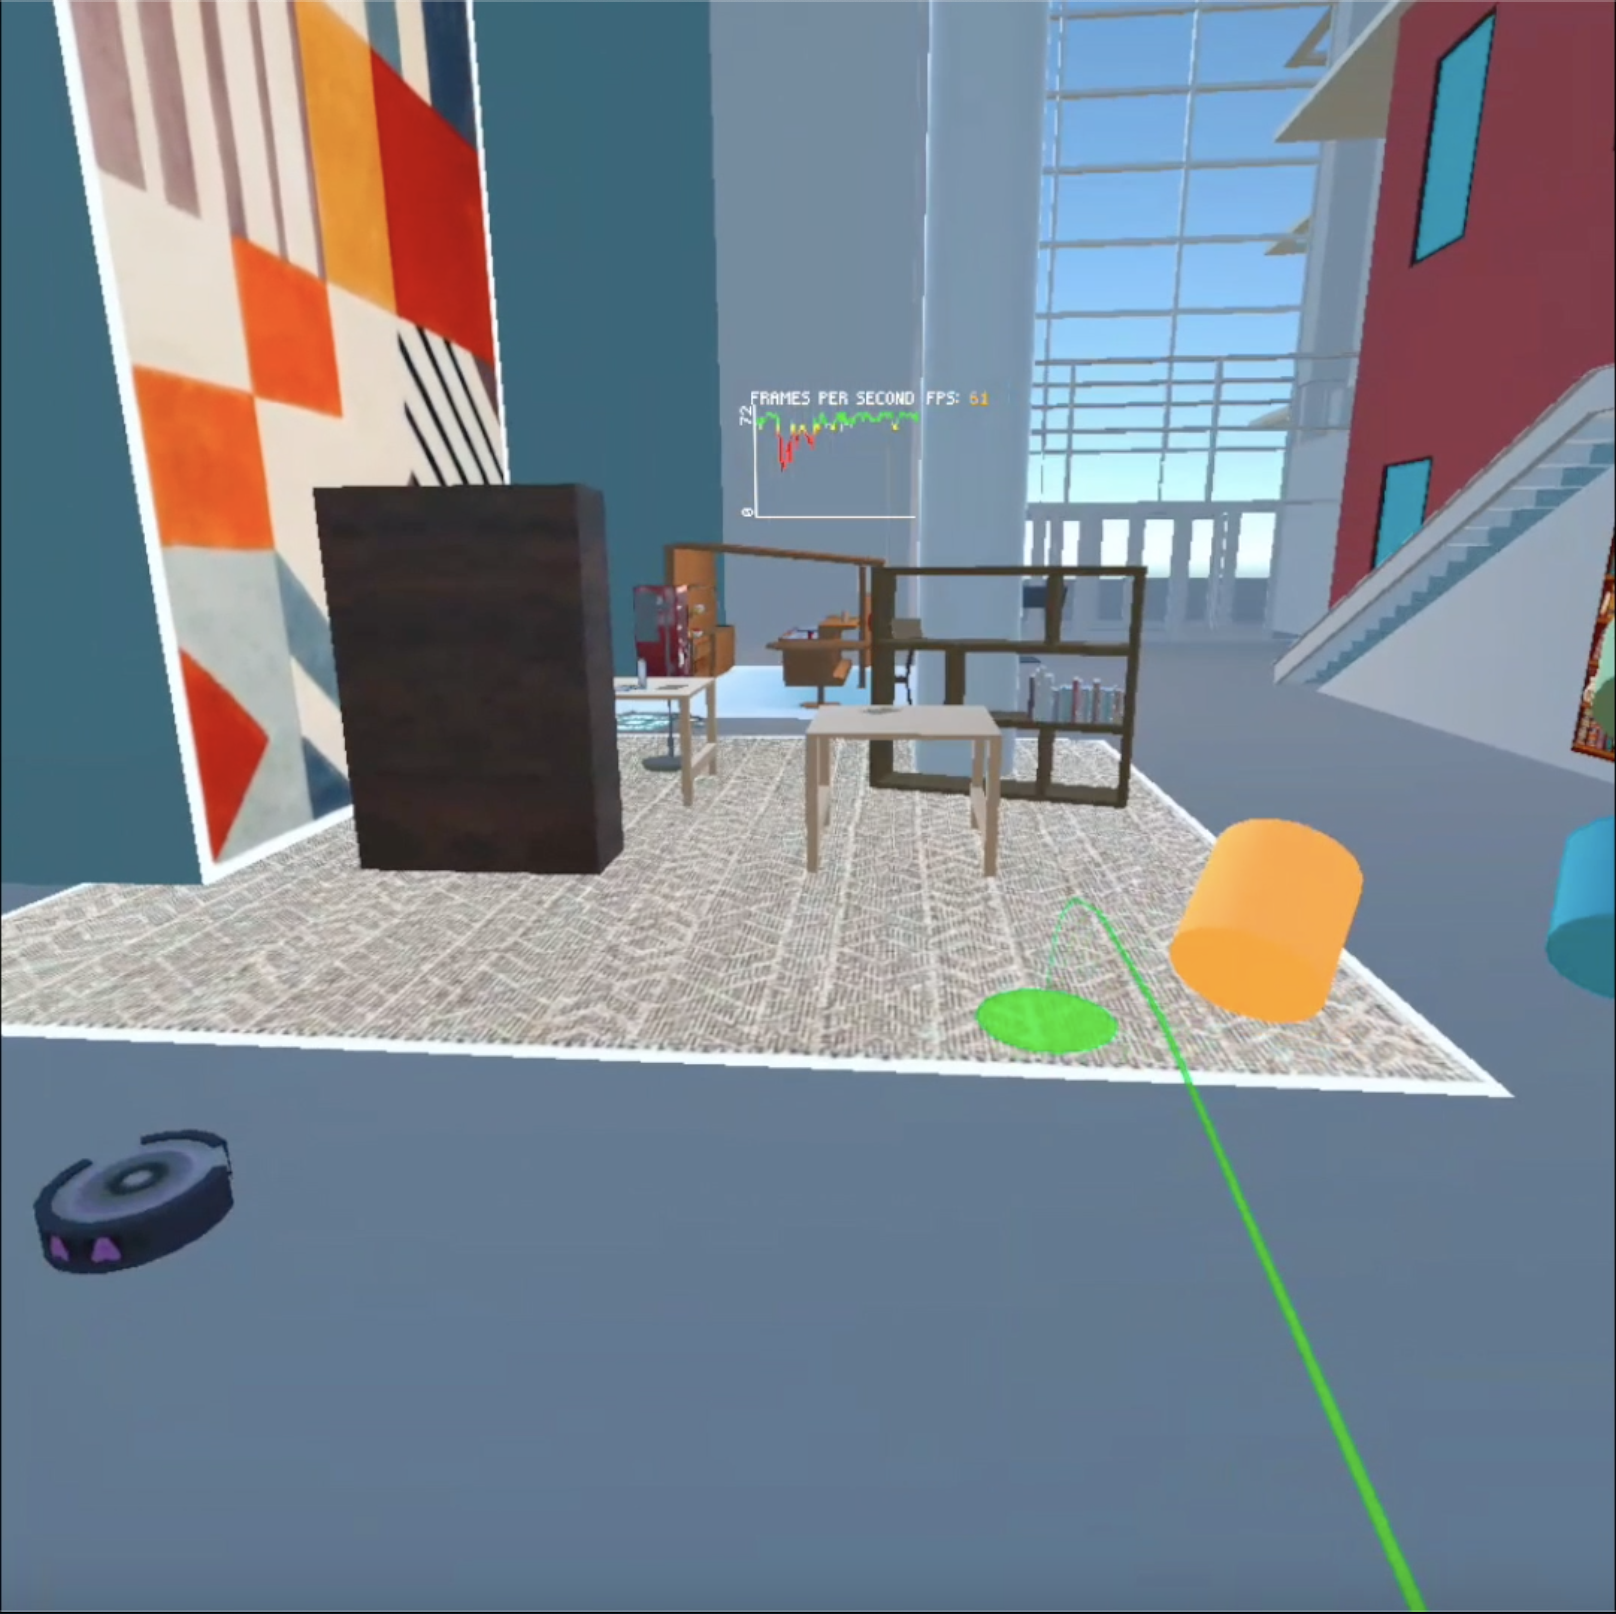
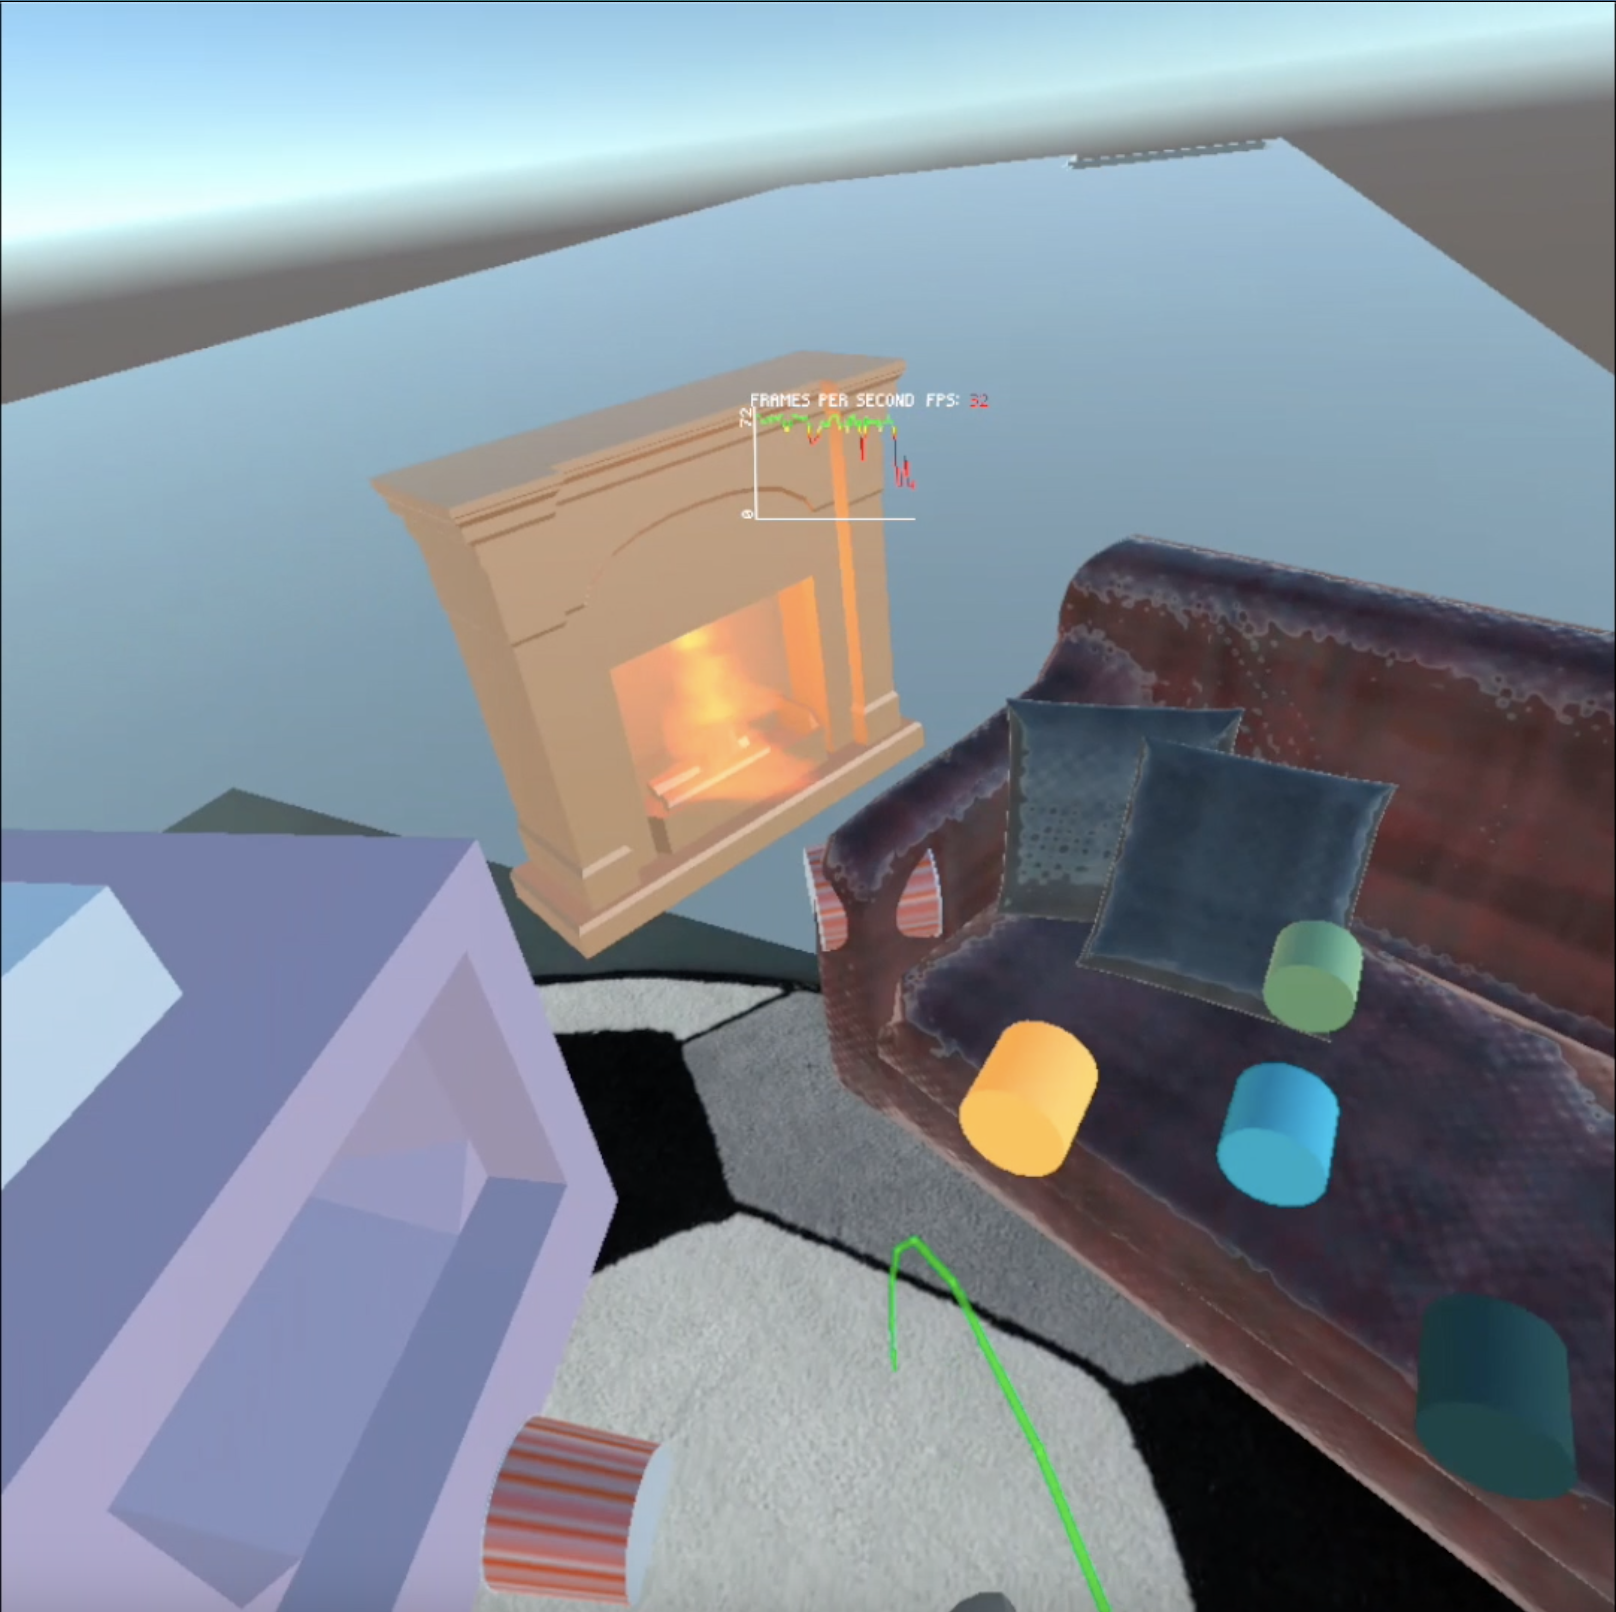
The App was tested on an Oculus Quest 1. The App oscillates from low 30s (31-32 fps) to as high as 72 fps. The frame rate varies depending on the model visible in the viewport. For e.g. on the ground floor near the library, we can easily obtain fps greater than 60 whereas on the top of the building in the theatre, the frame rate drops to 30 when the screen is active.
Discussion
Designers, for decades, have relied on Computer Assisted Design (CAD) tools for building wireframes of 3D buildings while working on screens that can only display 2d images. With VR, the interior designers, the clients and any stakeholder can walk through the structure exploring every detail before it’s built. There are already several companies for e.g IrisVR, InsiteVR who’ve taken this to the next level by allowing the designers to design in Virtual Reality and allowing them to see their work on an actual 3d canvas. They also allow for simultaneous collaboration with engineers.
Although Augmented Reality can reach much more people thanks to the penetration of smartphones in our world, it lacks the immersive-ness and interactivity that can be provided with Virtual Reality. Allowing anyone on any side of the globe to explore the new CS building as if they’re standing inside of it creates a new level of immersion and allows for much better visualization of the actual building than e.g. looking at pictures of the new campus. Of course, VR is still easily distinguishable from actual reality. It lacks the resolution and some VR headsets struggle in handling slightly complicated models leading to lower frame rates. Even with its shortcomings, VR offers a much better alternative to exploring a 3d space than looking at 2d projections of it on a 2d screen.
Before any CAD file of a building is converted to a VR Application, a few things would need to be changed. Proper Floor Logic would need to be set so that the user stays fixed to the ground. Any object in the CAD file that will be interactable in the real building would need to be coded into the VR Application. This will help simulate a real-life environment. Fortunately, some companies that are already in this space of designing and VR have provided tools to make this super easy. Even if you lack access to these tools, converting a CAD model to a functional VR Application is not that difficult with available VR frameworks like VRTK provided you’re aware of its limitations.
With the proper VR equipment, anyone can be made familiar with the dimensions & the architecture of an architectural project. For people who don’t have experience in working with VR for e.g our parents, they would need some help setting up the headset and launching the application. They would need to be taught about the concept of boundaries in VR to protect users from bumping into objects in the real environment while they’re exploring the virtual one. They would also need to familiarise themselves with teleporting. Since you can’t walk around in the virtual environment beyond the boundaries drawn when you set up the VR headset, exploring 3d models of an under-construction building will only be possible using teleporting. Teleporting would allow them to move from one point to the other in a 3d model instantly. They will also require some instruction on the different buttons on the controllers and their purpose. Once set up, they’ll be able to view any CAD file of a new building as if they’re standing inside it.