Introduction
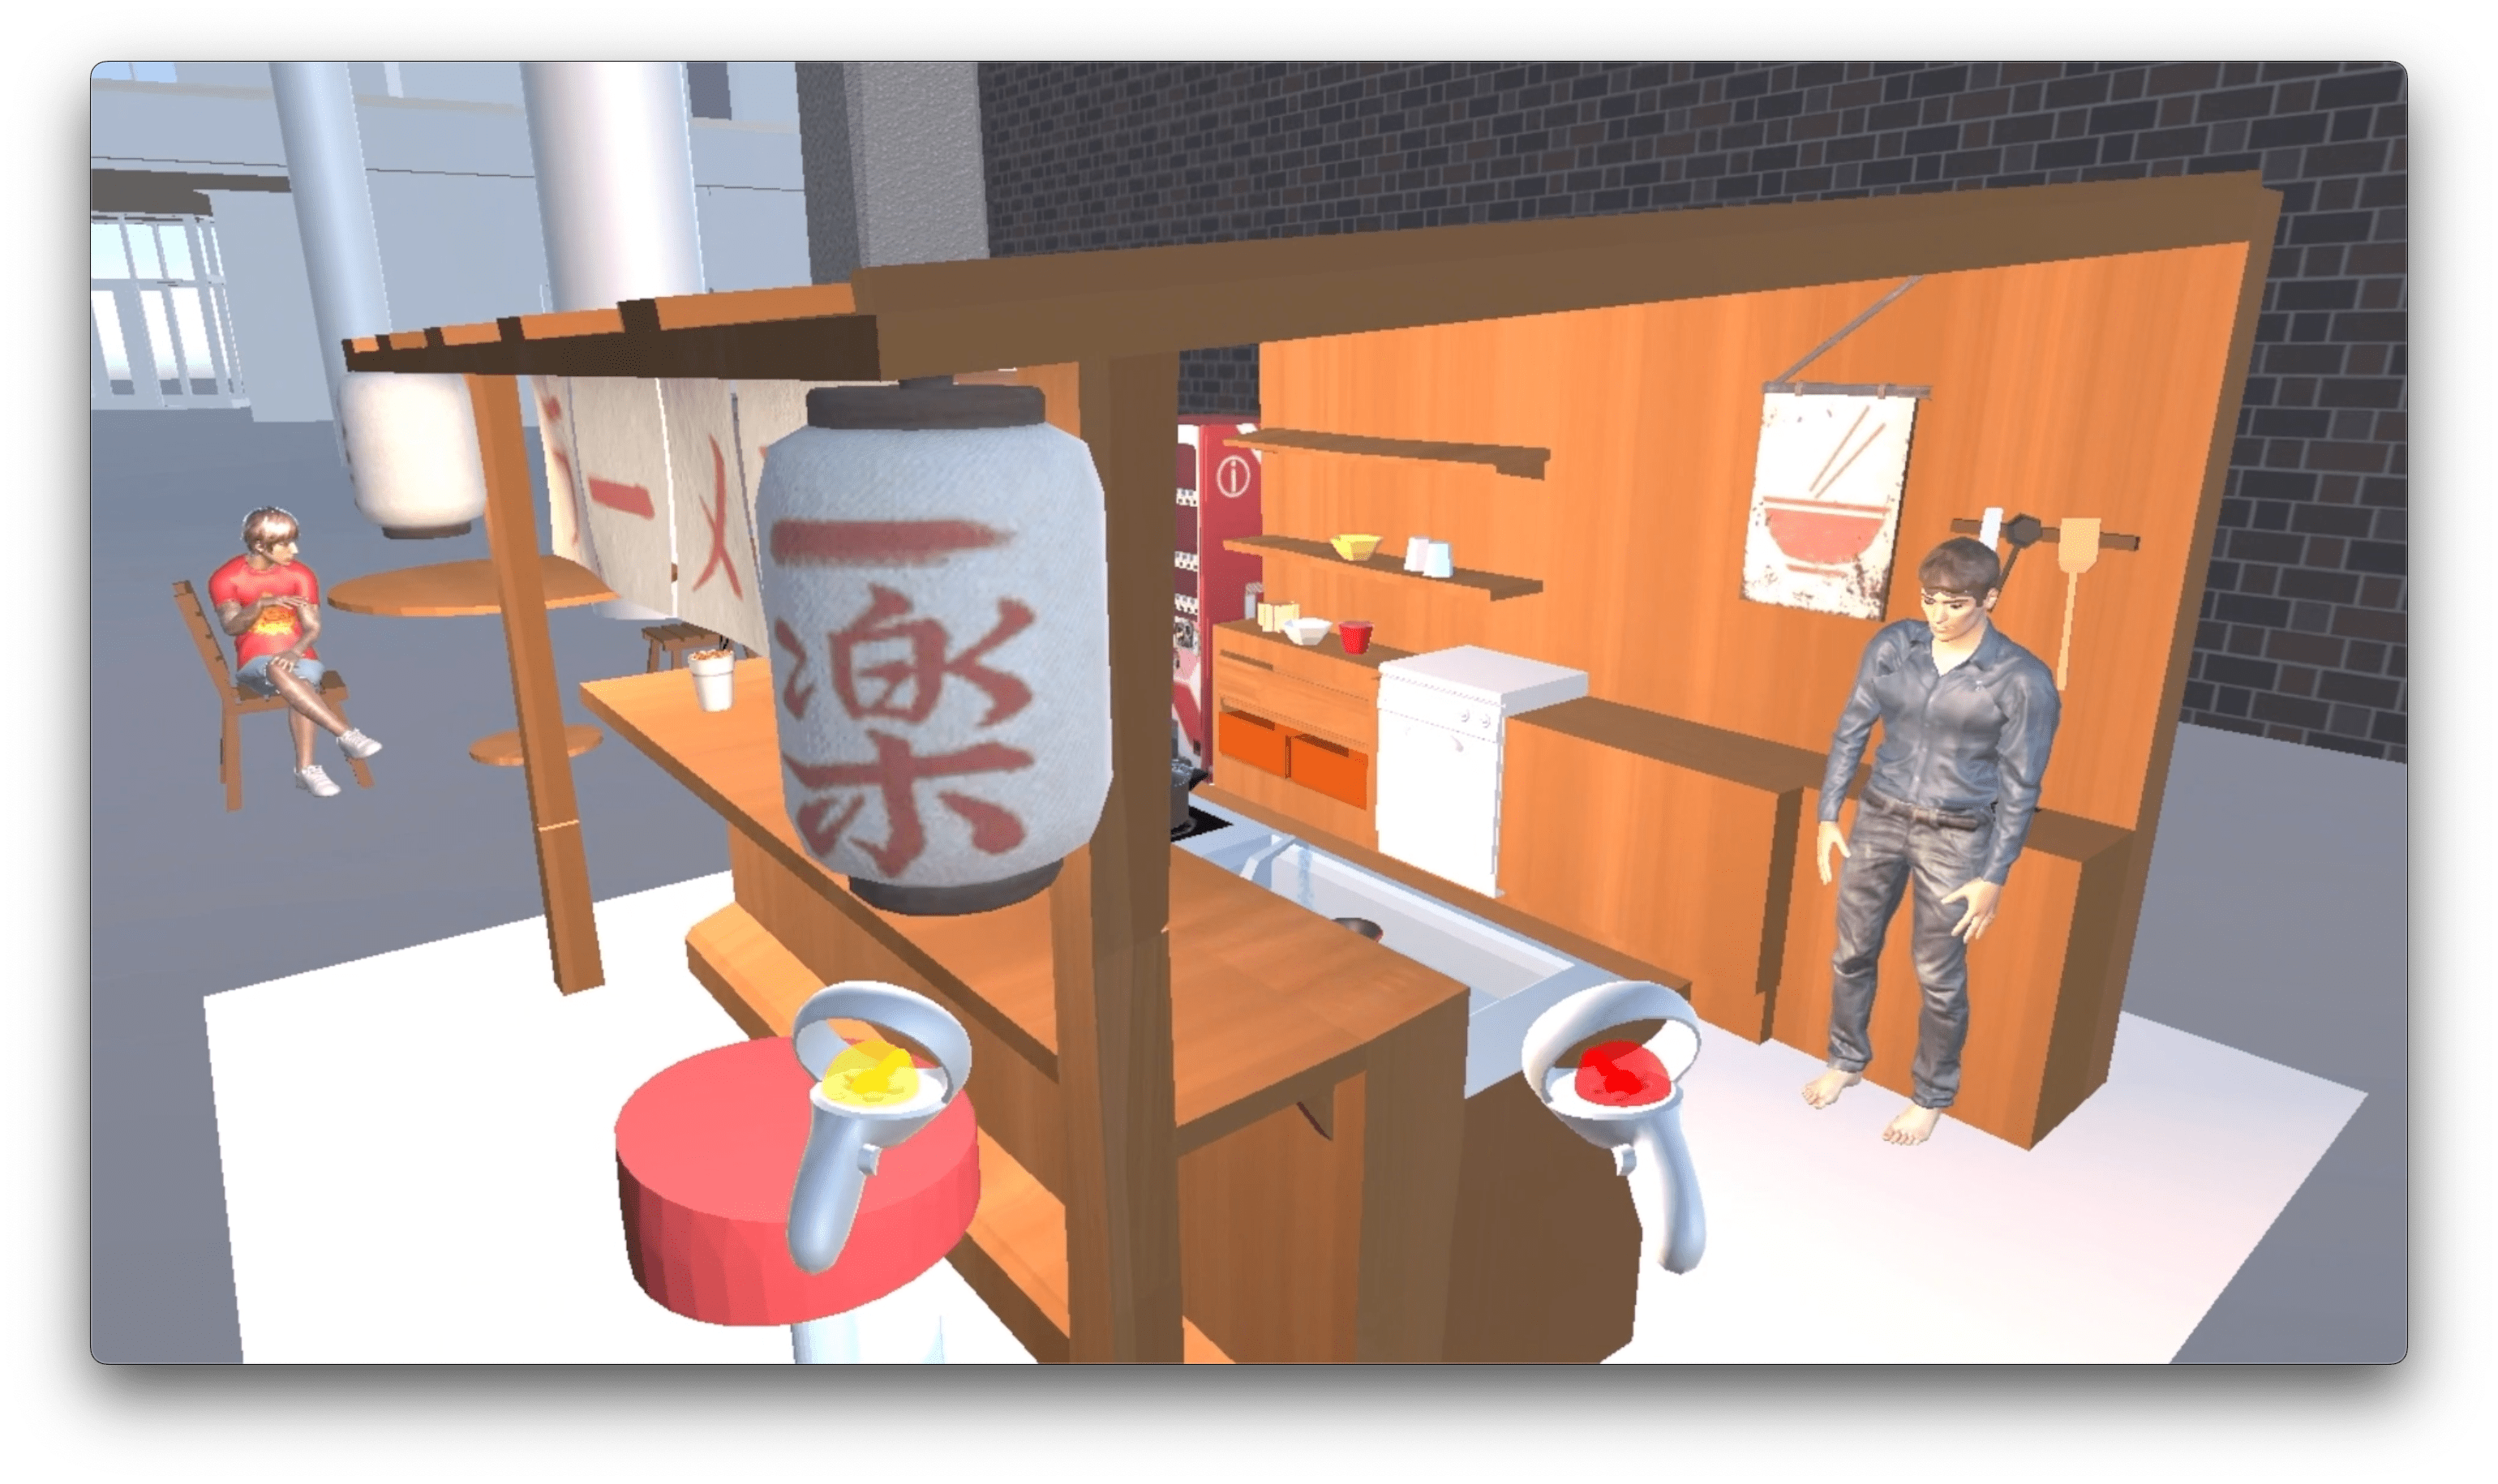
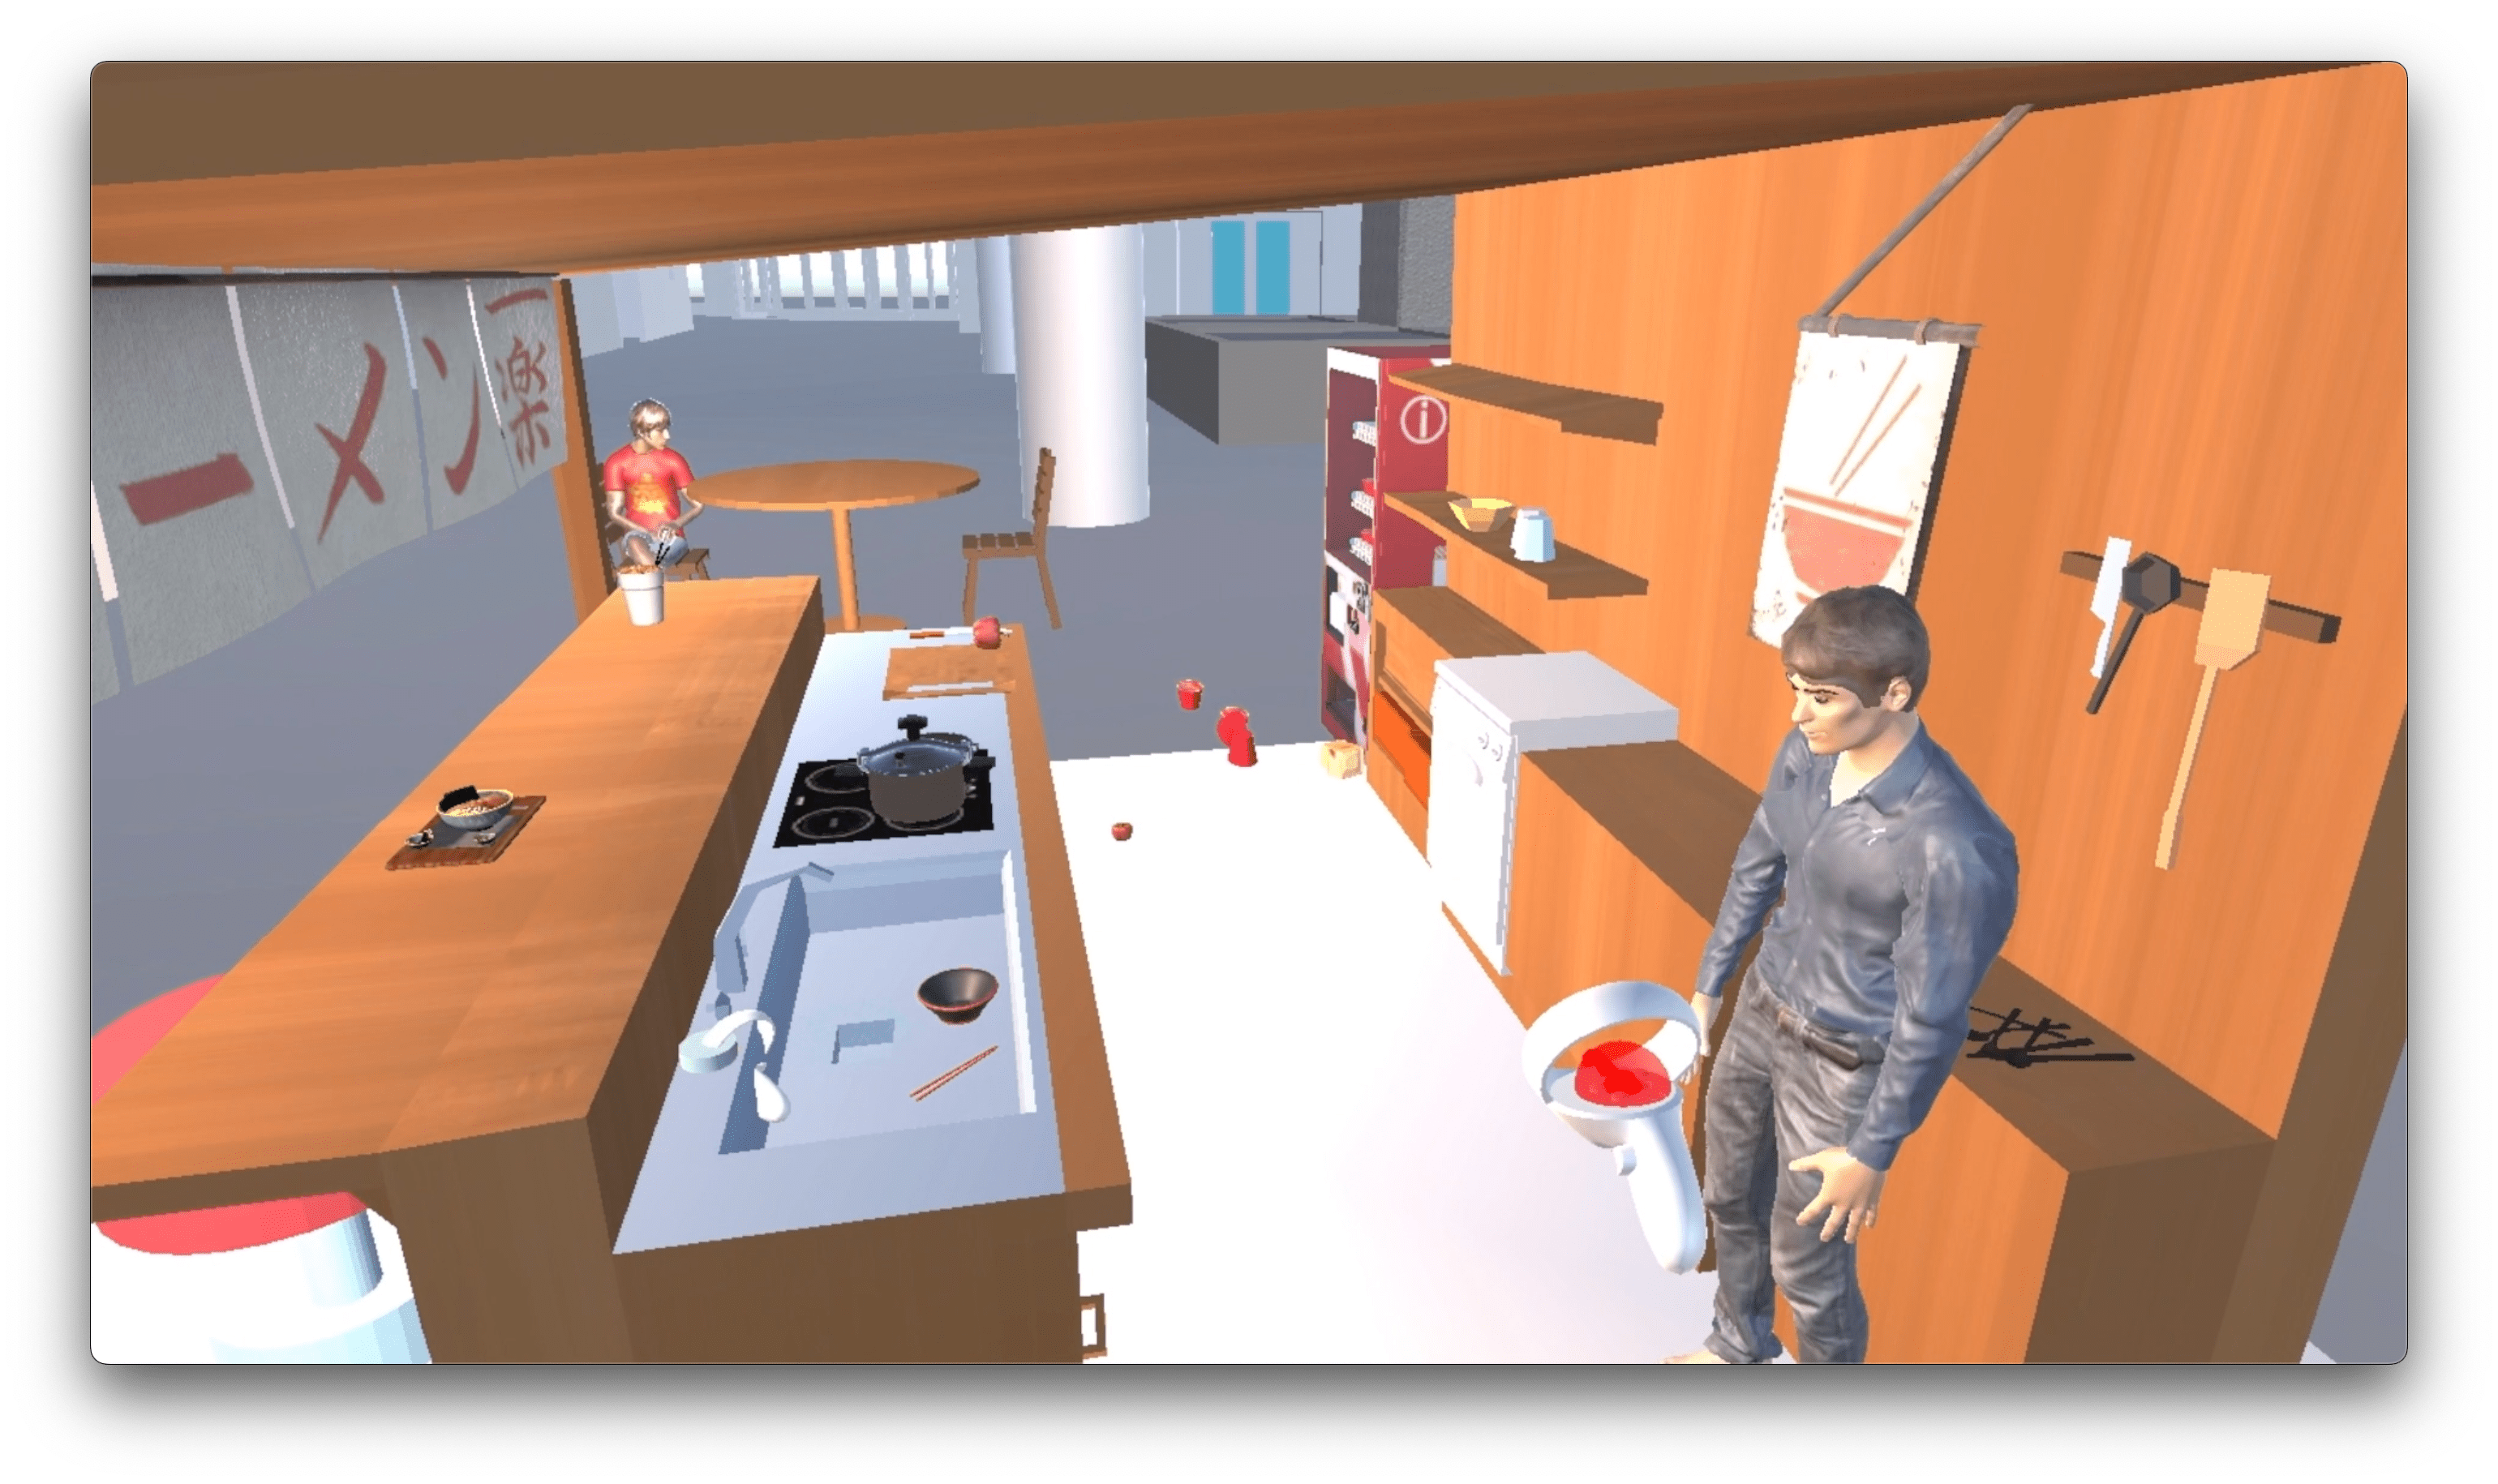
This project was originally created for CS 428 : Virtual, Augmented, Mixed Reality. It is an VR Application built using Unity and VRTK v4 framework. The Project Requirements were to create a kiosk inside the 3d model of the new EECS building on Campus. I’ve created a Ramen Selling Kiosk model and put it on the ground floor of the building. The Model has many features including animations, auto-generating models, audio sources, objects that can be interacted with (for e.g. picking up a ramen container, rotating the tap in the sink to allow flow of water), lighting schemes, etc. These features have been described in more detail below. The below image demonstrates what this application can do.
To download & run the project on your own computers or smartphones, follow the instructions in this article.
Downloading the project
You can find the project here
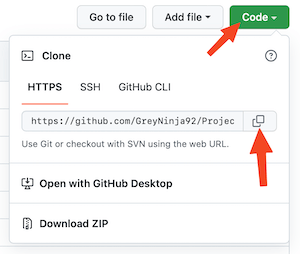
Click the Green “Code” Button, to reveal the cloning window.
If you’re not familiar with the command line, i recommend just clicking on the “Download ZIP” option to download the project into your downloads folder.

If you’re familiar with the command line, then you can clone using the HTTPS option. Make sure you click on the “HTTPS” tab. There you will see a text field with a link inside and a copy button on the right. Click that button to copy the link onto your clipboard.
If you’re on mac or linux, open terminal on your computer. Make sure you have git installed. Run git —version to see if it outputs a version no.
Go to the directory where you want to download this project using “cd” command. Once there, run
git clone paste_link_from__your_clipboard
This should download a zip file containing the project right in your chosen directory.
If you’re on windows, open Powershell. Make sure you have git installed. Run git —version to see if it outputs a version no. If it’s not installed, check the next section on installing git. Enter the command
git clone paste_link_from_your_clipboard
and hit Enter key. This should download a zip file containing the project right in your chosen directory.
Installing Git
If you’re on Mac, follow these steps :-
- Download the latest Git for Mac installer
- Follow the prompts to install Git.
- Open a terminal and verify the installation was successful by executing this command : git --version
If you’re on Linux, follow these steps :-
- From your terminal, install Git using the following two commands
sudo apt-get update
sudo apt-get install git - Verify the installation was successful by executing
git —version
in the terminal.
If you’re on Windows, follow these steps :-
- Download the latest Git for Windows installer
- When you’ve successfully started the installer, you should see the Git Setup wizard screen. Follow the Next and Finish prompts to complete the installation. This should install git onto your computer.
Preparation for Running the Project
This project is built on Unity and the Vuphoria Engine. The Unity version used for this project is LTS Release 2021.3.6f1. I recommend you to use the same version for optimal results.
If you don’t have unity, you can download it by following these instructions :-
- Go to https://unity.com/ and click the Get Started button. You will be redirected to another page

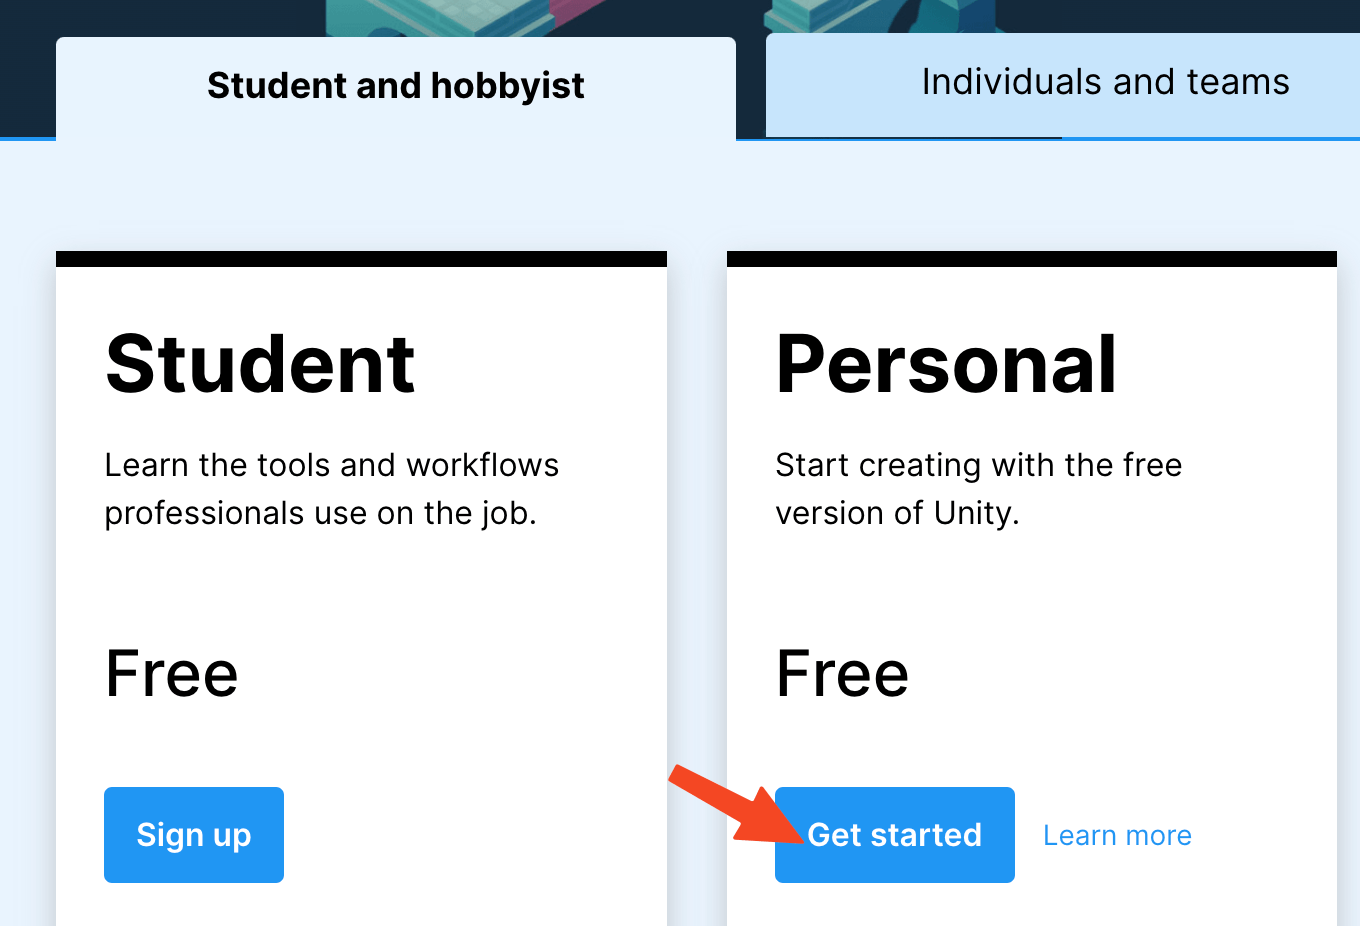
- Click on the Student and hobbyist tab

- Click on the Get Started button in the personal tab. This will redirect you to another webpage
- Click the Download for Windows button if you’re on Windows.
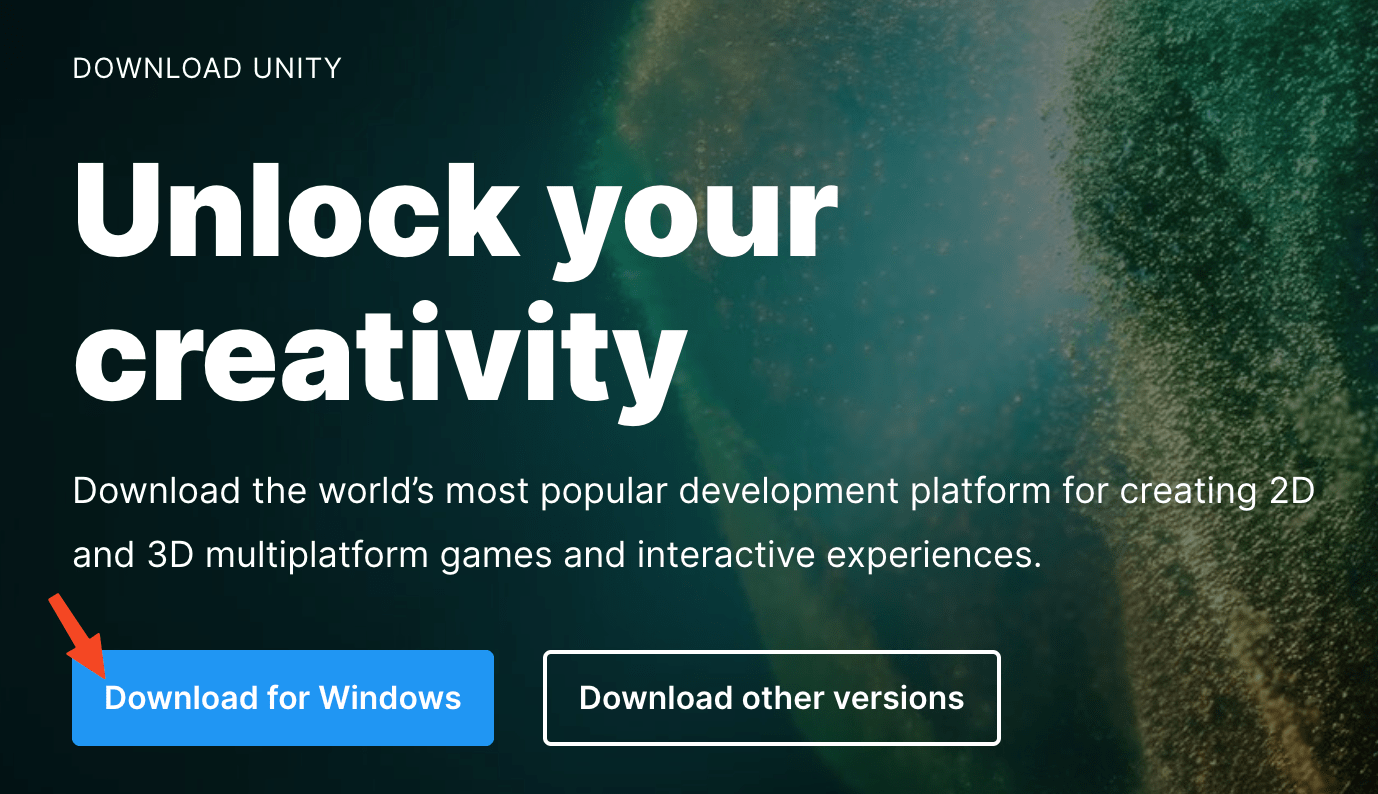
Otherwise, click on Download other versions and click on the link with your current OS written on it. This will download the installation file.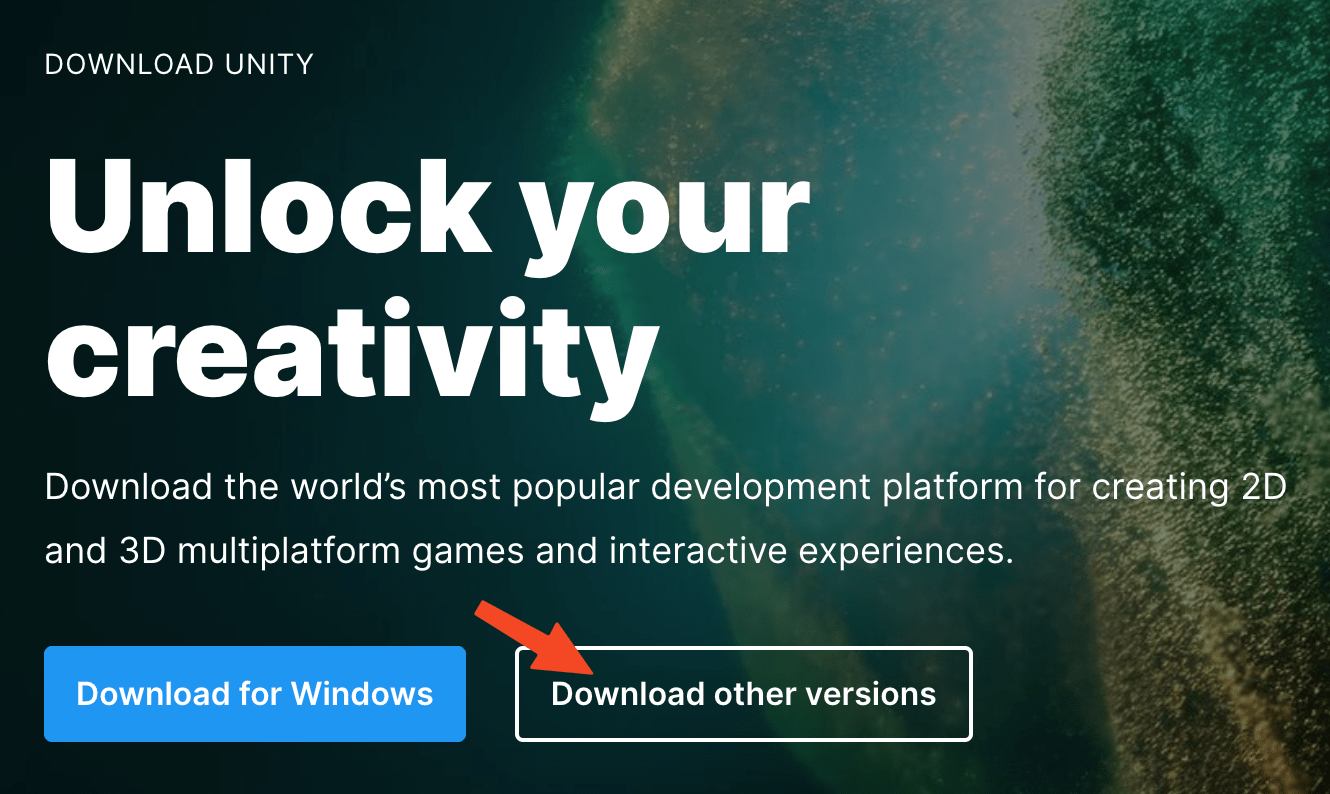
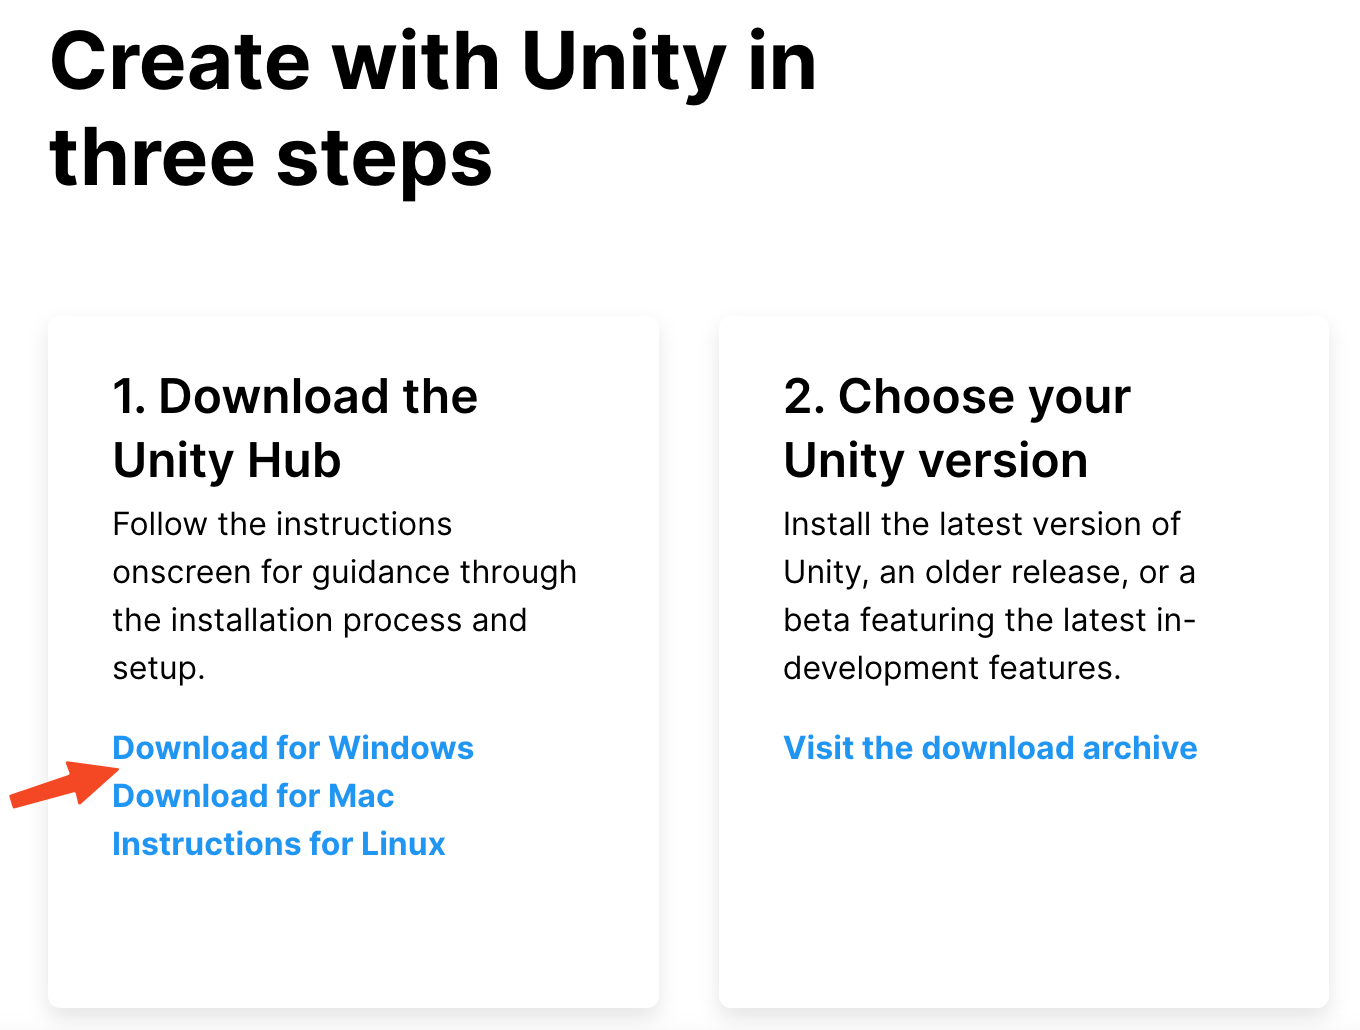
- Click on the Installation File. Follow the prompts to install Unity Hub on your computer.
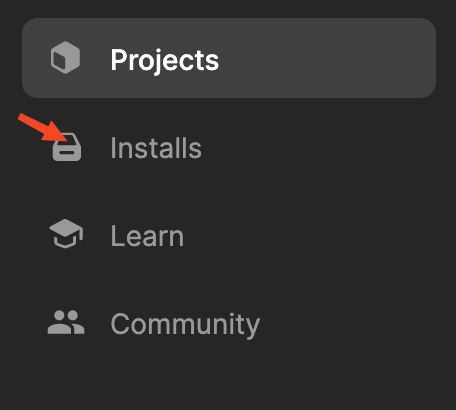
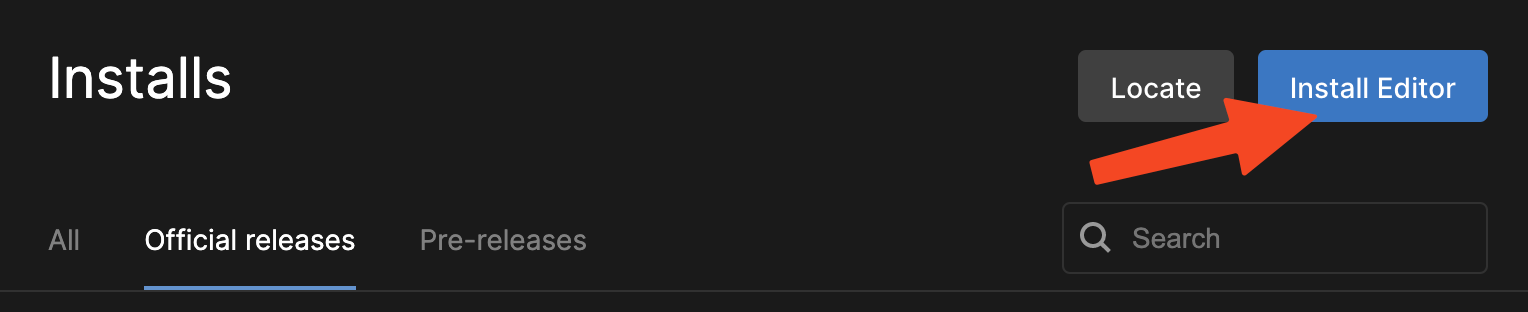
- Once you Unity Hub running, you should click on the Installs tab and then Install Editor to add a new Unity Version.
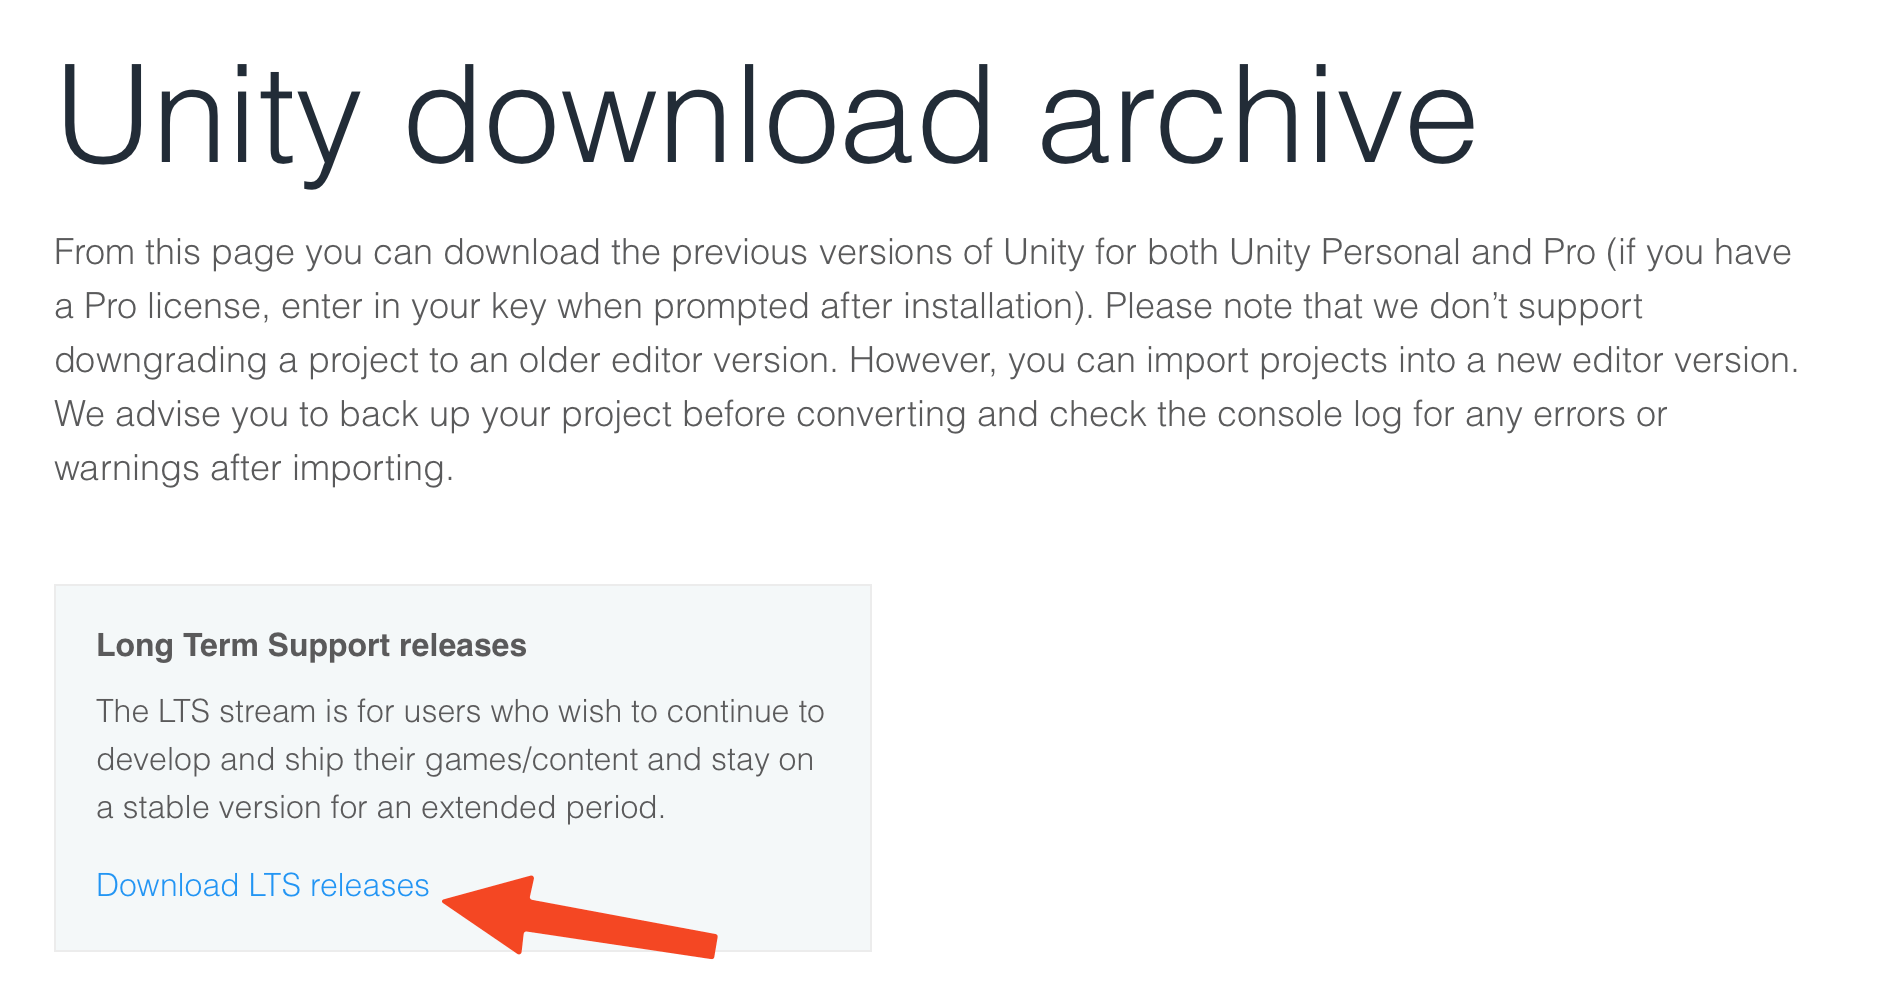
- Click the Archive button near the top and click Long-Term Support to visit the download archive.

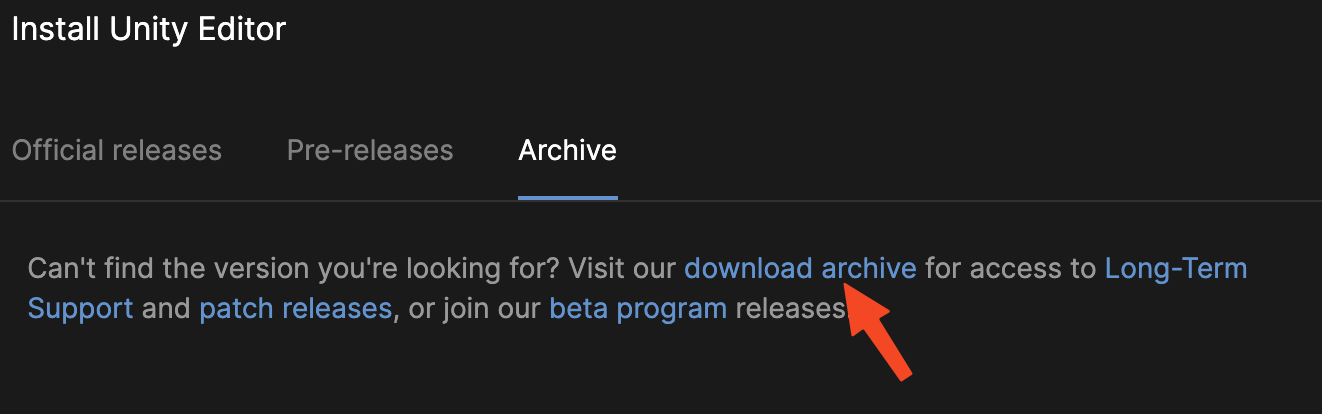
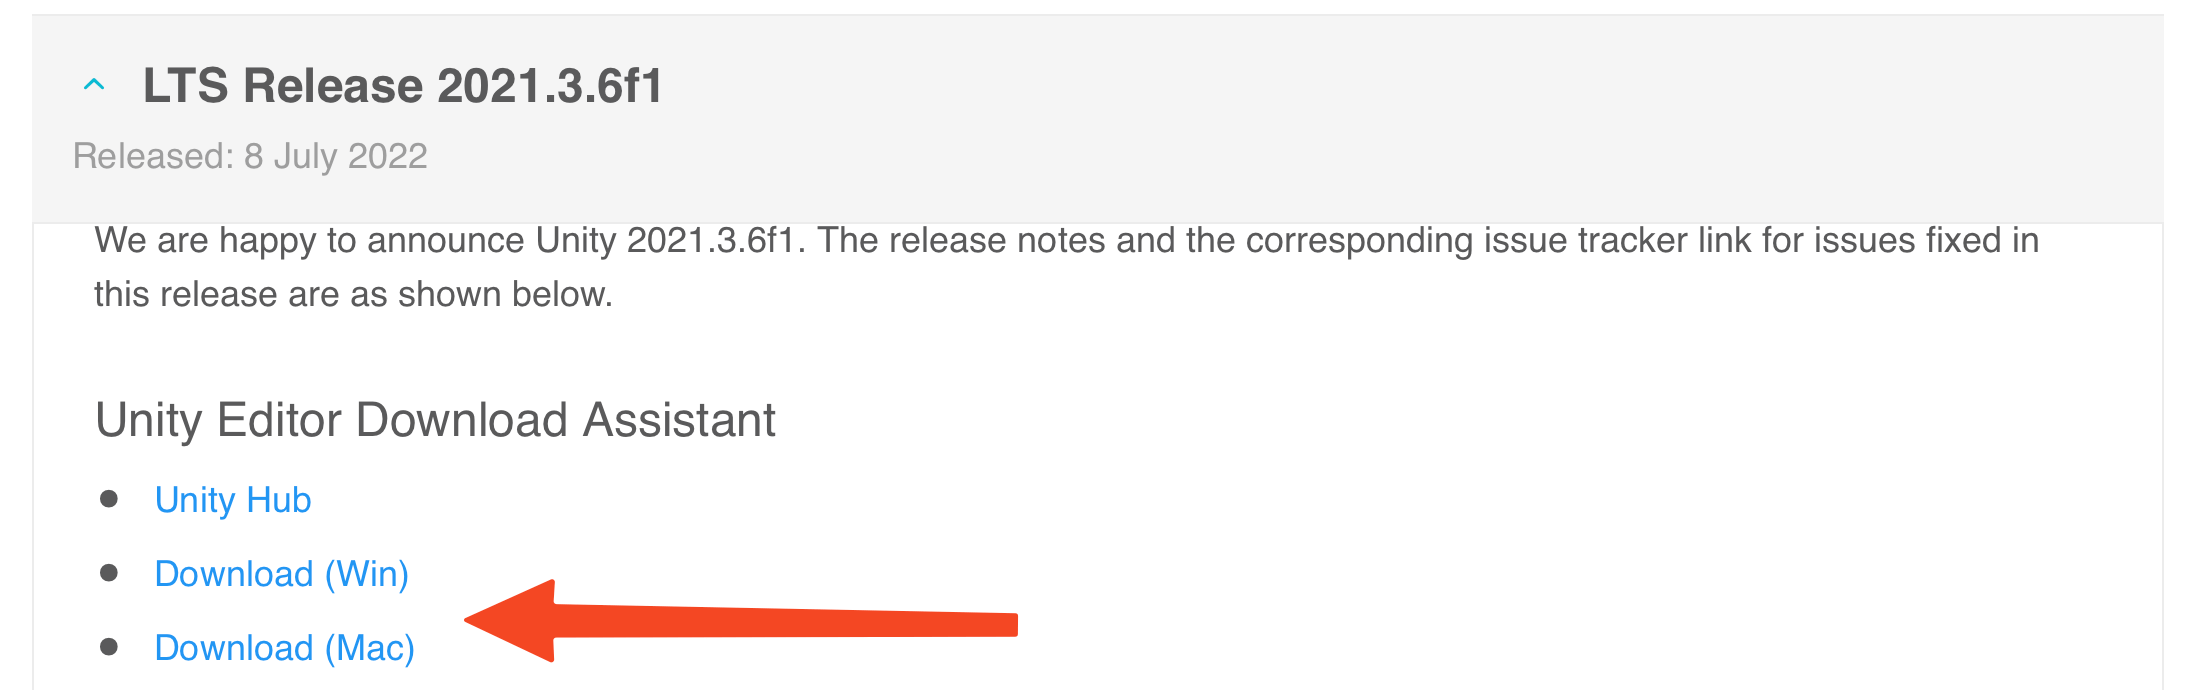
- Scroll down a little. Click on LTS Release 2021.3.6f1 . This will download the recommended version of Unity to run this application.
- You should have it install:-
- Unity
- Mac/Windows/Linux Build Support
- Documentation
- Android Build Support (for running on the Oculus Quest, or any other VR Headset)
Click on the little arrow and make sure Android SDK & NDK Tools and OpenJDK are both selected
All the necessary VRTK packages are included with the project.
Now, Let's open it
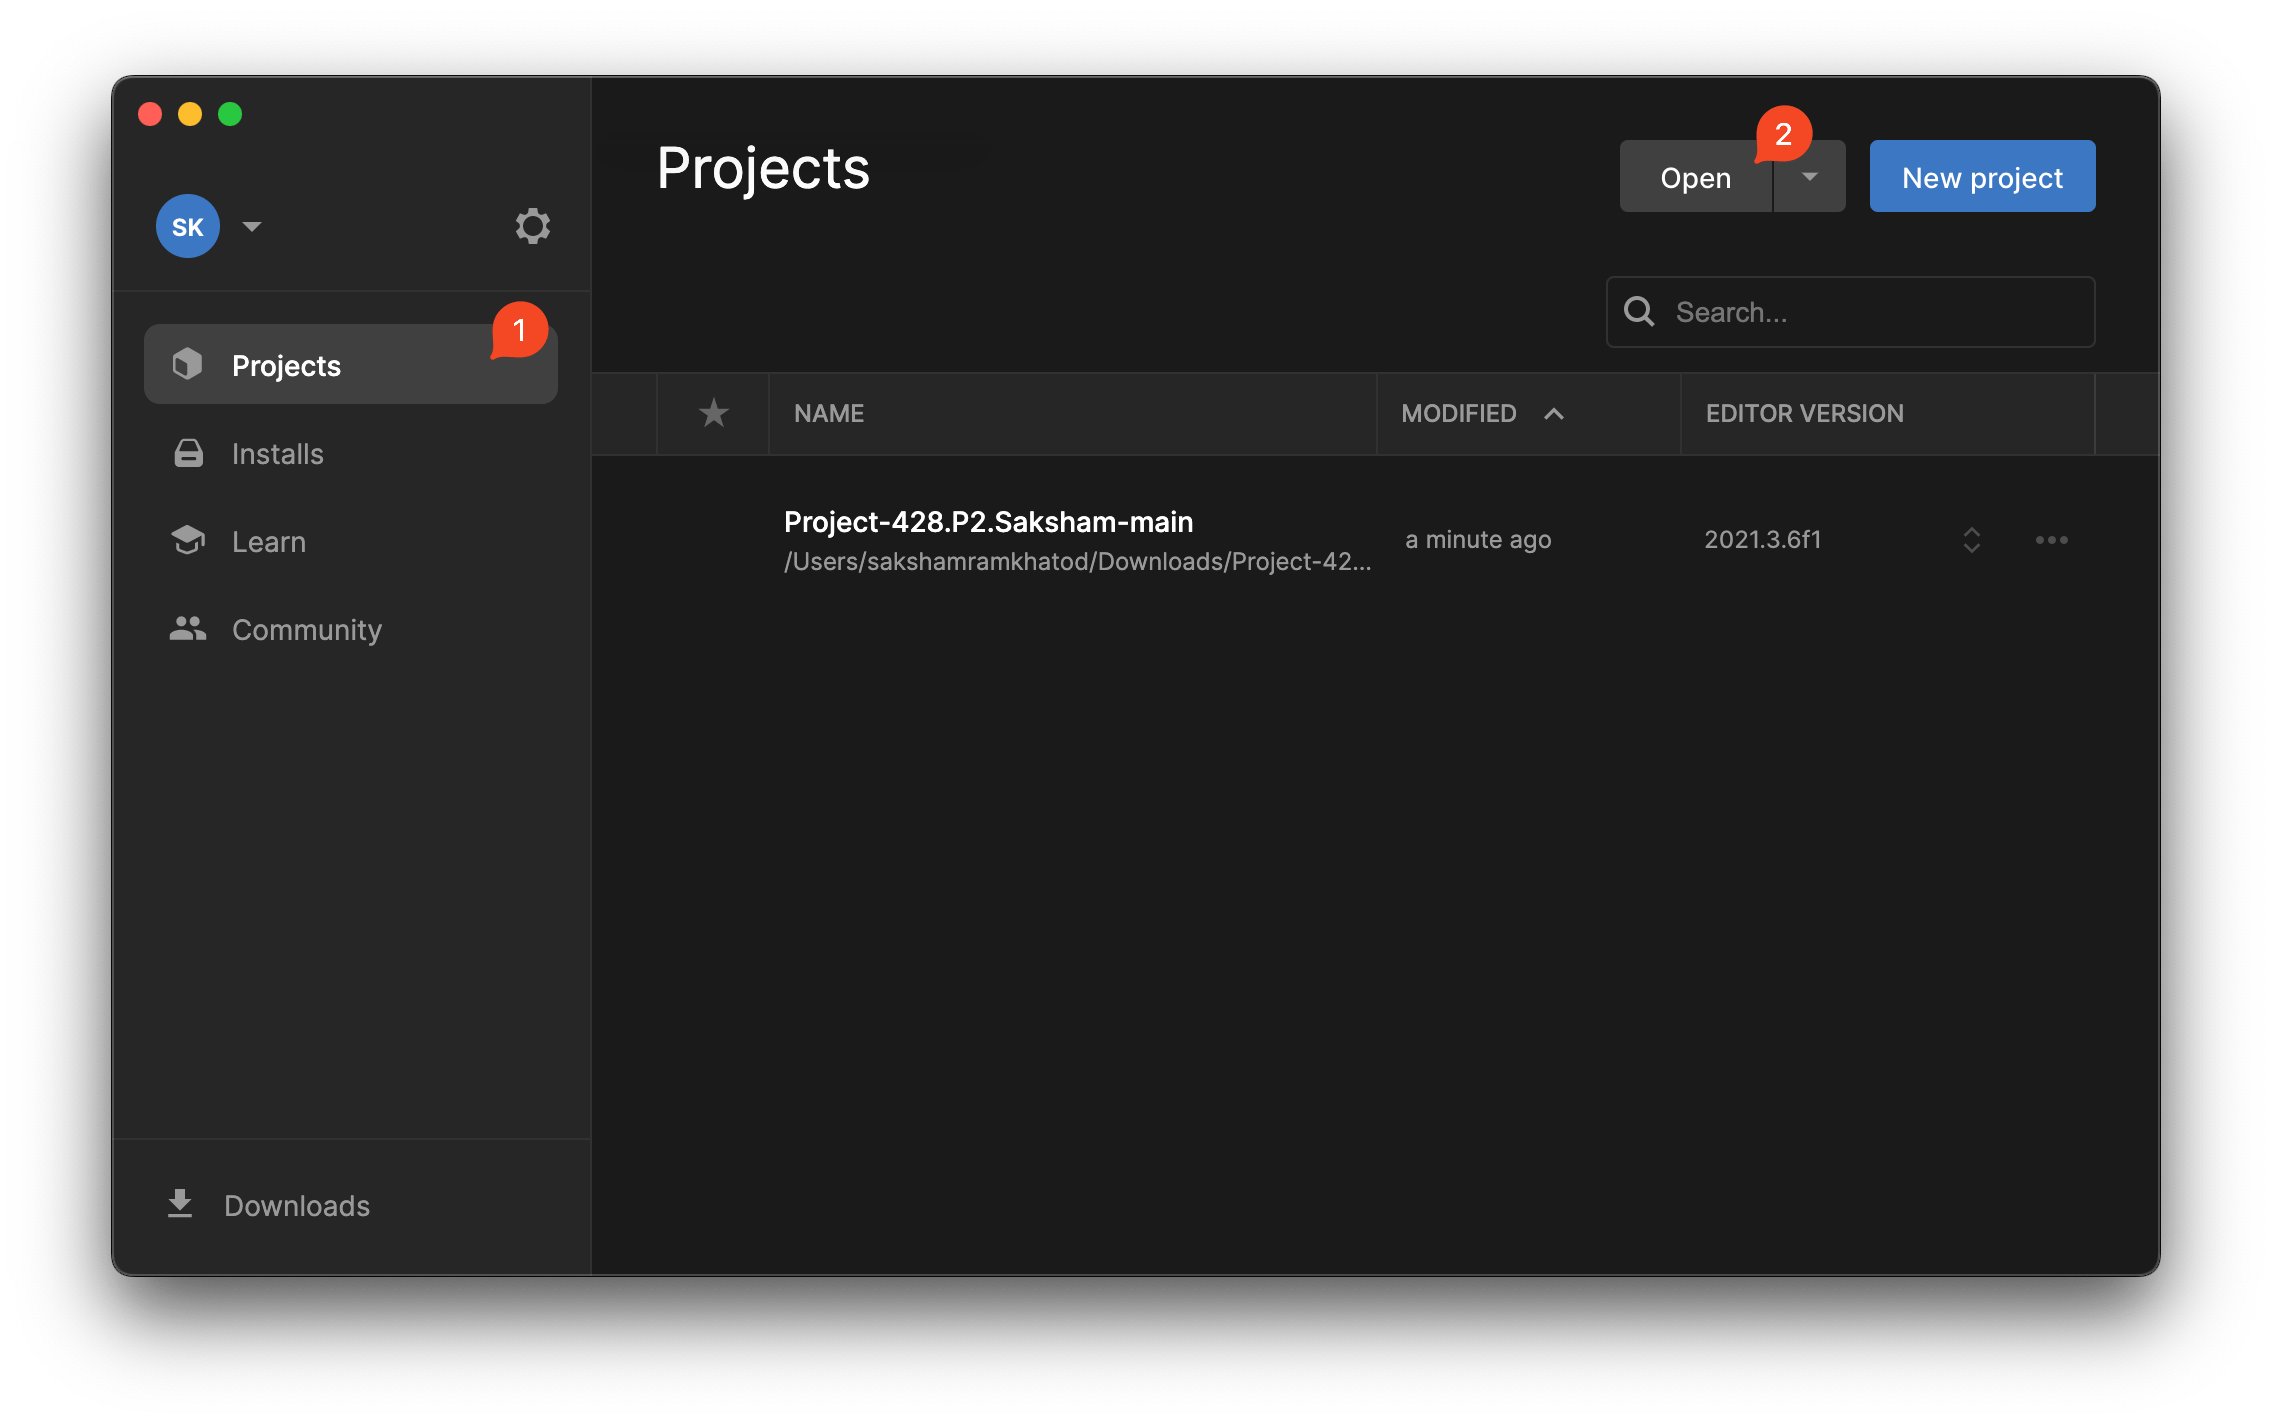
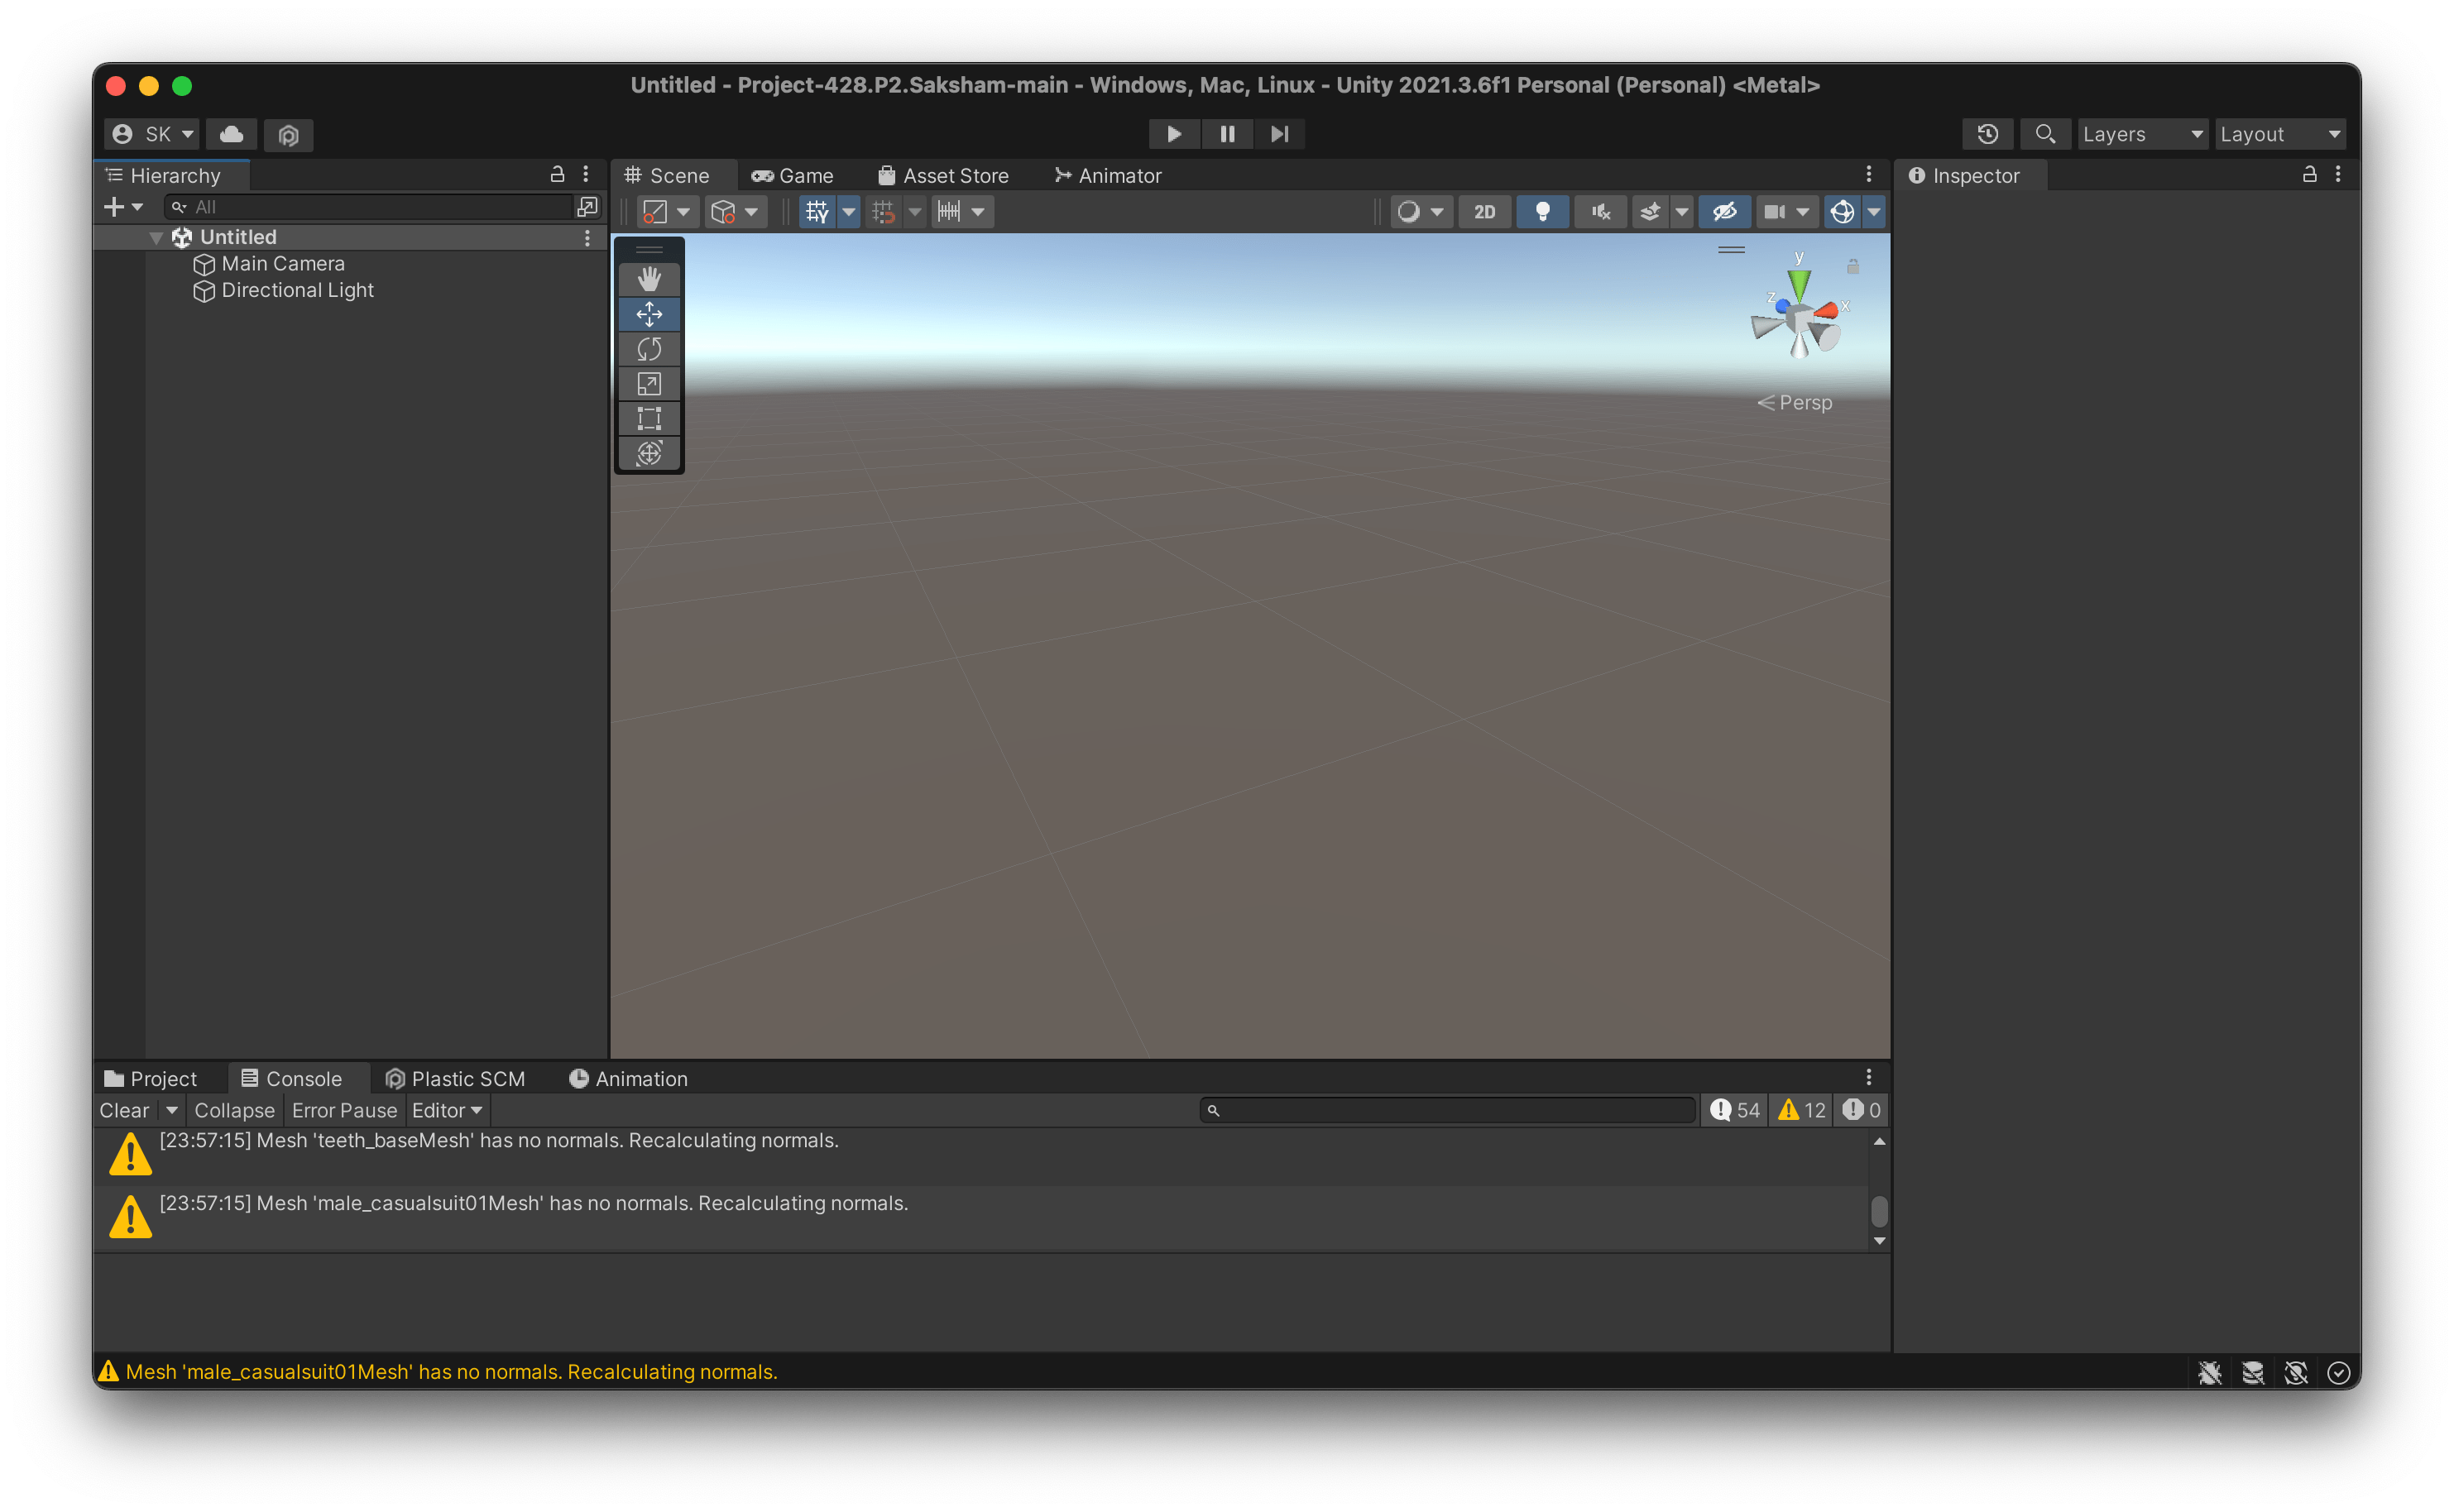
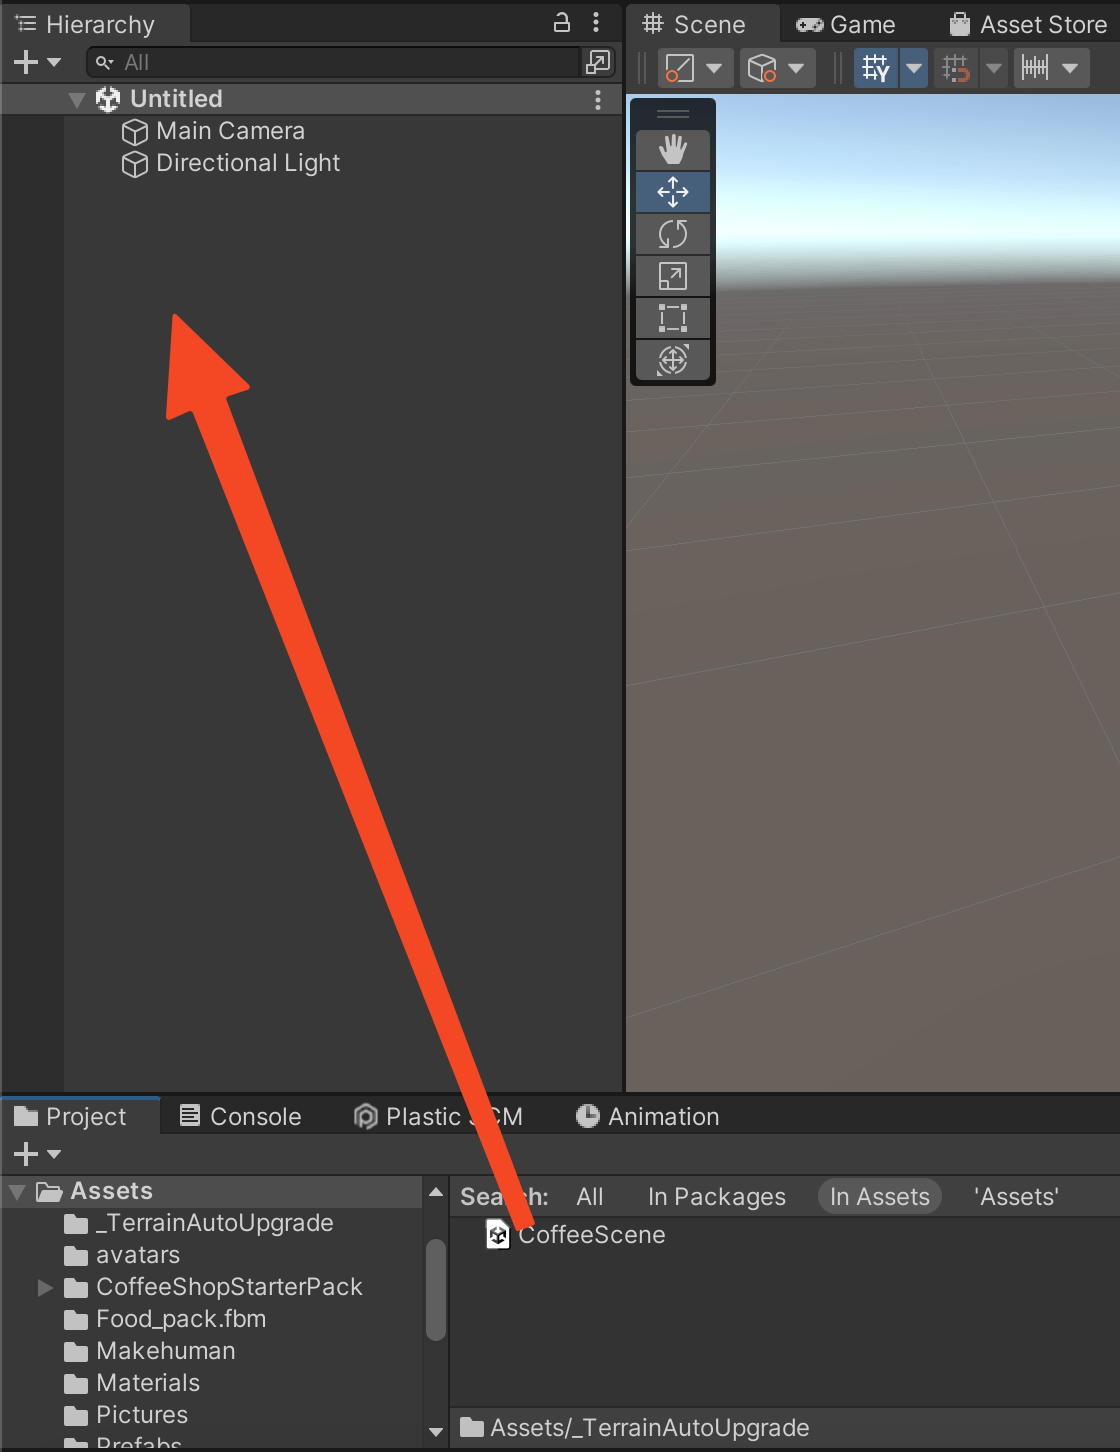
- After downloading Unity Hub, open it. Click on Projects, and then click Open on the top right. Go to the directory where you’ve downloaded your project and then select the project. You should end up with something that looks like this.
- Click on Projects on the bottom right, then go to the Search Bar and type CoffeeScene.

- Next, drag the CoffeeScene onto the Heirarchy.
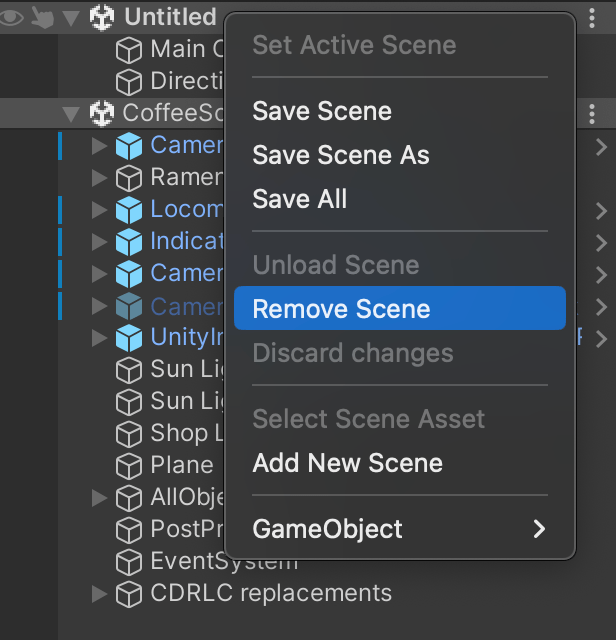
- Then, delete the UntitledScene from the Hierarchy by right clicking and clicking Remove Scene.
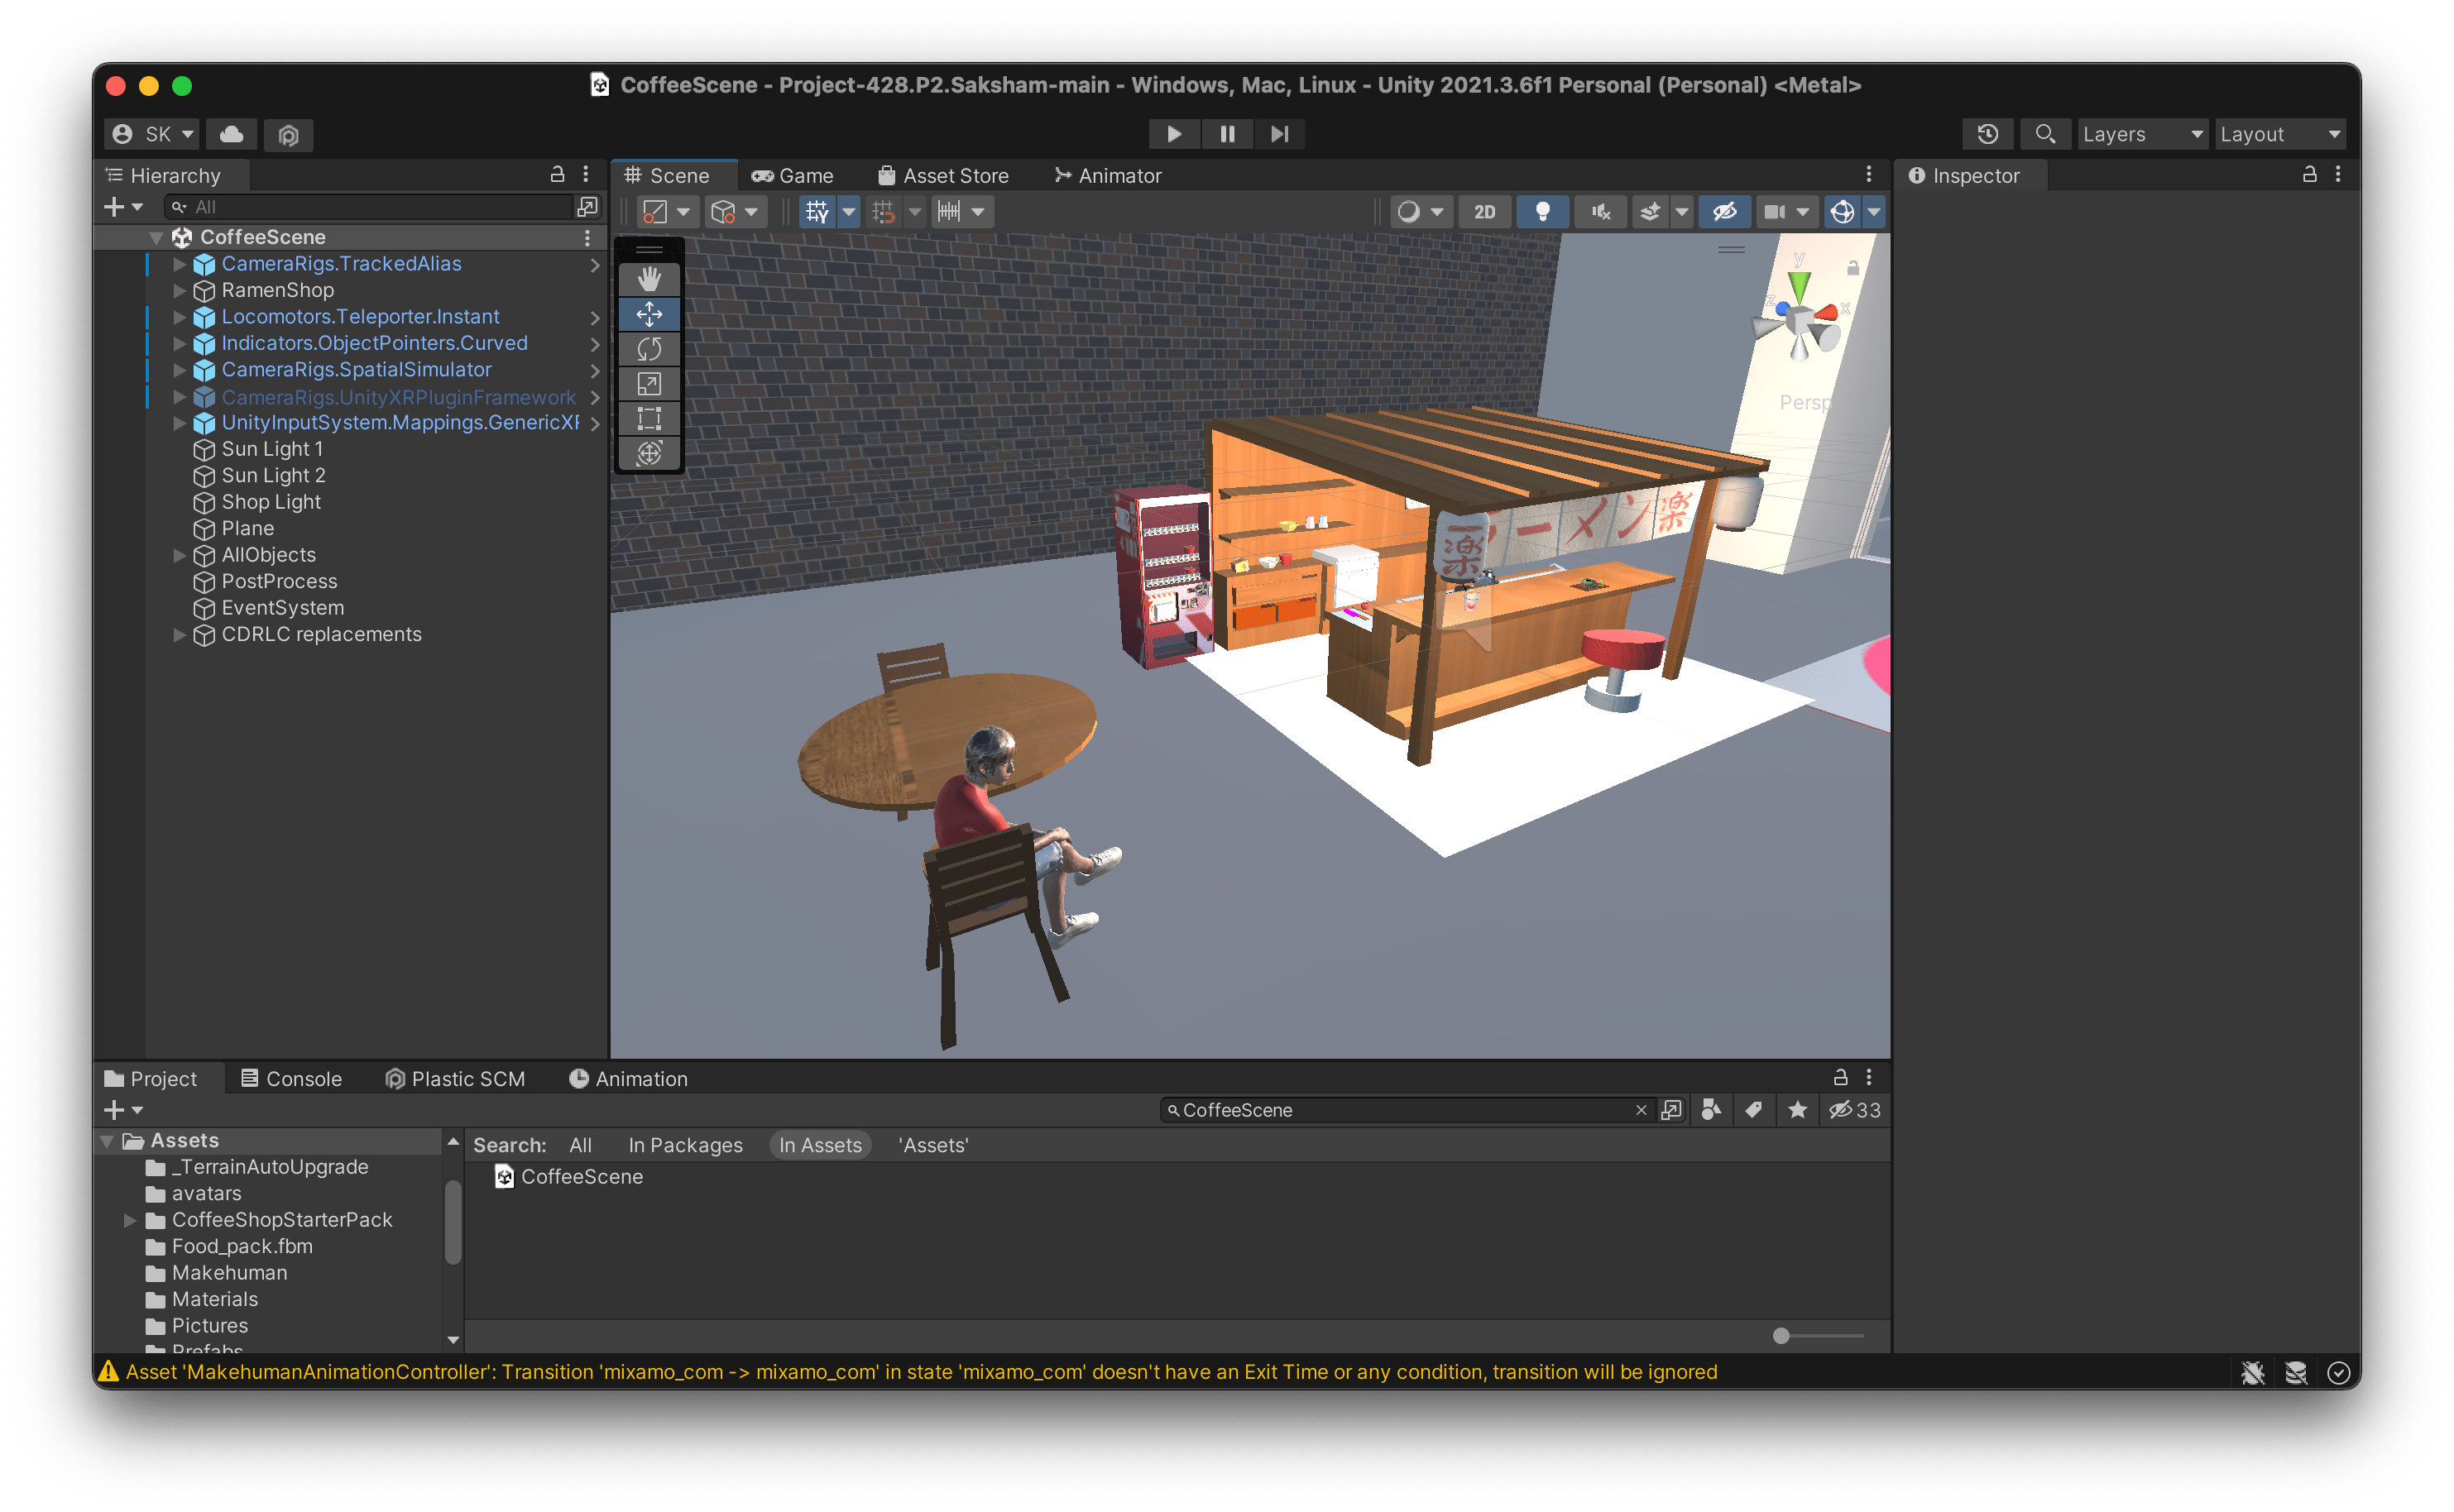
- Now, it should look like this. You can see the Ramen Shop in the scene. Now, we’re ready to run it.
The app can be run on the headset as well as the Spatial Simulator
Running the app on the Simulator
The app is, by default, configured to run on the Spatial Simulator. All you need to do is press the play button to the top. This should build the VR app and launch it right inside of Unity. Now, you can use WASD keys to move around the environment. You can use 2 or 3 keys to start moving the controllers and press the left button on your mouse to simulate a controller click. If you wish to return back to moving the POV around instead of just the controller, press 1.

Running the app on your Headset
This Application was tested on the Oculus Quest series of headsets and I’d recommend you to use them to run this project.
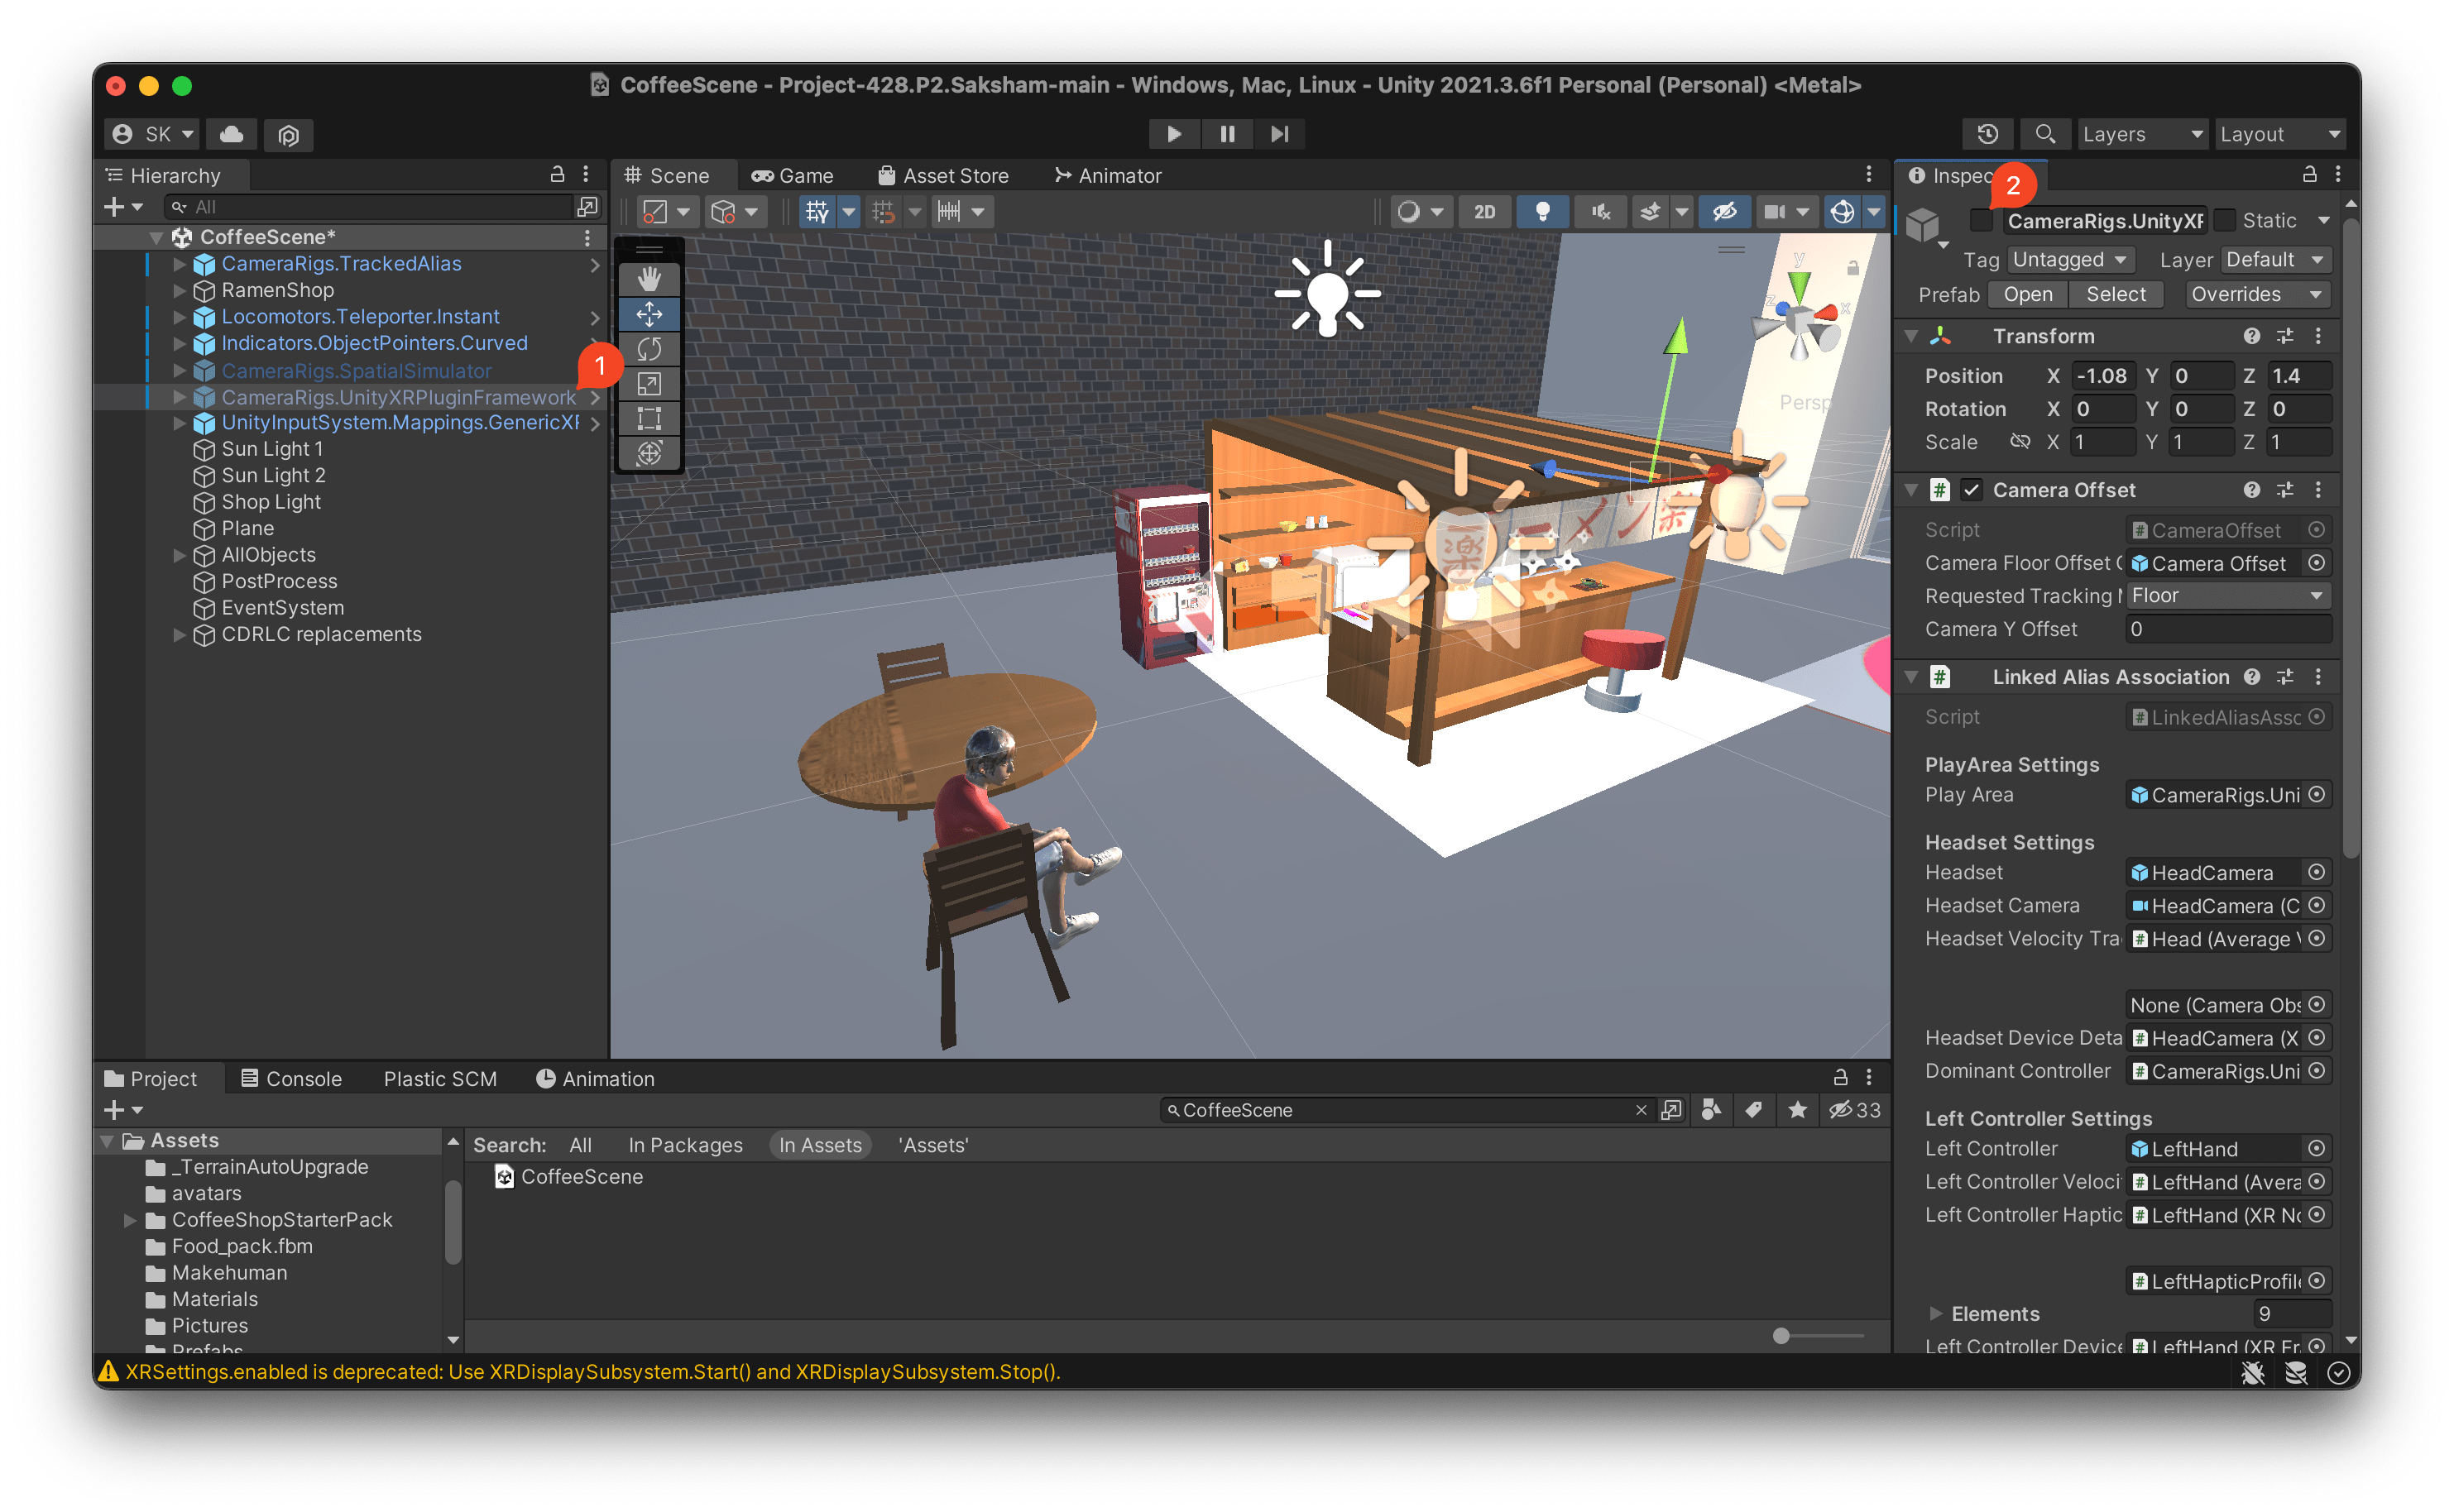
- First, click on Spatial Simulator in the hierarchy and click the box on the top right to uncheck it.

- Next, click on CameraRigs.UnityXRPluginFramework and click on the same box to check it.
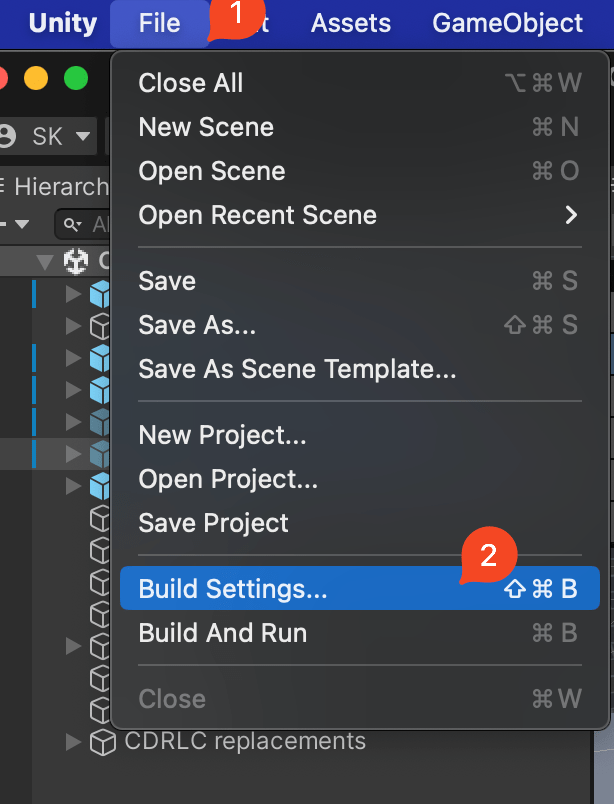
- Now, click on the File Menu and click on Build Settings.
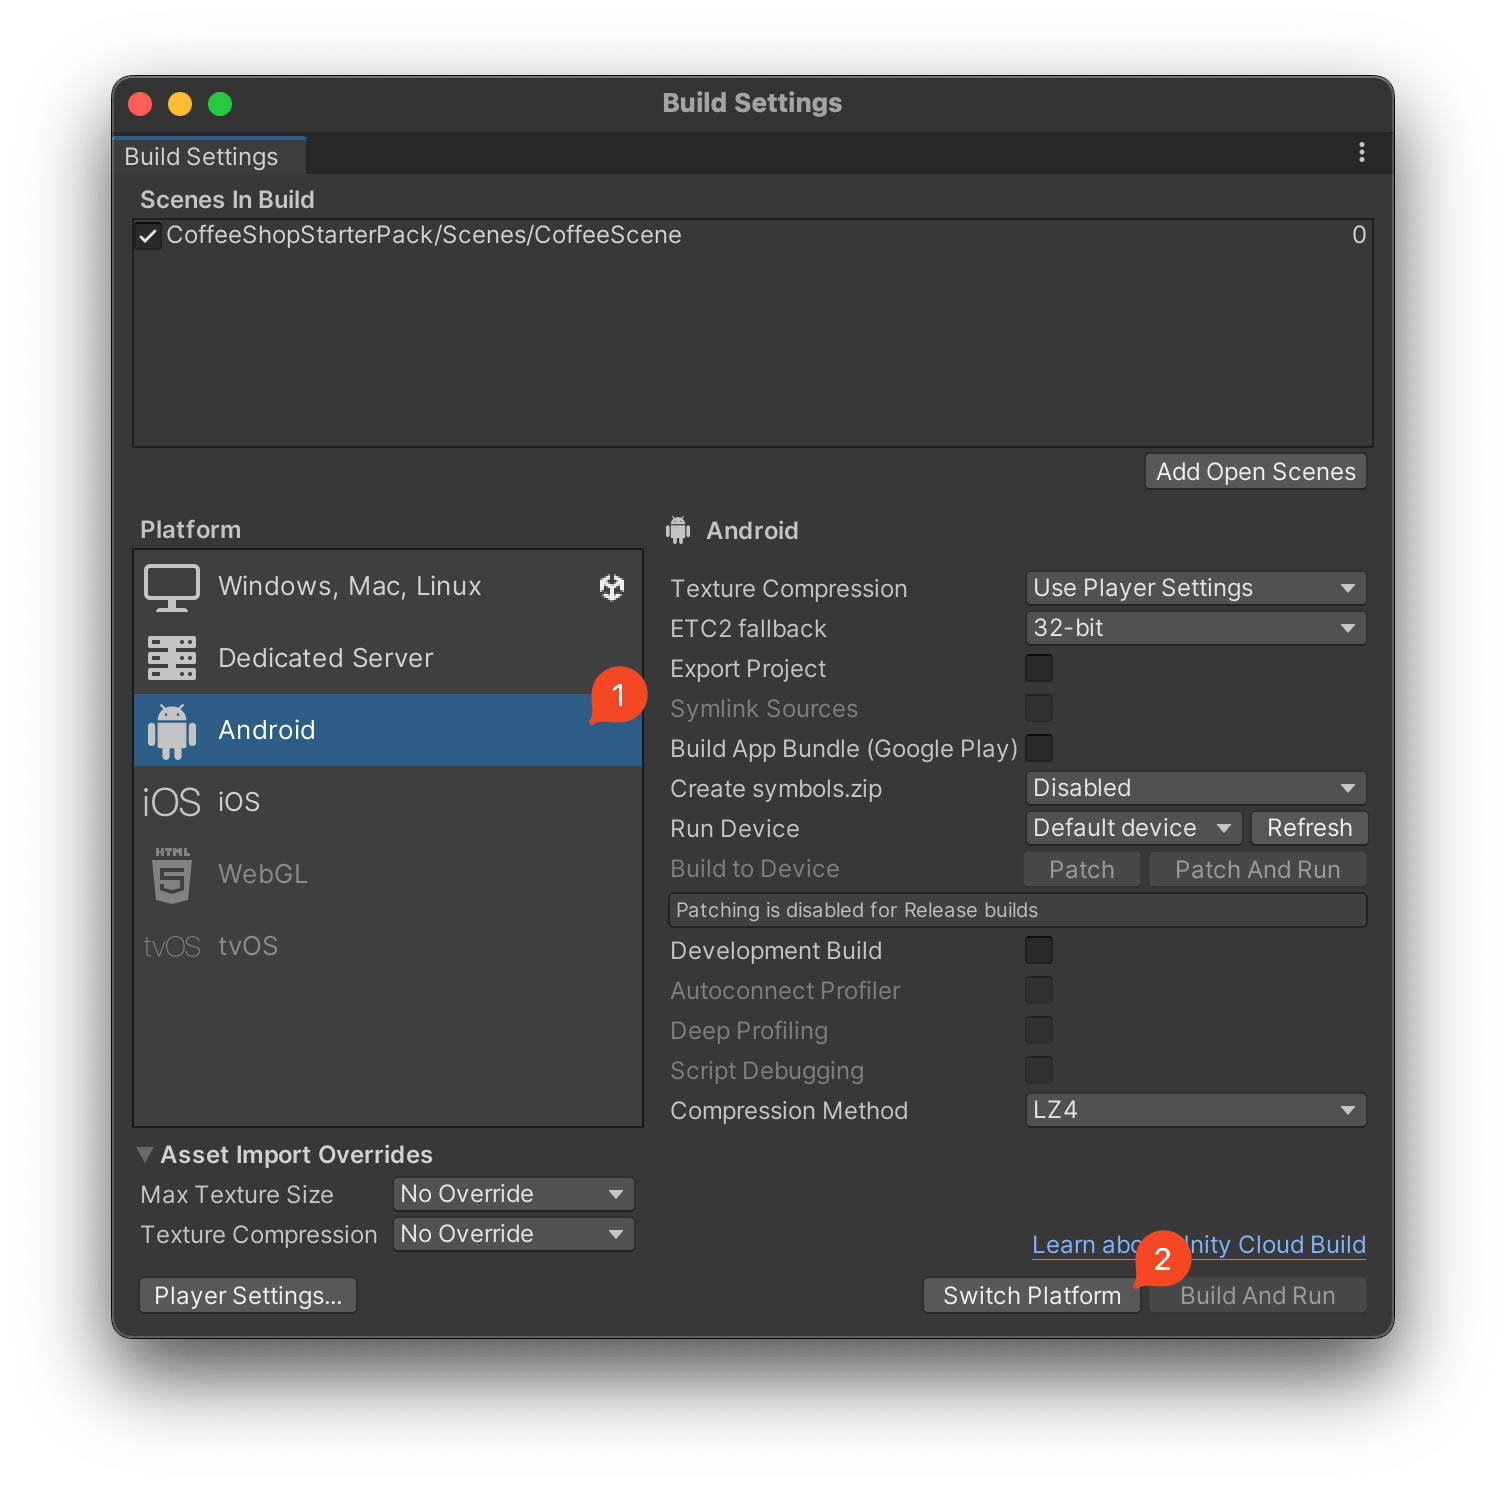
- Click on Android on the bottom left and then click on Switch Platform on the bottom right. This process will take a few minutes.
- Until then, turn on your headset and connect your headset to the computer. If the headset displays a pop saying “Allow Access to Data”, click Allow and make sure USB Debugging is enabled in the Developer Menu in Settings.
- Now, after you’re project has switched to Android, close Unity and relaunch the project. Next, head to the same Build Settings section, and now in the Device dropdown, you should see your headset. Click on it and then click Build And Run on the bottom right. Unity will ask you to create an apk file. Name the apk whatever you want and save it anywhere you want.
Your headset should now start running the application.
Features and Citations
Project specifications
This project satisfies all the project requirements.
The project includes
- 15 unique models from the web. This list is given below in the Models downloaded from the Internet section.
- This project also includes 7 models created by me. This list is given below in the Models made by me section.
- This project includes 12 interactable objects with appropriate physics & colliders. I'm listing them here and they're described in more detail below
- Bowls
- Chopsticks (in the sink)
- Ramen Bento Box
- Shin Ramen Box
- Ramen Box
- Pressure Cooker
- Cooking Pot
- Red Bell Pepper
- Knife
- Light brown larger drawer
- Dark brown smaller drawer
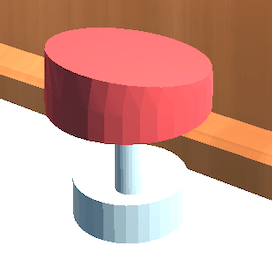
- Wheel near the sink
- 2 light sources which are lanterns in the kiosk.
- 2 object generators, one is a white button on top of the vending machine and the second one is the Red Bell Pepper.
- 2 animated models, one is the vending machine and the second one is the animated board near the cutlery.
- one main audio source which plays the song Sakuya2 by PeriTune
- 4 additional sound effects in Pressure Cooker, Vending Machine, Dishwasher, Sink. They get louder as you get closer to them.
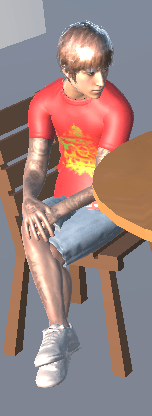
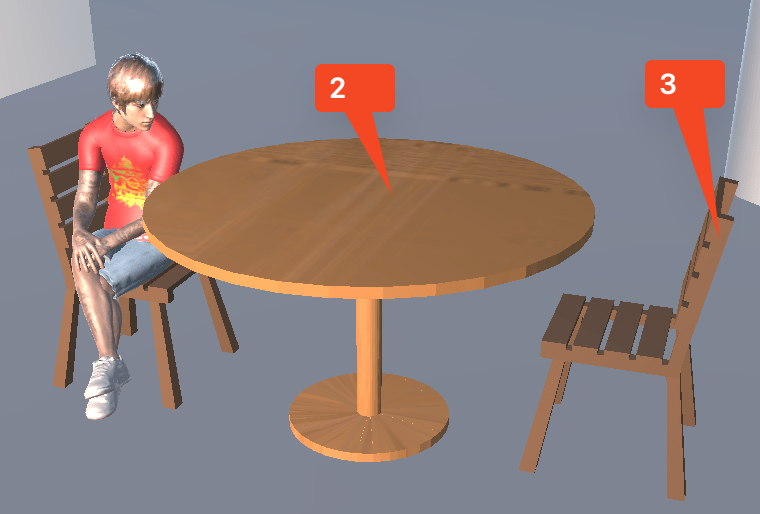
- a seating area for 2 customers with chairs and 1 more animated person, all situated near the ramen shop
All of the above is described in more detail below.
Models downloaded from the Internet
- Ramen Shop - https://sketchfab.com/3d-models/ramen-shop-6f2b2ca322e641aa92e6e04e2a31c3b8
This is the main ramen shop model. It also includes bowls, spatulas, counter tops, etc. The model is texture-less. A lot of these bowls & chopsticks are interactable. I created all the textures in Blender. The Model also has a audio source at it's centre. The Audio Source plays the song Sakuya2 by PeriTune. You can find it here : https://www.chosic.com/download-audio/27264/
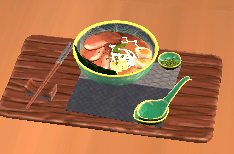
- Ramen Bowl - https://sketchfab.com/3d-models/ramen-557166100ce449bb894c1080ef6fbf17#download
- Ramen Bento Box - https://sketchfab.com/3d-models/ramen-bento-6fca9db01dd542a3bb36ed6a775526c2
This object is interactable.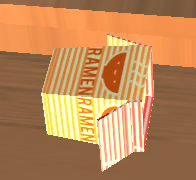
- Shin Ramen Box - https://sketchfab.com/3d-models/ramen-18979b3689f74806925258b42b66c319
This object is interactable.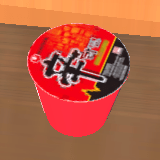
- Ramen Box - https://sketchfab.com/3d-models/ramen-noodles-2889104c361b43f39e6518932ca33dd3
This object is interactable.
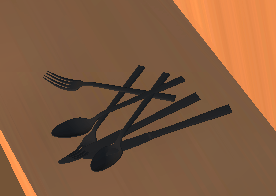
- Cutlery - https://www.turbosquid.com/3d-models/set-cutlery-model-1687795#
- Lantern - https://sketchfab.com/3d-models/ichiraku-ramen-naruto-c57a7c0bdca4446aade5241cc621f56e
This object contains a light source inside of it.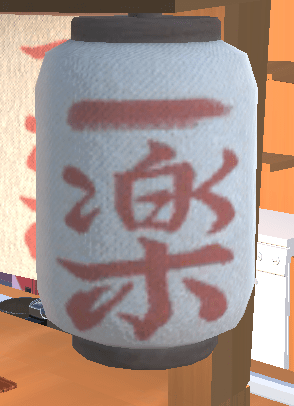
- Signs - https://sketchfab.com/3d-models/ichiraku-ramen-naruto-c57a7c0bdca4446aade5241cc621f56e
This model is part of a much larger model.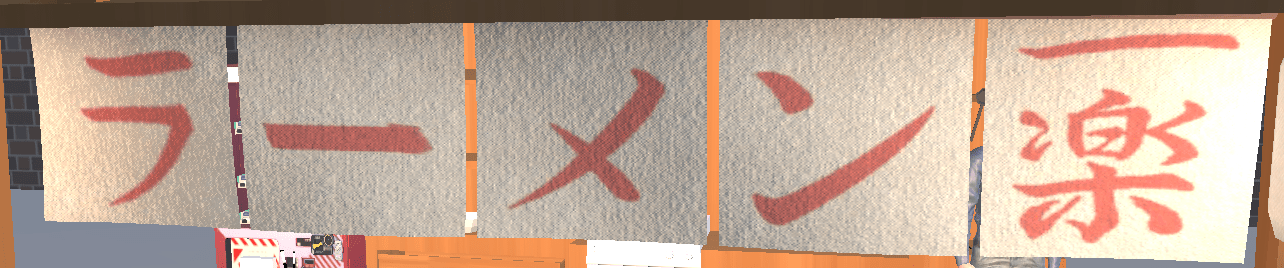
- Board - https://sketchfab.com/3d-models/ichiraku-ramen-naruto-c57a7c0bdca4446aade5241cc621f56e
This board uses a custom animation that I built. The animation simulates the board moving around when wind blows near it.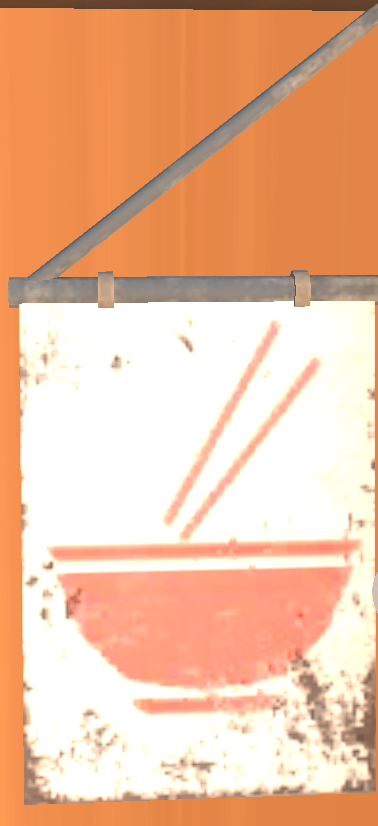
- Induction Cooker - https://sketchfab.com/3d-models/induction-cooker-4-zones-d91cab719eda480e92240a6d8cd5adfe#download
- Pressure Cooker - https://sketchfab.com/3d-models/pressure-cooker-b19091a1e1f040e08c8ae3641385bc40#download
This object is interactable. It also has an audio source attached to it which plays a cooker sound effect. You can find the audio effect here : https://pixabay.com/sound-effects/search/cooker/ - Cooking Pot - https://sketchfab.com/3d-models/cooking-pot-game-ready-38f0889da545459093cdc411a0e7ae99#download
This object is interactable.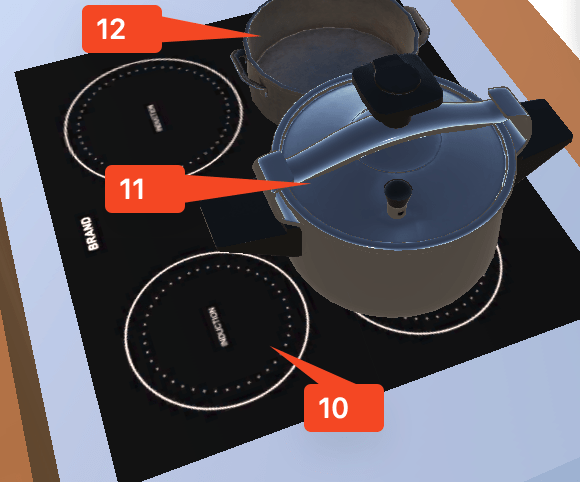
- Dishwasher - https://sketchfab.com/3d-models/dishwasher-411-42493d4758bb4f128168ea9cc09f3266#download
It has an audio source attached to it which plays a dishwasher sound effect. You can find the audio effect here : https://pixabay.com/sound-effects/search/dishwasher/?manual_search=1&order=None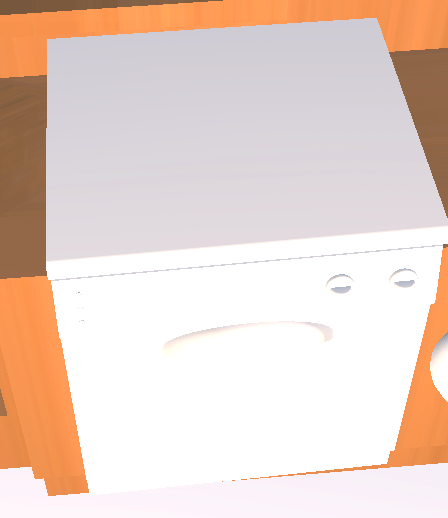
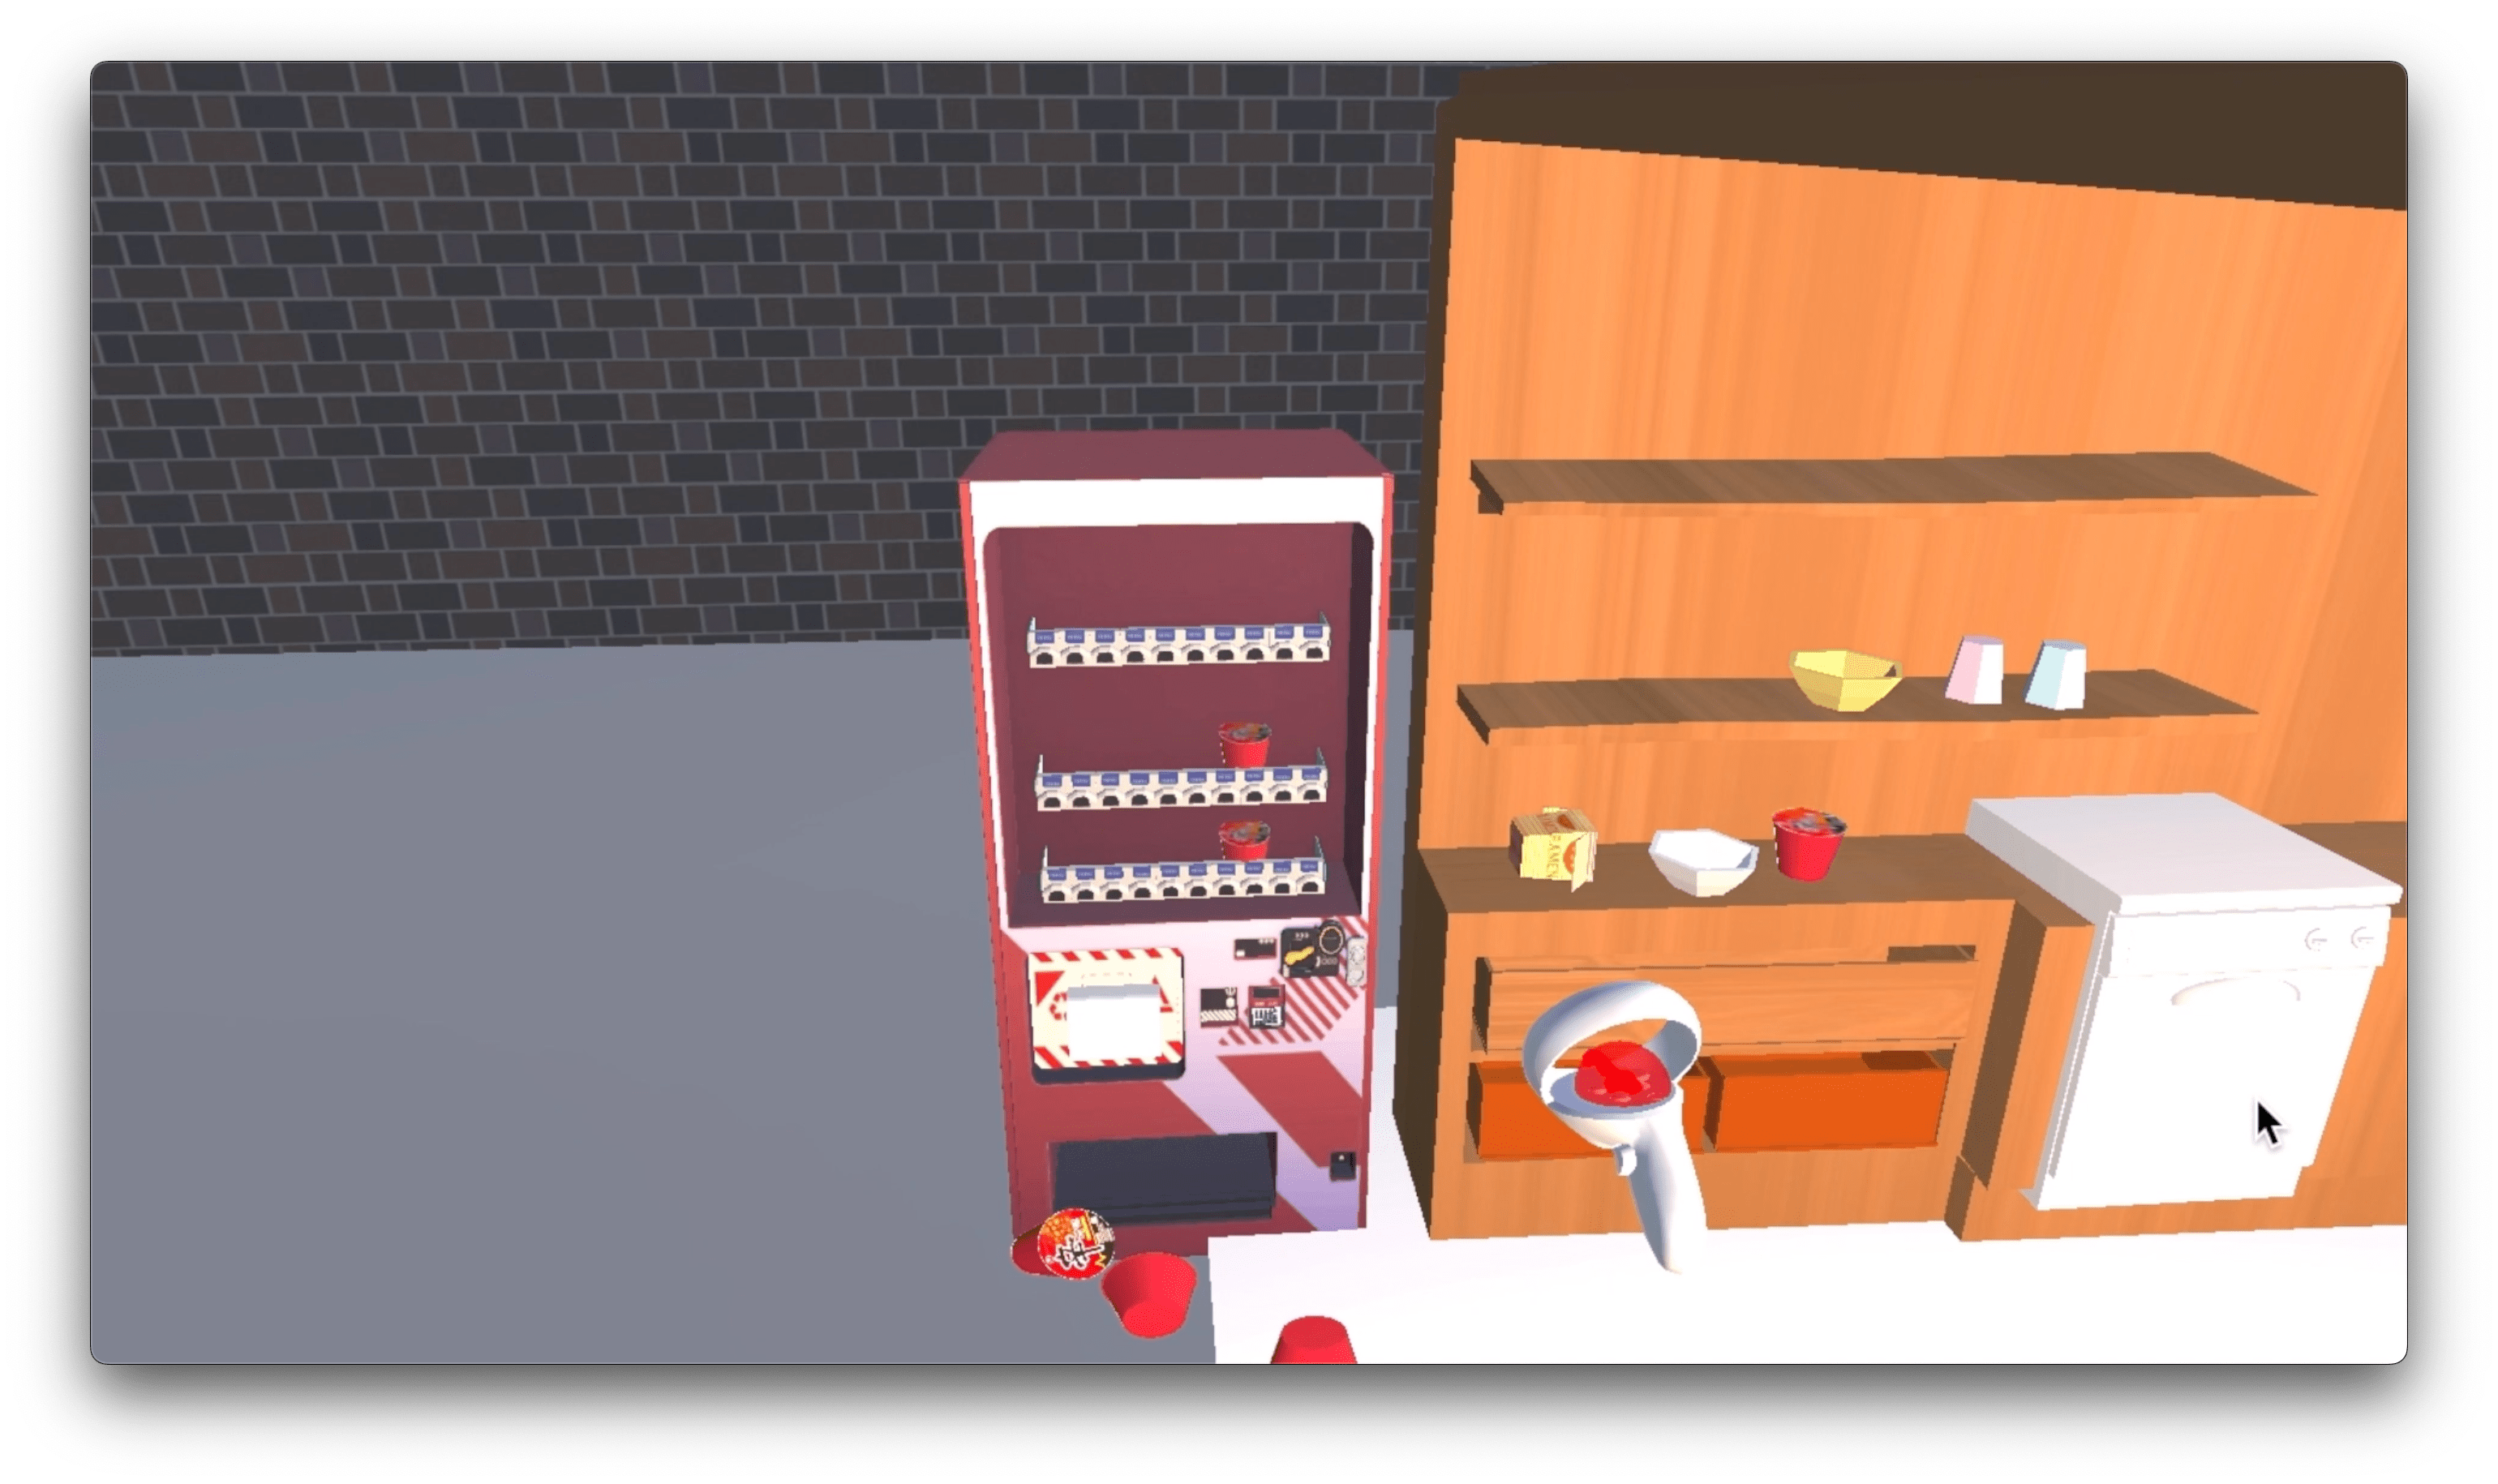
- Vending Machine - https://sketchfab.com/3d-models/stylized-vending-machine-3c6de8d50fbd45909cf2efeb6d636113
This vending machine uses a custom animation that I built. Ramen boxes inside of the vending machine keep moving from side to side. It has an audio source attached to it which plays a vending machine sound effect. You can find the audio effect here : https://pixabay.com/sound-effects/search/vending-machine/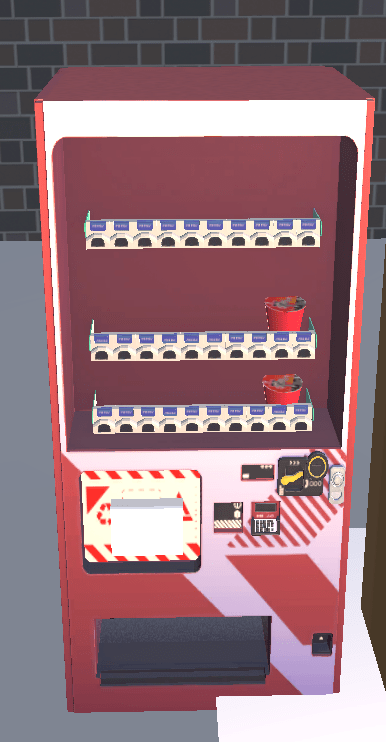
- Red Bell Pepper - https://sketchfab.com/3d-models/red-bell-pepper-7dceb5e3fa574027b6b8c6ffff8c980c
This object is interactable. This is an automatic object generator. This Red Bell Pepper is connected to a custom script i wrote which automatically creates a new bell pepper once the old one has been moved from it's position. Let's say you pick up the bell pepper and toss it on the floor, the script will generate a new bell pepper on the counter top.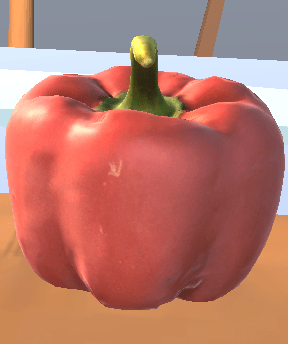
- This Animated talking human model was downloaded from Mixamo. The Model's name is Bryce on mixamo.
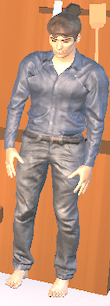
Makehuman
This human model was built using Makehuman and animated using Mixamo
Models made by me
All models were made using Blender
- Seating Area
- Table
- Chairs
- Knife
This object is interactable. - Chopping Board

- Drawers
All three of these drawers are interactable. They can be pulled out and stuff can be put inside of them. These drawers comprise of 2 models, light brown drawer & the smaller dark brown drawer.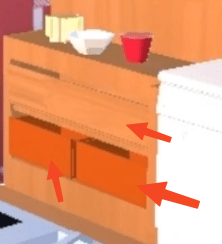
- Wheel
This wheel is interactable. If you rotate this wheel, it activates the water source in the sink. It also start the audio source which plays the waterfall sound effect. You can check out this sound effect here : https://pixabay.com/sound-effects/search/waterfall/?manual_search=1&order=None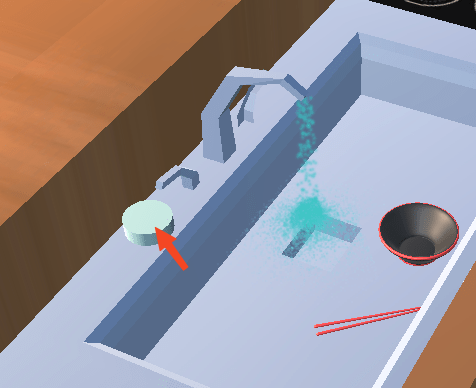
Video
You can view the project video here
Screenshots and Frame Rate Discussion
The App was tested on an Oculus Quest 1. The App maintains an average of 32 frames per second most of the time. Sometimes, when we go to the front of the ramen shop, the frame rate can shoot up to 35 frames per second. Also, when we're generating models on-the-fly using object generators, frame rate can drop down to 29-30 frames per second. Still, the application runs relatively smoothly on Quest 1.
Discussion
Virtual Reality is a simulated experience that takes place by dropping the user into a virtual environment. In Augmented Reality, we augment the user’s surroundings by adding 3d objects but in Virtual Reality, we replace the user’s environment with a computer-generated environment. To interact with any object in this virtual environment, we need to use the headset’s hand controllers.
Virtual Reality can be experienced using a VR Headset. It can also be simulated on the 2d screen of a computer and the controllers can be simulated using key presses on our computer’s keyboard. This allows us to explore the scene while developing the application right on our coding machines instead of plugging & unplugging the headset into our computer. The simulator allows us to move around the environment with WASD keys, use the number pad on our keyboards to control the position of our simulated controllers and use the left mouse button to simulate a button press on the controller.
However, there are a few shortcomings of this approach. One, the simulator can only simulate one button of the controller. Controllers usually have plenty of buttons & some even have joysticks to move around the interface, interact with objects, etc. Virtual Reality frameworks usually allow us to customize which button on our controller we’d like to use to interact with the object. But, only one button can be simulated in a simulator. Usually, if your application is simple and only allows for one interaction per object, you won’t run into this issue. However, if you’re building a game with complex interactions, each triggered by a different button press, you won’t be able to use the simulator to thoroughly test your application.
To properly experience VR, you need a VR headset. When you put on the headset, you’ll have to adjust the lenses by shifting them left or right until the image on the lenses becomes clear. Using a VR Headset, you can freely use the controllers to interact with objects in the environment and test every interaction written into the application. Most VR Headsets will ask to initialise a safe area around your real space and it’ll only allow direct movement in the app until you’re within the bounds of the safe area. This is obviously to ensure you don’t bump into physical objects in your real environment e.g. a table, chair, etc. Most VR Headsets also allow us to disconnect our headsets from the computer once the application has been installed so we can truly freely move around the environment.
VR Headsets have their own set of disadvantages. First, they aren’t cheap. Second, the most obvious one is that the environment might still look pixelated and not as sharp as in a simulator. This is because the lenses on most headsets have a lower resolution than most modern laptops. The difference is night and day between the resolution of your eye and the lenses on the headset so this virtual environment still is far off from being as immersive as reality. Third, the processors these headsets use are usually much slower than you can find in a modern computer. Your application will usually run slower on a headset than a simulator because the headset’s chip is constrained to a much smaller space than your computer. You can usually check this by turning on the FPS counter and then comparing the difference between your computer and the headset.
That being said, viewing on a headset is still a major step up from viewing in a simulator. Most headsets have spatial sound support which can simulate sounds coming from an actual 3d environment. VR Headsets are also way more immersive as they completely cover your eyes. While we’re still far off from creating a virtual reality that is indistinguishable from the real world, the VR headset is certainly our best attempt.